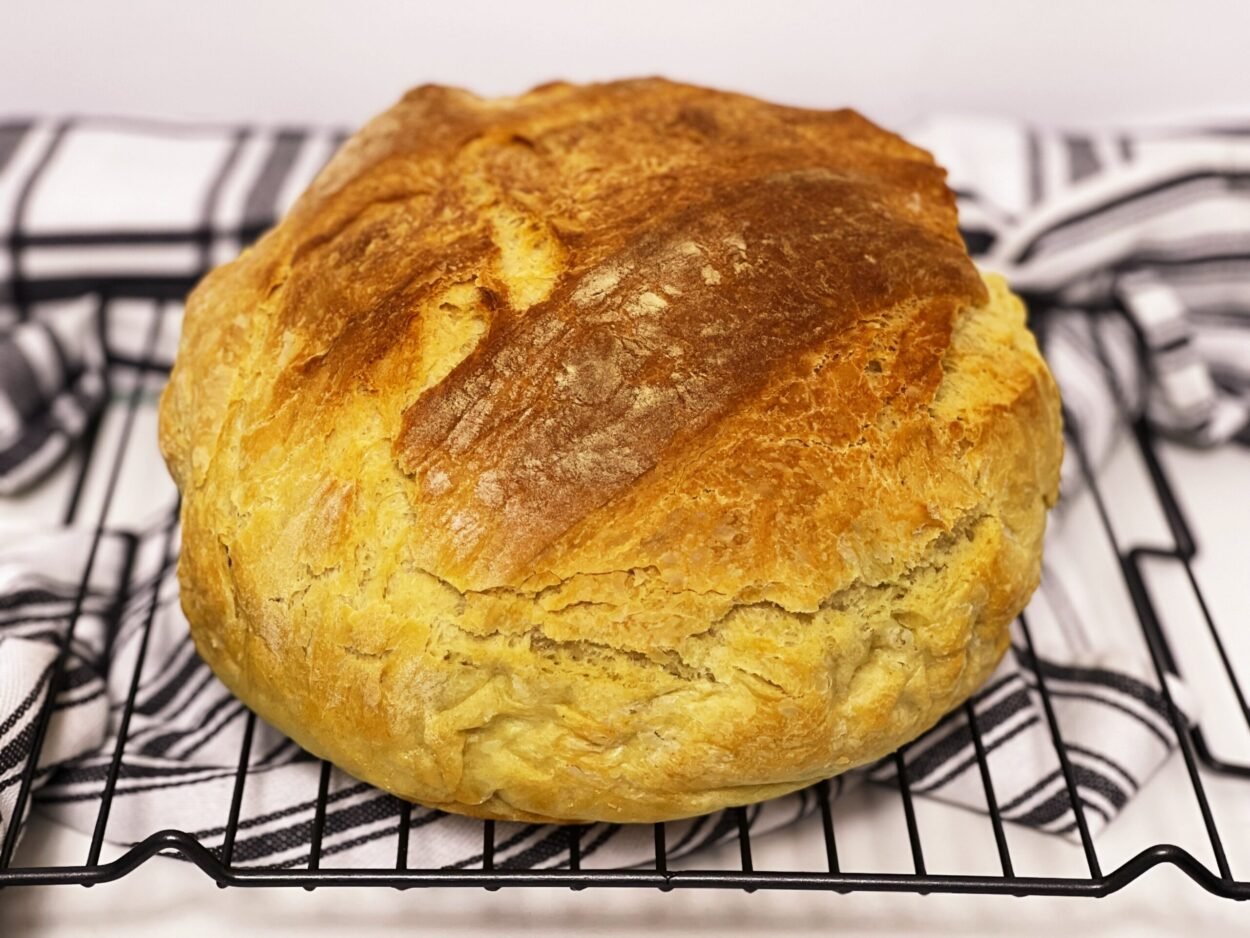
The easiest no-knead bread recipe you’ll ever need!
Fresh homemade bread, a simple and accessible recipe for all housewives and more, without using sophisticated equipment!
No-Knead Homemade Bread
Course: SidesCuisine: RomanianDifficulty: Easy1.500
kg30
minutes50
minutes282
kcal1
hour20
minutesI’ve said it and repeat it: homemade bread is one of the most wonderful baked goods we can prepare. This no-knead bread recipe comes to the aid of even the most inexperienced person. Most housewives give up on the idea of preparing bread either because they don’t have the necessary time or because they don’t have food processors to easily and quickly knead the dough. With a more detailed search on the Internet, we discover a lot of recipes for bread, from the simplest to the most complicated. We don’t have to be great experts in the kitchen, but just to document ourselves as best as possible before we start cooking.
Ingredients
1 kg of flour
15 g dry yeast
1 teaspoon sugar
30-50 ml of oil ( I recommend 30, to reduce the number of calories)
25 g of salt
600 – 650 ml warm water
4-5 spoons of flour for the work table
Directions
- When I know that I am preparing bread, as well as any other kind of baking, I take care to use both quality flour and yeast. The flour I use is normally intended for sweet baked goods, such as “Cozonac” – a traditional dessert or the delicious Christmas Wreath with cream cheese and cranberries , but after many experiments, I discovered that it is also ideal for bread dough, regardless of whether it is kneaded or not. If you have a favorite flour, of which you are sure, try the recipe using it!

- Ok! Without too many introductions, let’s begin! Make sure you choose a large bowl right from the start, because the dough will rise considerably. We start simply by mixing all the ingredients in turn, starting with warm water (650 ml), sugar and yeast. We mix them a little to homogenize, and then we add the flour, all at once. Mix with a spoon until all the flour is incorporated, about 2 minutes, no more. I covered with a towel and left to stand for 30-40 minutes.

- After 40 minutes, the dough has risen wonderfully. Although you may feel sorry for “deflating” the obtained awesomeness, you have to do it! Wet your hands and start pulling and stretching the dough (you can see it better in the video). This procedure does not take more than 1-2 minutes. The dough is soft and sticky, but by performing this step, it will become smoother. Break! I stressed the dough enough, let it rest again for 20 minutes.
- After this time, the dough almost doubled its volume again. I sprinkled flour on the work table (not very much) and took the dough out of the bowl onto the table. I flattened it slightly with my palms and then I packed it exactly as in the pictures. Through this process, we shape the bread. Let the dough rest for 10 minutes and repeat the process.

- The second wrapping is also the final one. at the end of it all, gently cut the dough with the help of a well-sharpened knife or with a special blade for cutting the dough. The bread thus formed is left to rise for 1 hour. I then transferred it to a pot lined with baking paper. I felt sorry to spoil its shape, but unfortunately, I don’t have a bigger pot, so I kind of crammed it into what I had.

- I covered the pot with a lid and baked it like this at 220 degrees for 40 minutes. After that, I removed the lid, reduced the temperature to 200 degrees and baked for another 20-25 minutes. My advice is to check the bread, if it is baked after about 20 minutes. Do not pierce the dough in any way, remove the bread and check the bottom. Tap it lightly and if it sounds hollow, it’s ready.
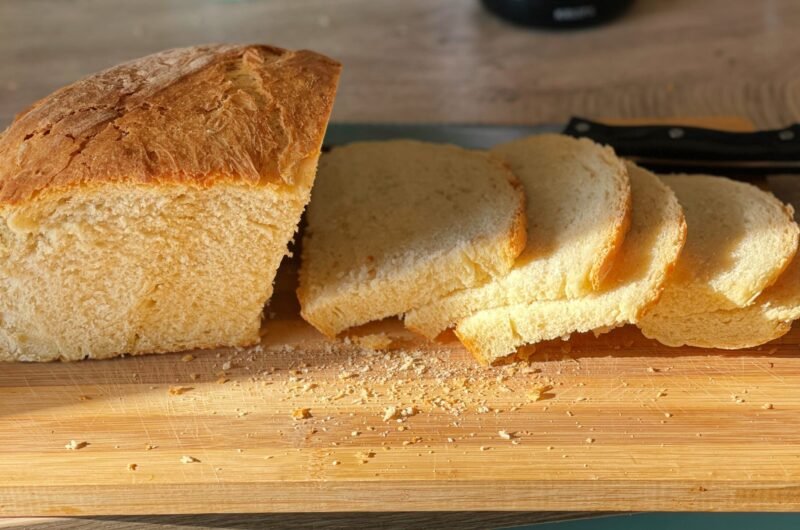
- How good it smells in the whole house!!!! It’s as if I can imagine the neighbors sitting at the door, waiting to share a piece of fresh homemade bread with them. Don’t forget to let the bread cool on a grill, after removing it from the pot. Warm bread is never cut, wait at least 1 hour before slicing it with a knife. Look even how beautifully it cuts the next day and what lovely slices I got. I hope this recipe will be useful to you and encourage you all to prepare it, now that you know how simple it is.