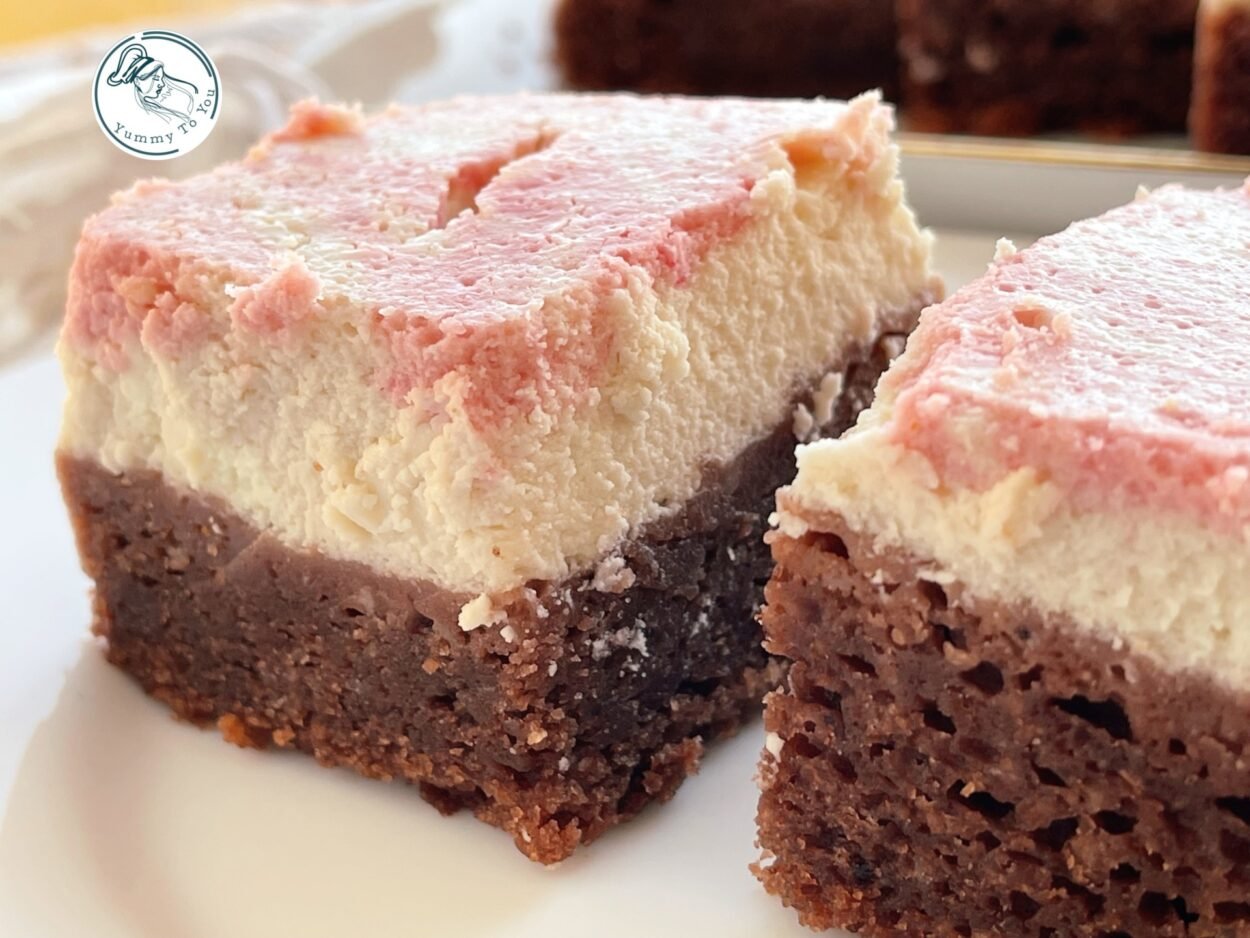
Marbled cheesecake with red wine – aromatic and easy dessert
Discover a cheesecake with smooth cream cheese and red wine, delicately flavored with cocoa and vanilla, featuring a stunning marbled effect.

Marbled cheesecake with red wine – aromatic and easy dessert
Course: Bread u0026amp; Dough, SweetsCuisine: EuropeanaDifficulty: Usor, Easy12
servings30
minutes30
minutes400
kcal1
hourIf you love cheesecakes and are looking for something a little different from the classic versions, this recipe will surely surprise you. It’s a cheesecake with smooth cream cheese and red wine, delicately flavored with cocoa and vanilla, yet surprisingly easy to make.
The soft, slightly moist cake pairs perfectly with the creamy, velvety cheesecake layer, and the subtle touch of red wine enhances the flavor without overpowering it. The result is a balanced dessert with rich taste, yet light and delicate.
This is the kind of cheesecake we make with love for the weekend, for guests, or for those moments when we want a flavorful, unique dessert without any stress in the kitchen. We make it step by step, simple and calm, and every minute is worth it.
Shall we get started?
Ingredients
- For the cake
250 g flour
200 g sugar
2 tablespoons unsweetened cocoa powder
1/2 teaspoon baking soda
1/2 teaspoon salt
1 large egg
120 ml neutral oil
150 ml yogurt or buttermilk
120 ml dry red wine
1 teaspoon vinegar (optional)
1 teaspoon vanilla extract
1–2 teaspoons red food colouring (optional)
- For the cheesecake cream
400 g cream cheese (Philadelphia or similar)
200 ml heavy cream
100 g powdered sugar
1 teaspoon vanilla extract
1 egg (optional)
Preparation method
- Helpful tips to start
We can replace the yogurt with buttermilk or kefir. If we prefer not to use an egg in the cream, we can simply leave it out without any problem. For a more intense flavor, we can add a little melted chocolate to the cake batter.
- We start by preheating the oven to 175°C.
In a large bowl, we add the flour, cocoa powder, sugar, baking soda, and salt, and gently mix them together. In another bowl, we combine the egg, oil, yogurt or buttermilk, red wine, vanilla extract, and, if desired, a little food coloring. We mix well, then pour the wet ingredients over the dry ones, stirring gently just until combined. - We pour the batter into the prepared pan and gently level the surface. We bake the cake layer for about 15–20 minutes, just until it starts to set but remains slightly moist in the center — we don’t want it fully baked, as it will continue baking together with the cream.
- Preparing the cheesecake cream
Meanwhile, we prepare the cheesecake cream. We place the cream cheese, powdered sugar, vanilla extract, and heavy cream in a bowl and mix until smooth and creamy. We then divide the mixture, keeping about three quarters plain and white, and transferring one quarter to a separate bowl. To this smaller portion, we add a few tablespoons of red wine and a little food coloring, mixing gently until we achieve a soft pink shade. This way, we have two creams ready for layering and creating the marbled pattern. - We first pour the white cream over the slightly moist cake layer, smoothing it out evenly. On top of that, we add the pink cream and, using a toothpick or a knife, gently draw lines or swirls to create a delicate marbled pattern.
We return the pan to the oven for another 20–25 minutes, just until the cream is lightly set while the cake remains moist and integrated into the final texture. The center should be set but still slightly soft to the touch. - We let the cake cool completely in the pan, then refrigerate it for a few hours before slicing, allowing the flavors to settle and the texture to become perfectly set.
In the end, we remove the cake from the pan and cut it into squares or rectangles. We can decorate it with a dusting of cocoa powder, chocolate shavings, or a few red berries for extra freshness and visual appeal. It’s an elegant, aromatic dessert that’s also simple to make and always makes an impression. - If you enjoyed this cheesecake with red wine, I would truly love to hear how it turned out for you. Feel free to leave a comment below, share your photos, or let us know if you tried the marbled version as well.
If you have any small variations or tips that worked for you, please share them with us — I can’t wait to read about your experience. Happy baking and enjoy every slice!