Duo Blackberry Cake – Cocoa Sponge, Silky Cream and Blackberry Jelly

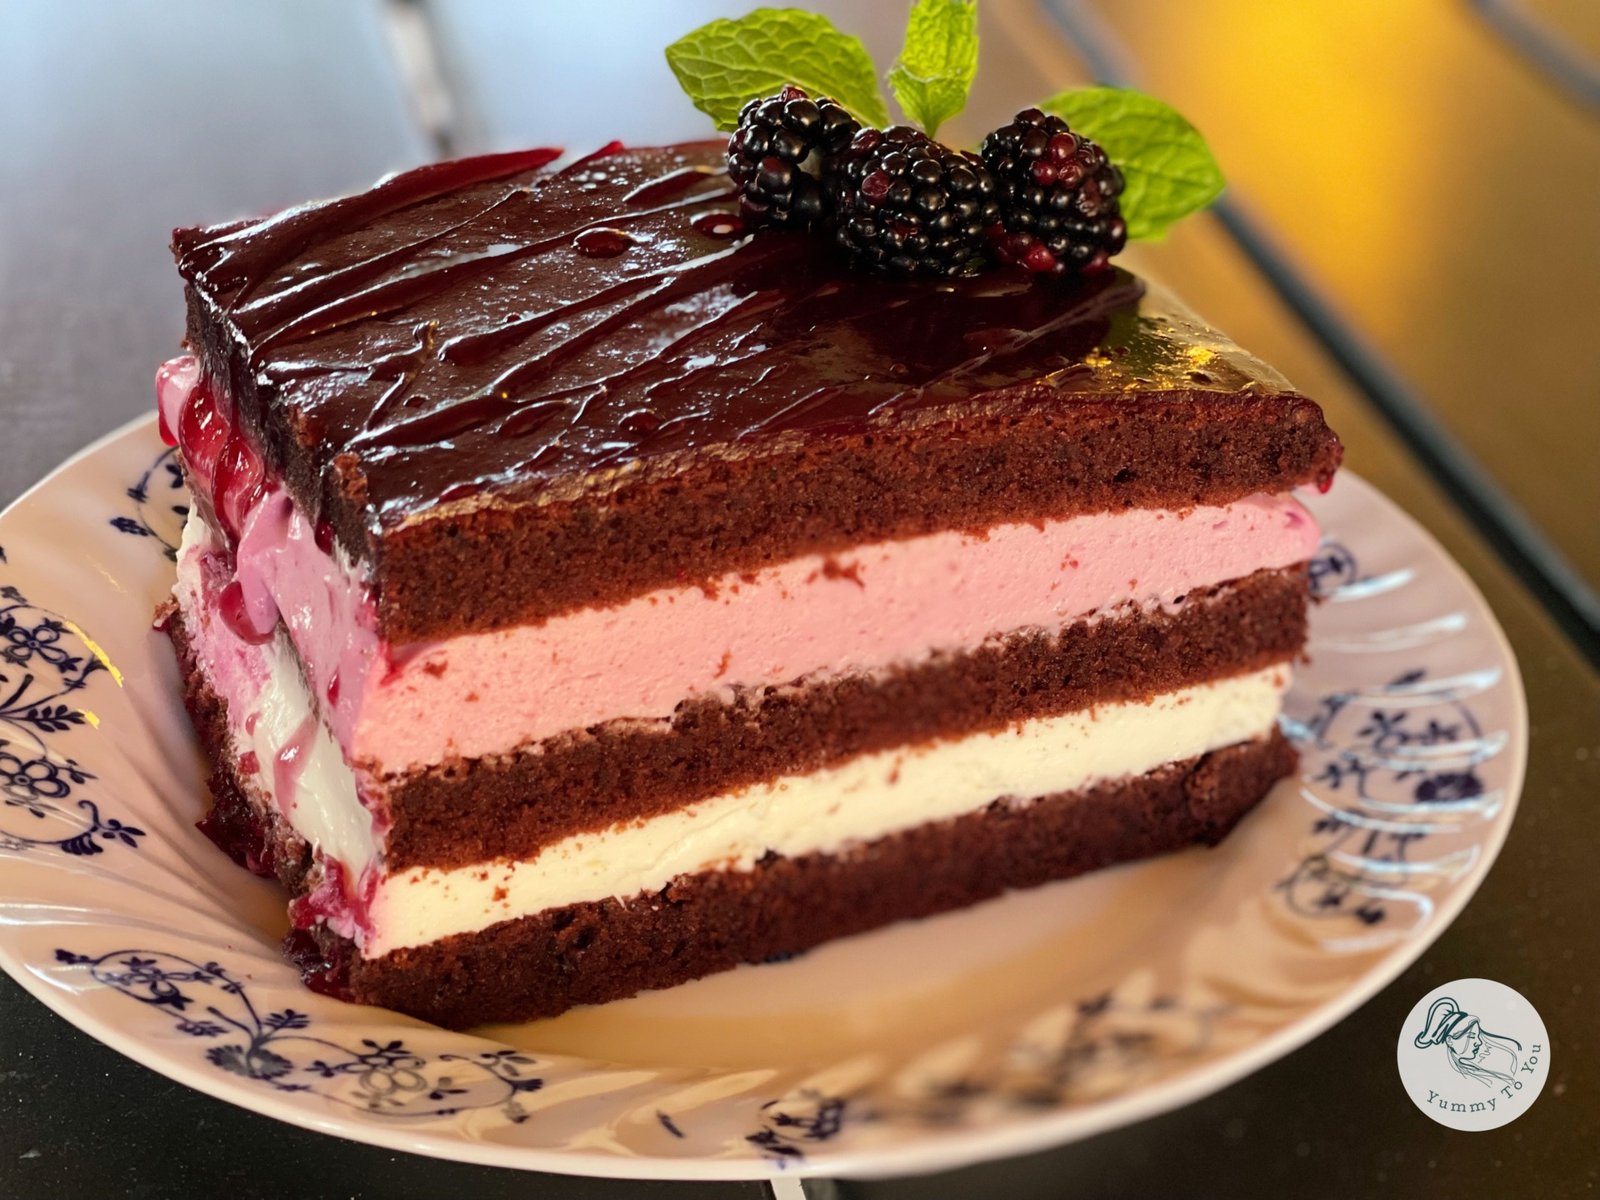
Duo Blackberry Cake with a tender cocoa sponge, a silky cream cheese and whipped cream filling, blackberry cream, and fragrant blackberry jelly.
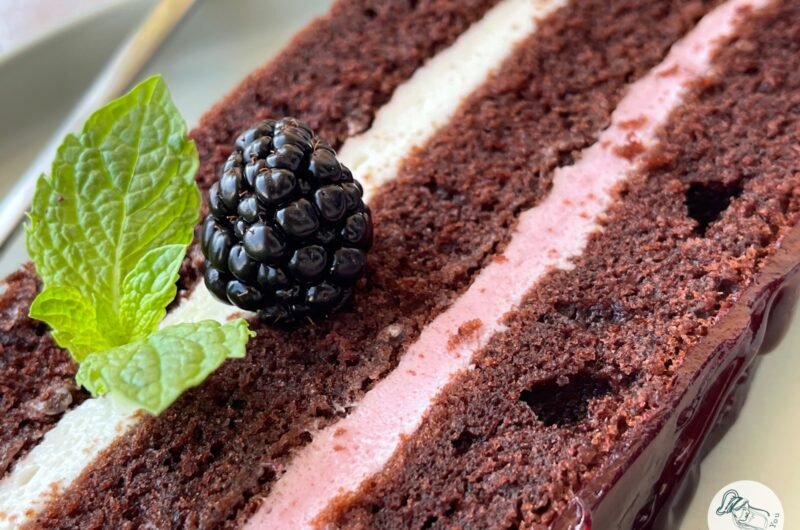
Duo Blackberry Cake
Course: DessertCuisine: RomanianDifficulty: Medium15
servings1
hour18
minutes350
kcal1
hour18
minutesI wanted a dessert where the intense flavor of blackberries could truly shine, so I chose to use the fruit both in the cream and in the final jelly layer. The cocoa sponge is soft and moist, with no need for soaking syrup, while the creams beautifully complement the slightly tart and fragrant flavor of the blackberries.
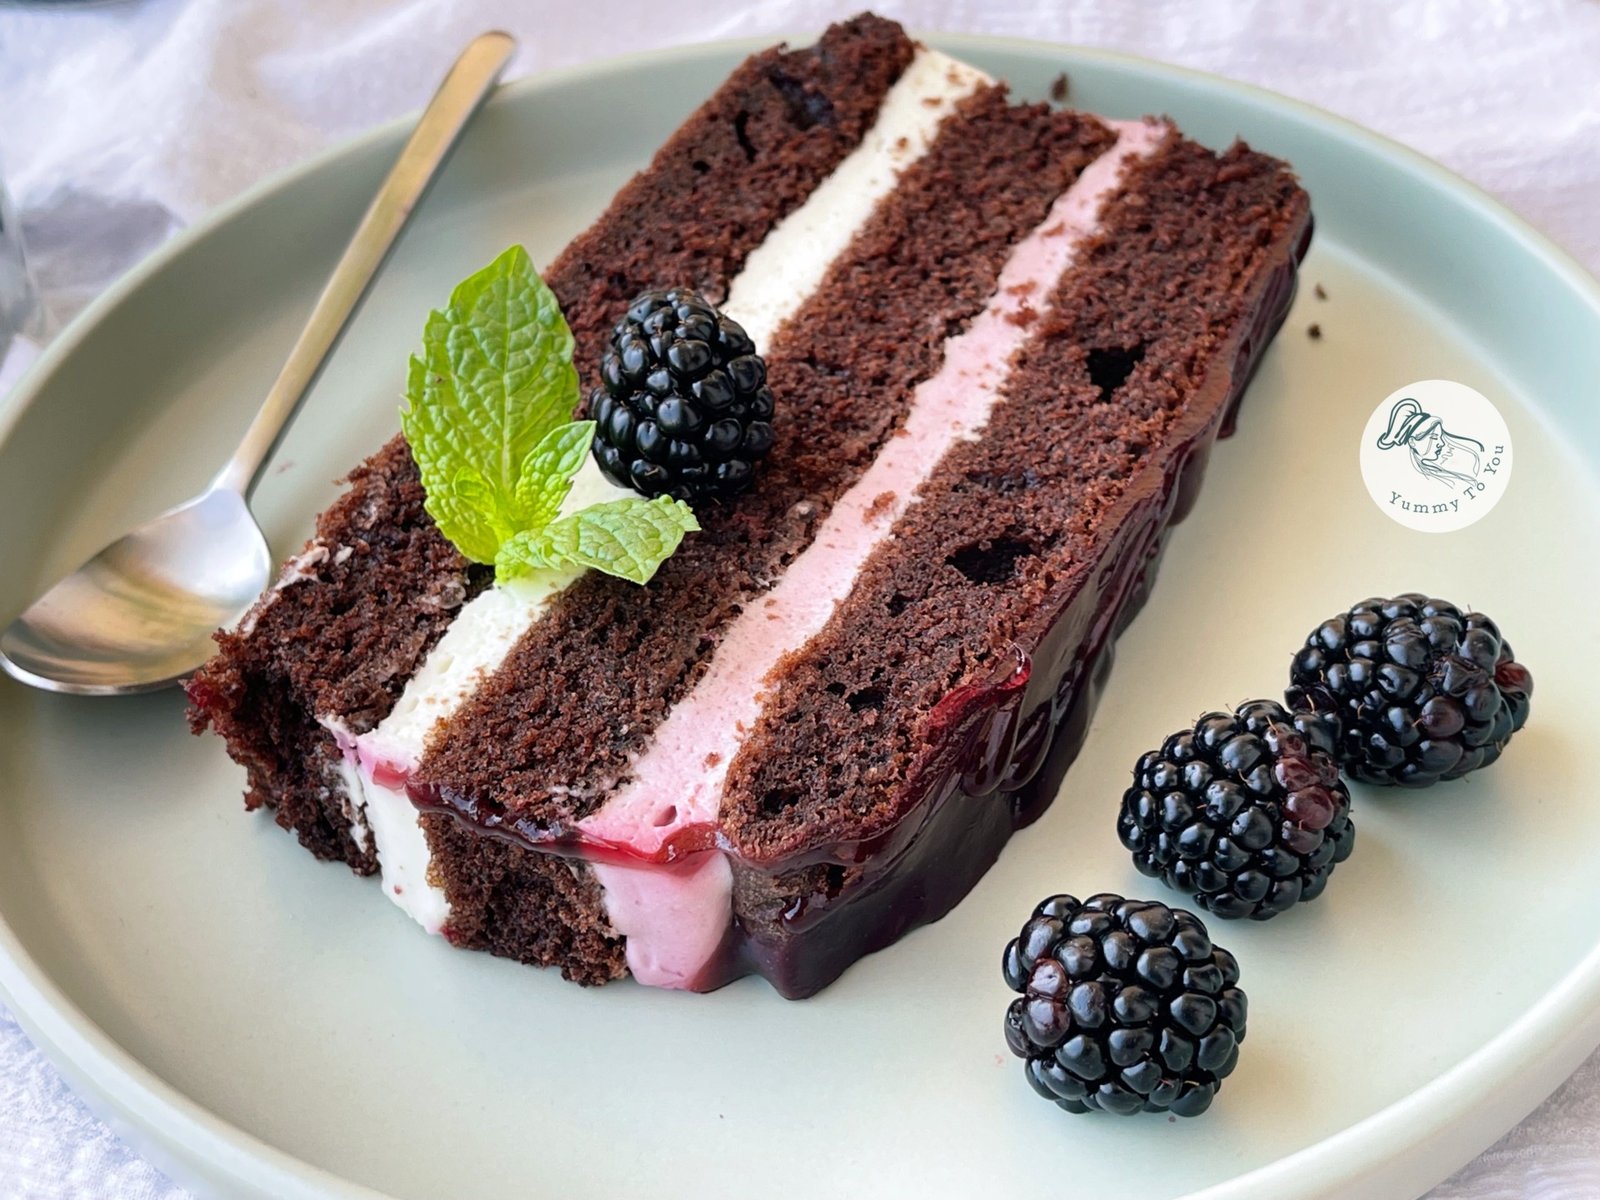
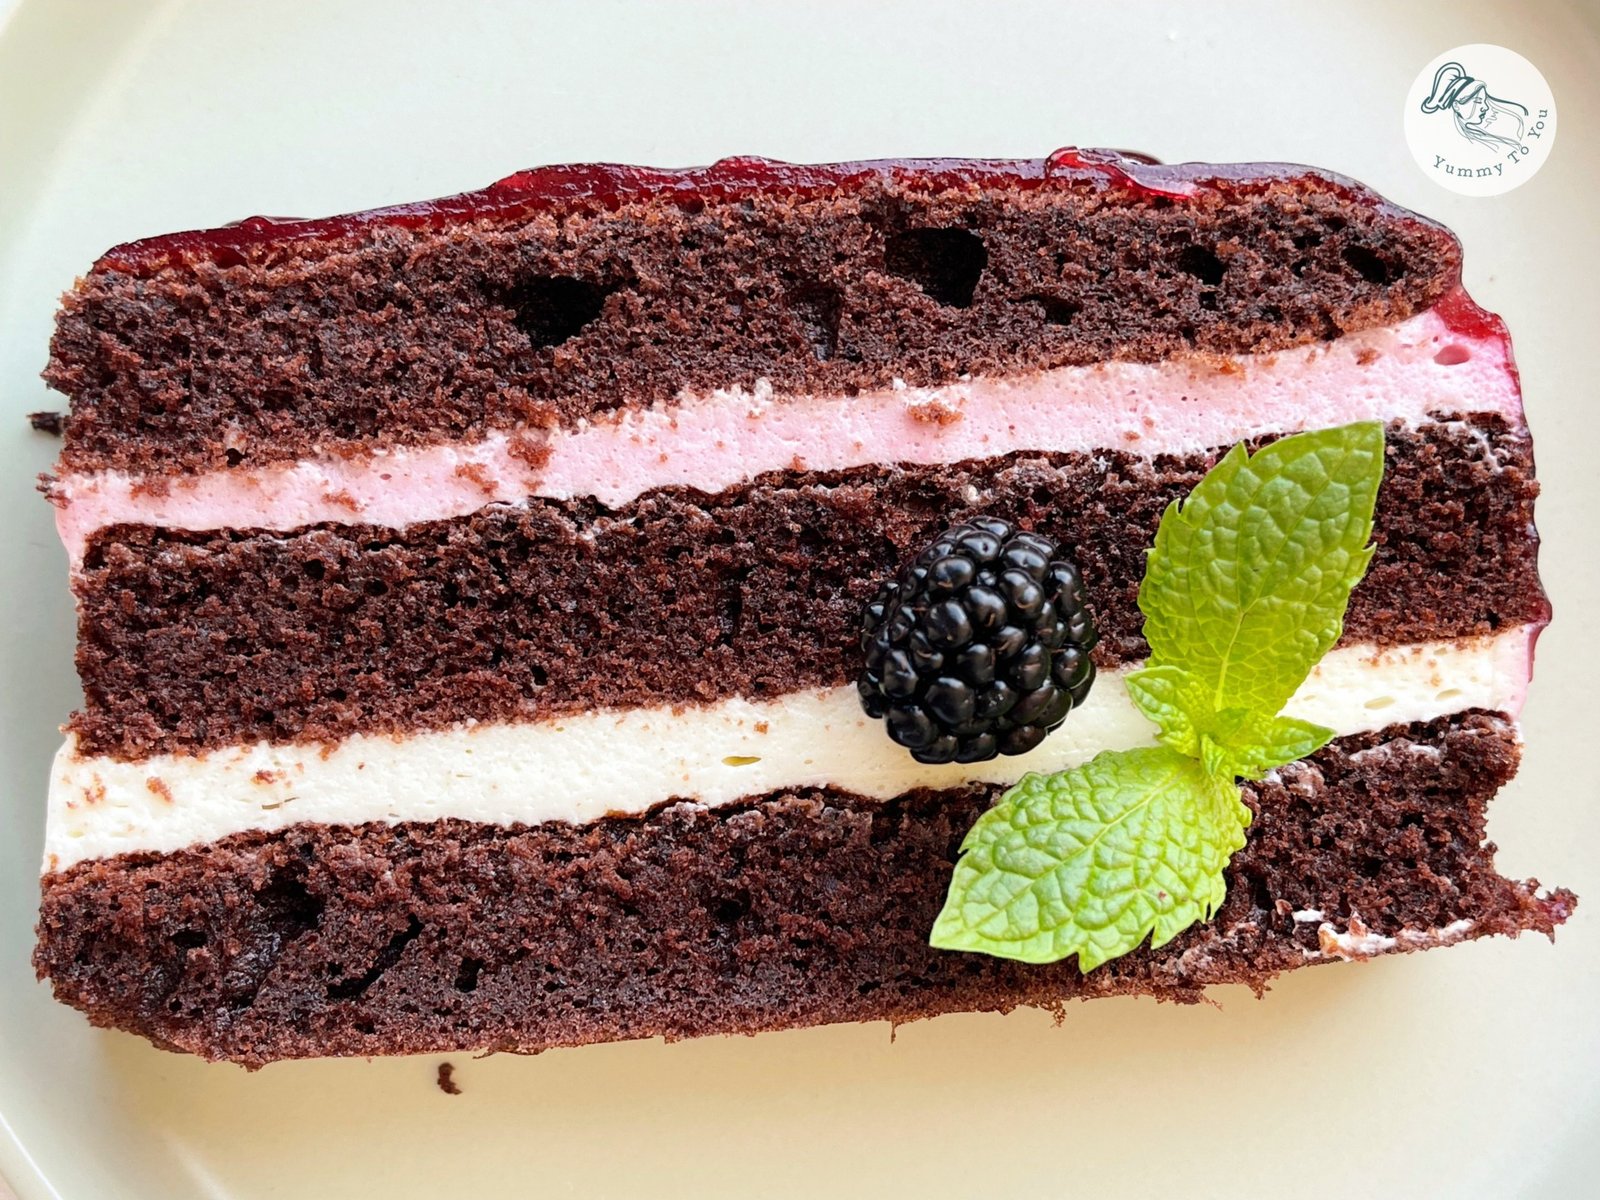
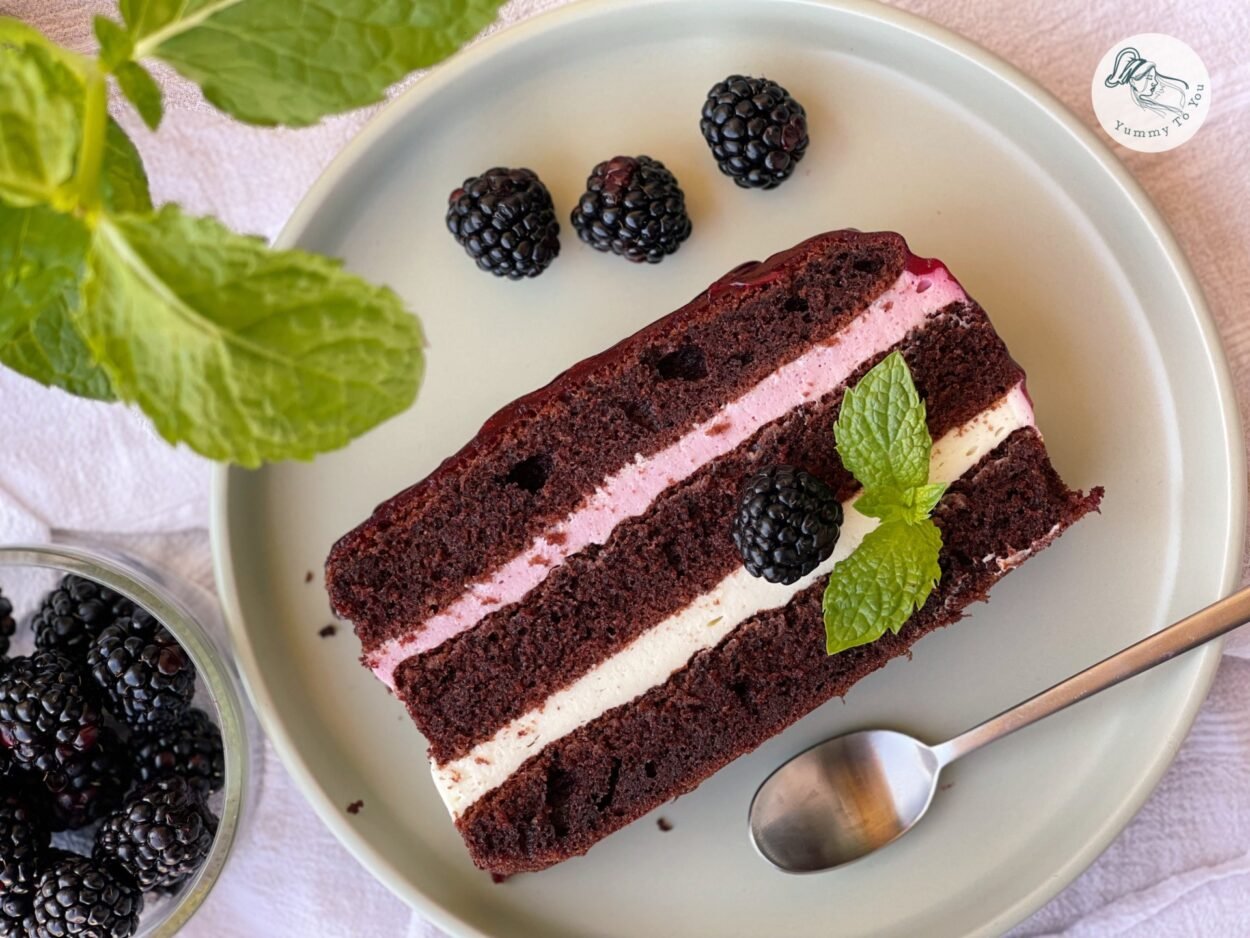
Although it is baked in a tray, it looks so beautiful when finished that you could easily mistake it for a small cake. Layers of fluffy cocoa sponge, silky cream cheese and whipped cream, a delicate blackberry cream, and, on top, a glossy layer of blackberry jelly.
The result is a delicate, refreshing and wonderfully balanced dessert, perfect for summer days or whenever you want to prepare something that looks spectacular, yet is easy enough to make at home.
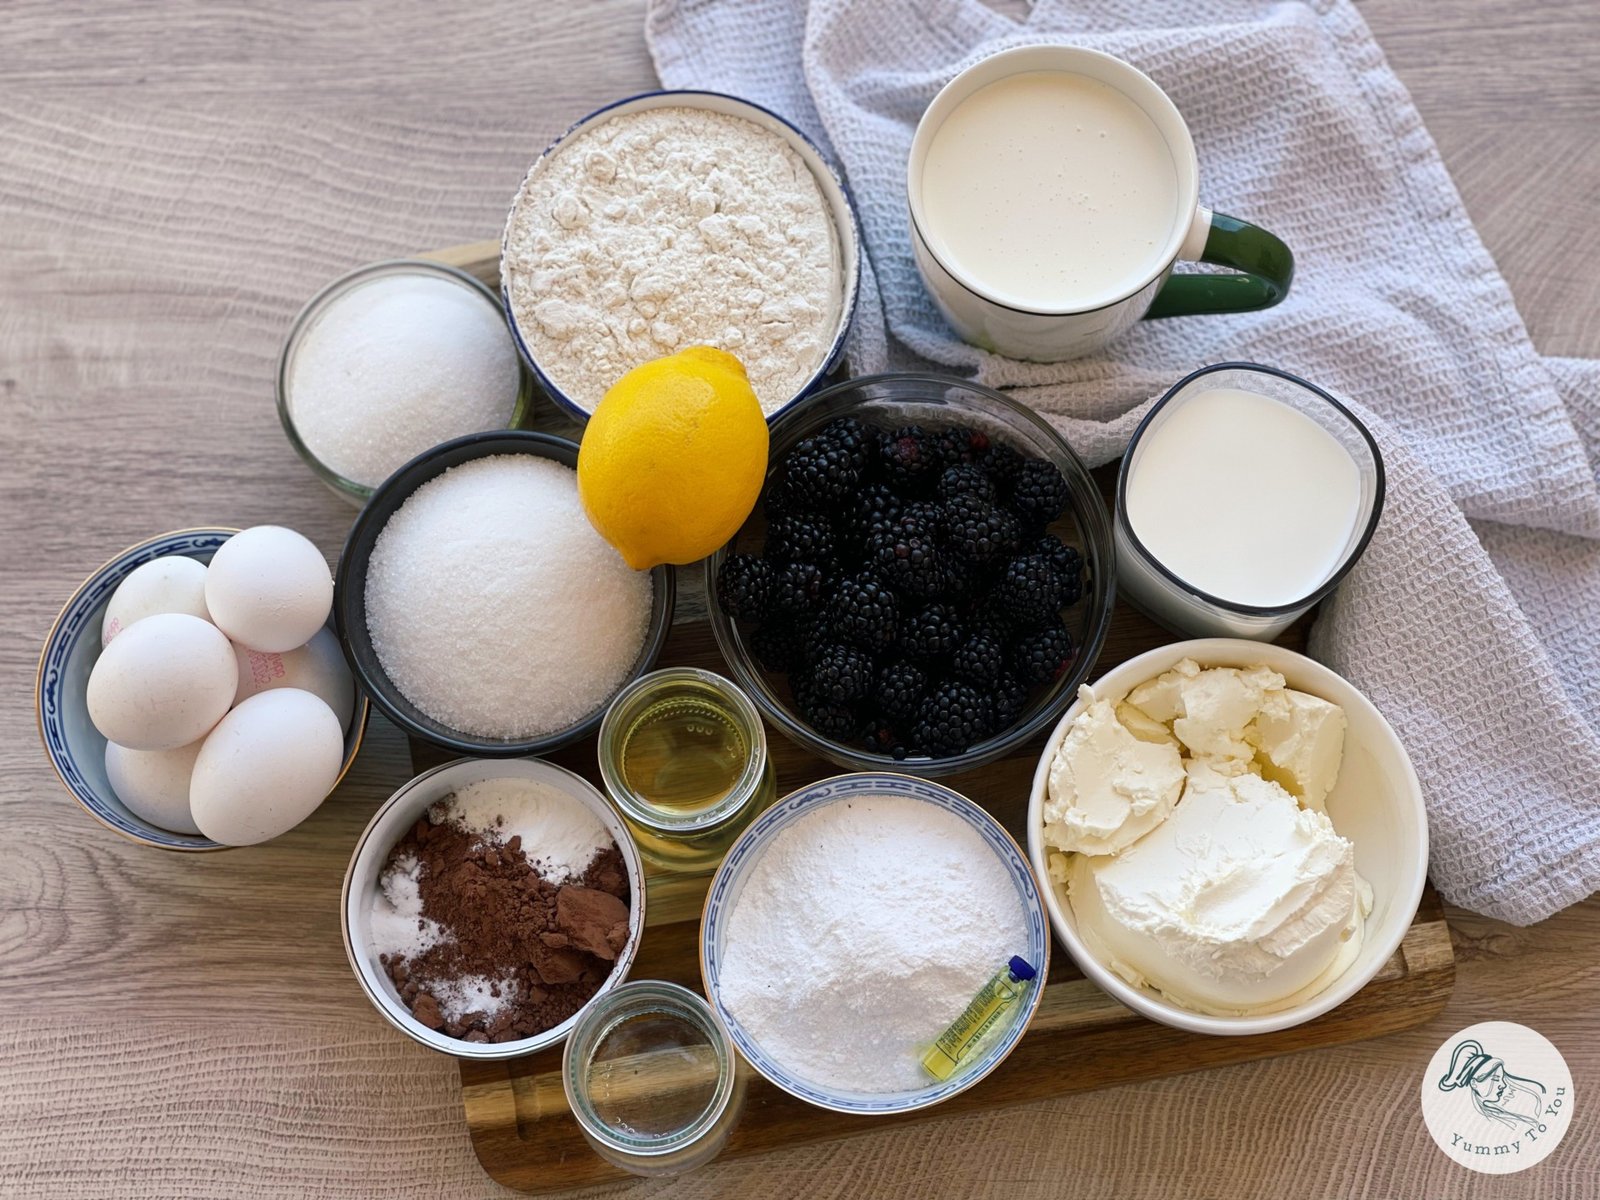
Ingredients
- For the cocoa sponge (for a baking tray approximately 30 × 40 cm)
5 large eggs
220 g sugar
150 ml oil
200 ml milk
1 teaspoon vanilla extract
250 g all-purpose flour
50 g high-quality dark cocoa powder
10 g baking powder
½ teaspoon baking soda
1 pinch of salt
100 ml hot water
- For the cream cheese filling
350 g cream cheese
500 ml heavy whipping cream, at least 30% fat
120 g powdered sugar
1 teaspoon vanilla extract
10 g gelatin
60 ml cold water
- For the blackberry cream
½ of the prepared cream cheese filling
150 g smooth blackberry purée, strained through a fine-mesh sieve
- For the blackberry jelly
250 g blackberries
60 g sugar
1 tablespoon lemon juice
5 g gelatin
30 ml cold water
Preparation method
- Tips for a Perfect Blackberry Cake
It is important to let the blackberry purée cool completely before adding it to the cream. If it is warm, it can soften the cream and affect its consistency.
Do not skip straining the blackberries. They contain quite a few seeds, and passing the fruit through a fine-mesh sieve makes all the difference between a rustic cream and one that is perfectly smooth.
If the blackberry cream is too soft to spread, a short time in the freezer, with occasional stirring, is a simple and effective solution.
There is no need to soak the sponge. The oil and hot water give it a perfectly moist texture.
For a beautiful jelly layer, allow it to cool until just warm before pouring it over the cake. If it is too hot, it can soften the cream underneath.
- Preparing the Cocoa Sponge
Start by preheating the oven to 170°C (340°F), using conventional top and bottom heat, and line a 30 × 40 cm baking tray with parchment paper.
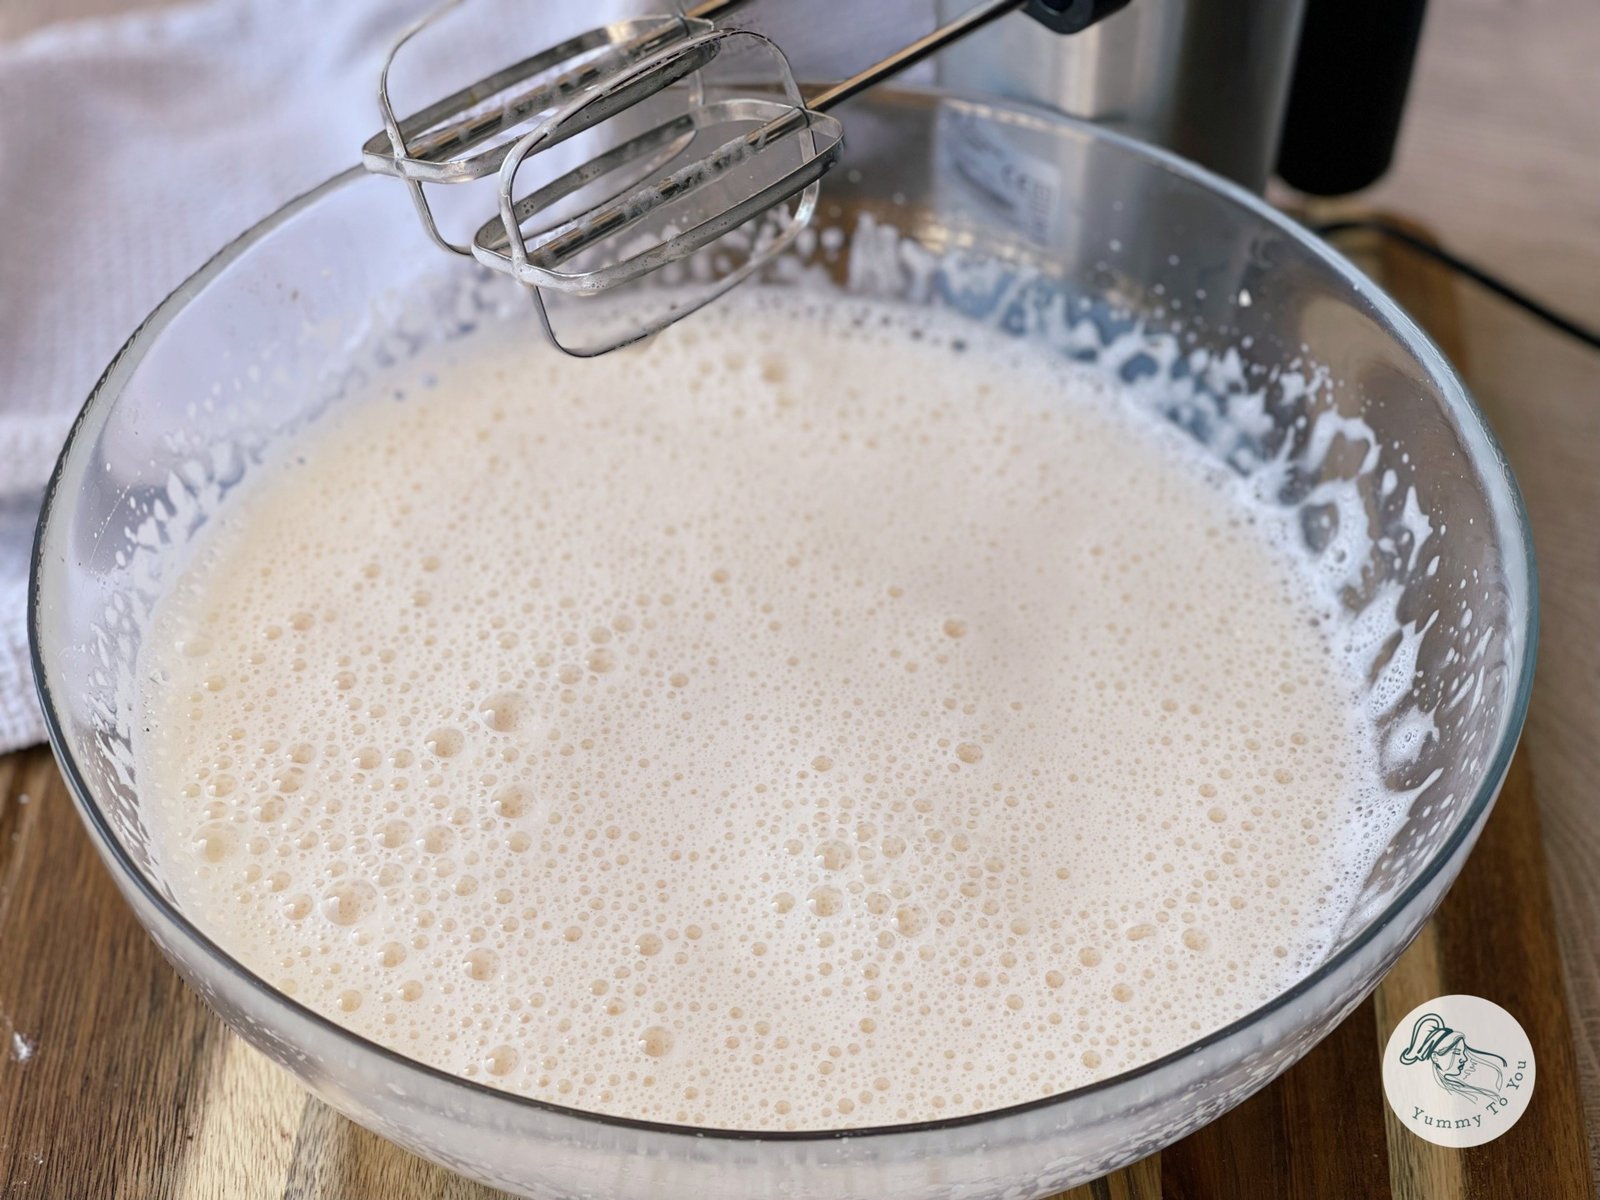
In a large bowl, beat the eggs and sugar for about 5–6 minutes, until the mixture is pale and very airy.
Gradually add the oil in a thin stream, followed by the milk and vanilla extract. Mix briefly, just until combined.
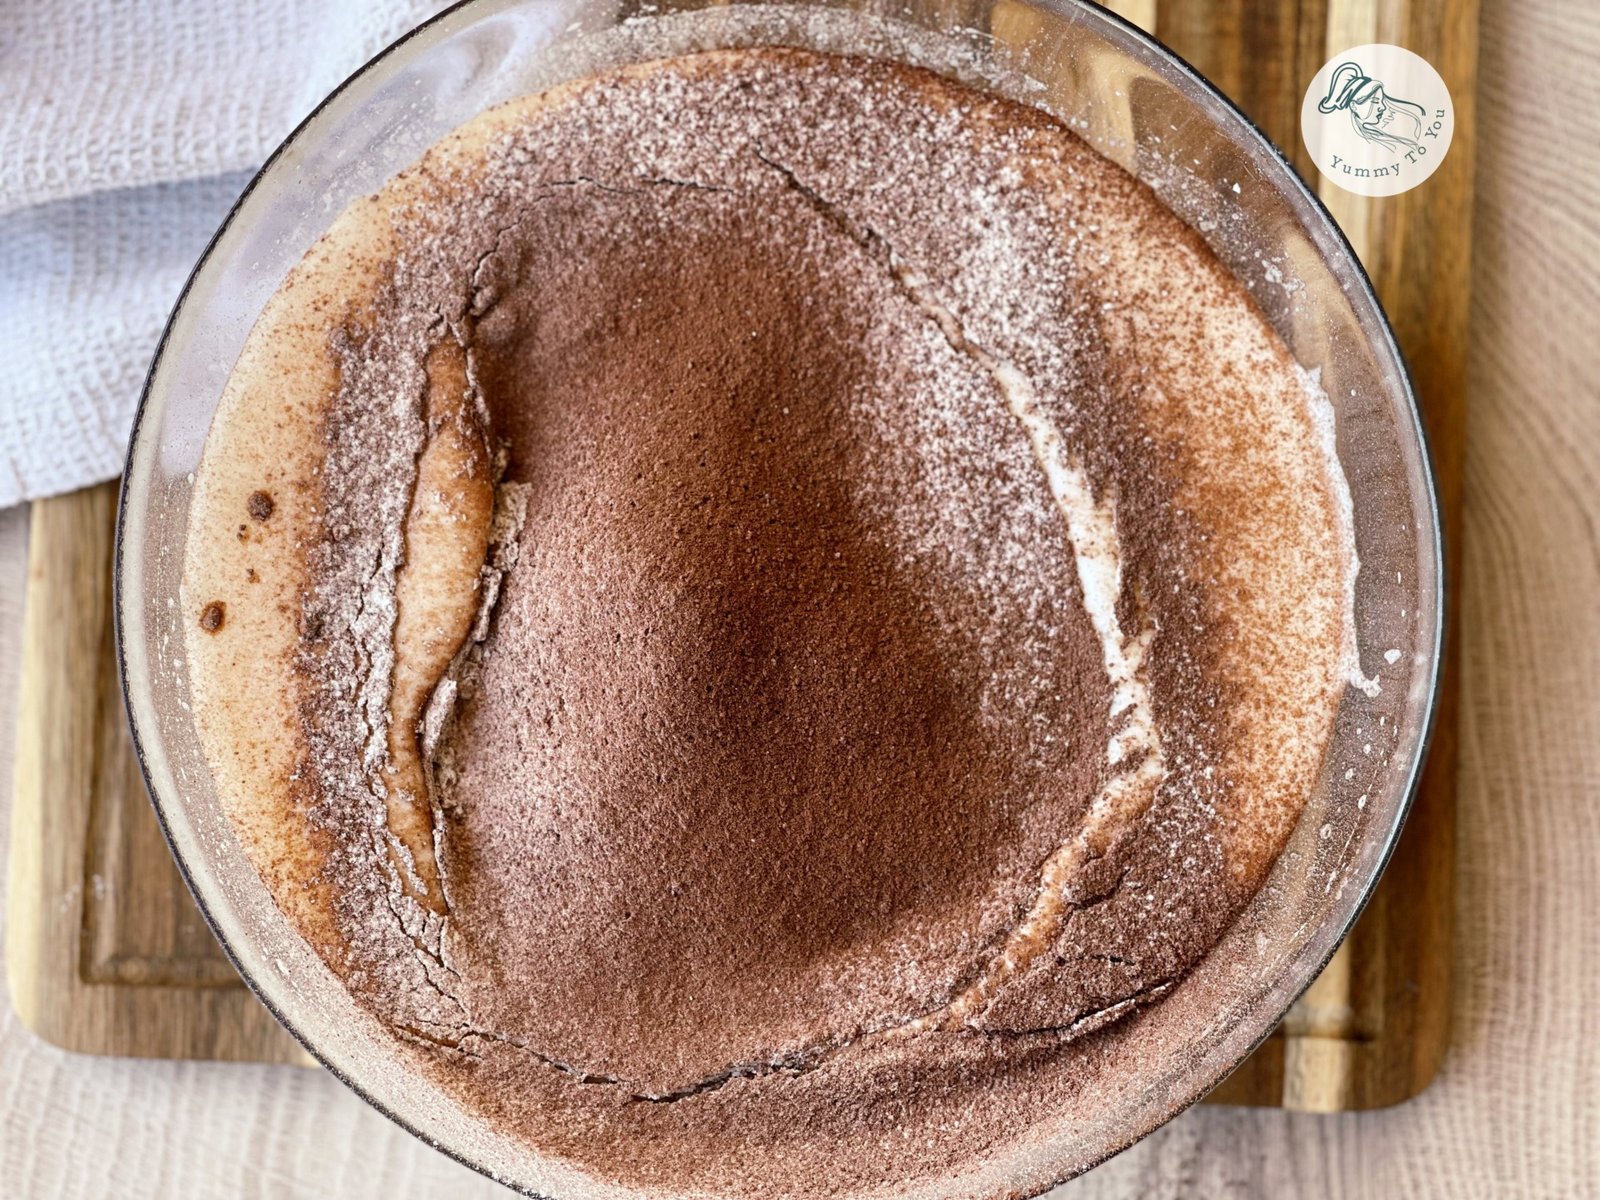
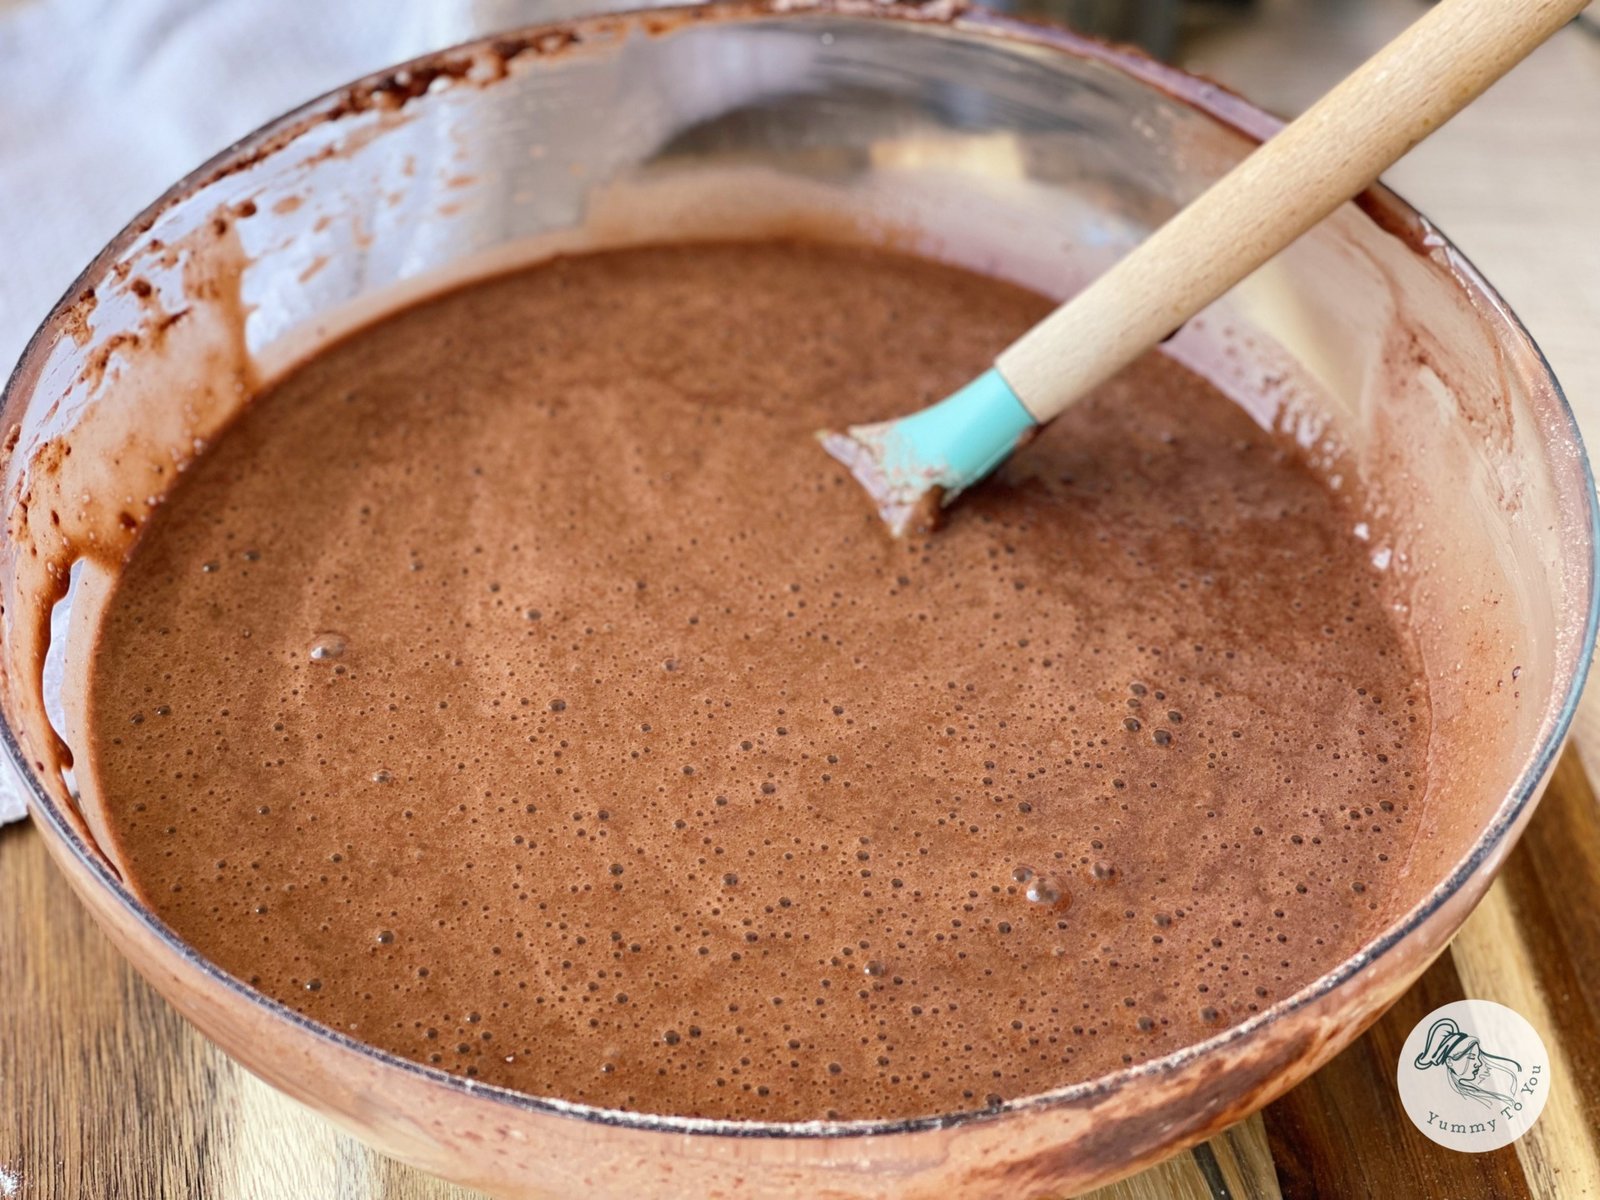
In a separate bowl, combine the flour, cocoa powder, baking powder, baking soda and salt. Gently fold the dry ingredients into the wet mixture. - Finally, gradually add the hot water. The batter will become more fluid, but this is exactly the consistency we are looking for.
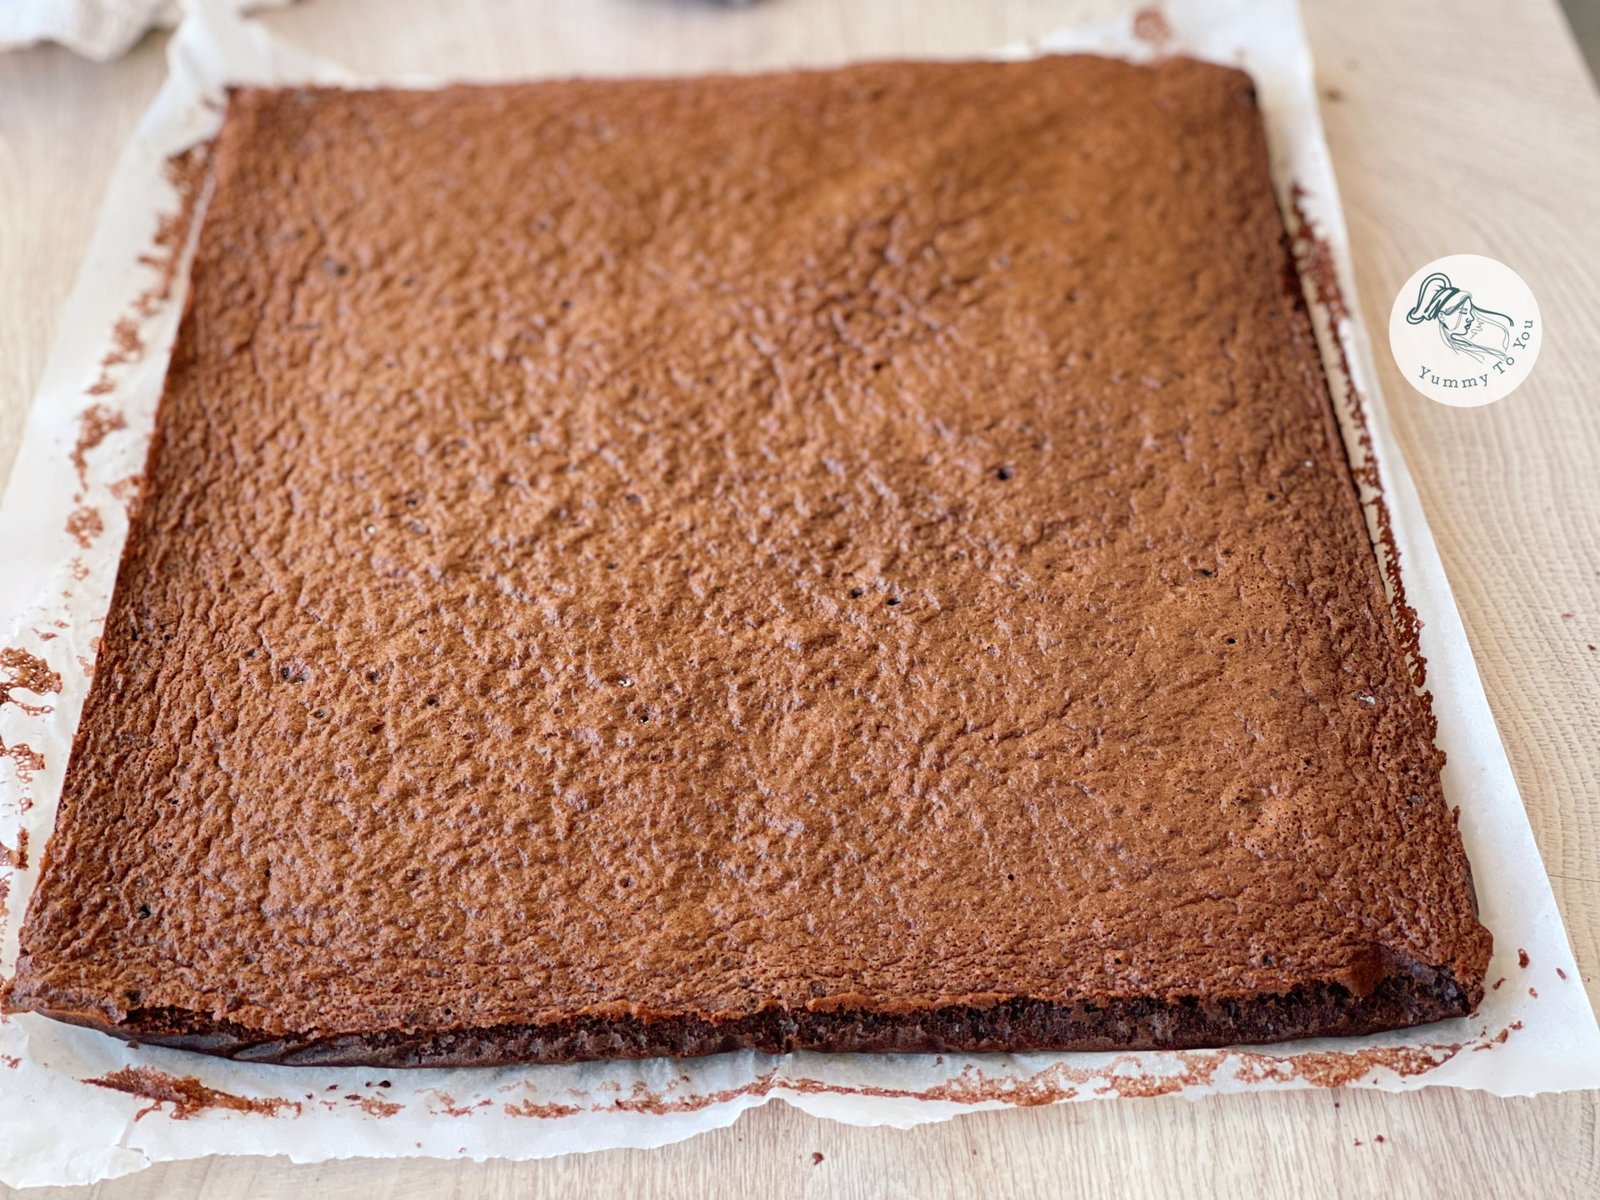
Pour the batter into the prepared tray, spread it evenly, and bake for approximately 15–18 minutes, or until a toothpick inserted into the center comes out clean.
Allow the sponge to cool completely. Once cooled, trim the edges and cut the sponge into three as-even-as-possible rectangles.
Why do we add hot water?
Hot water helps the cocoa release more of its rich flavor and contributes to a soft, moist sponge. That is why there is no need to soak the sponge with syrup. - Preparing the Cream Cheese Filling
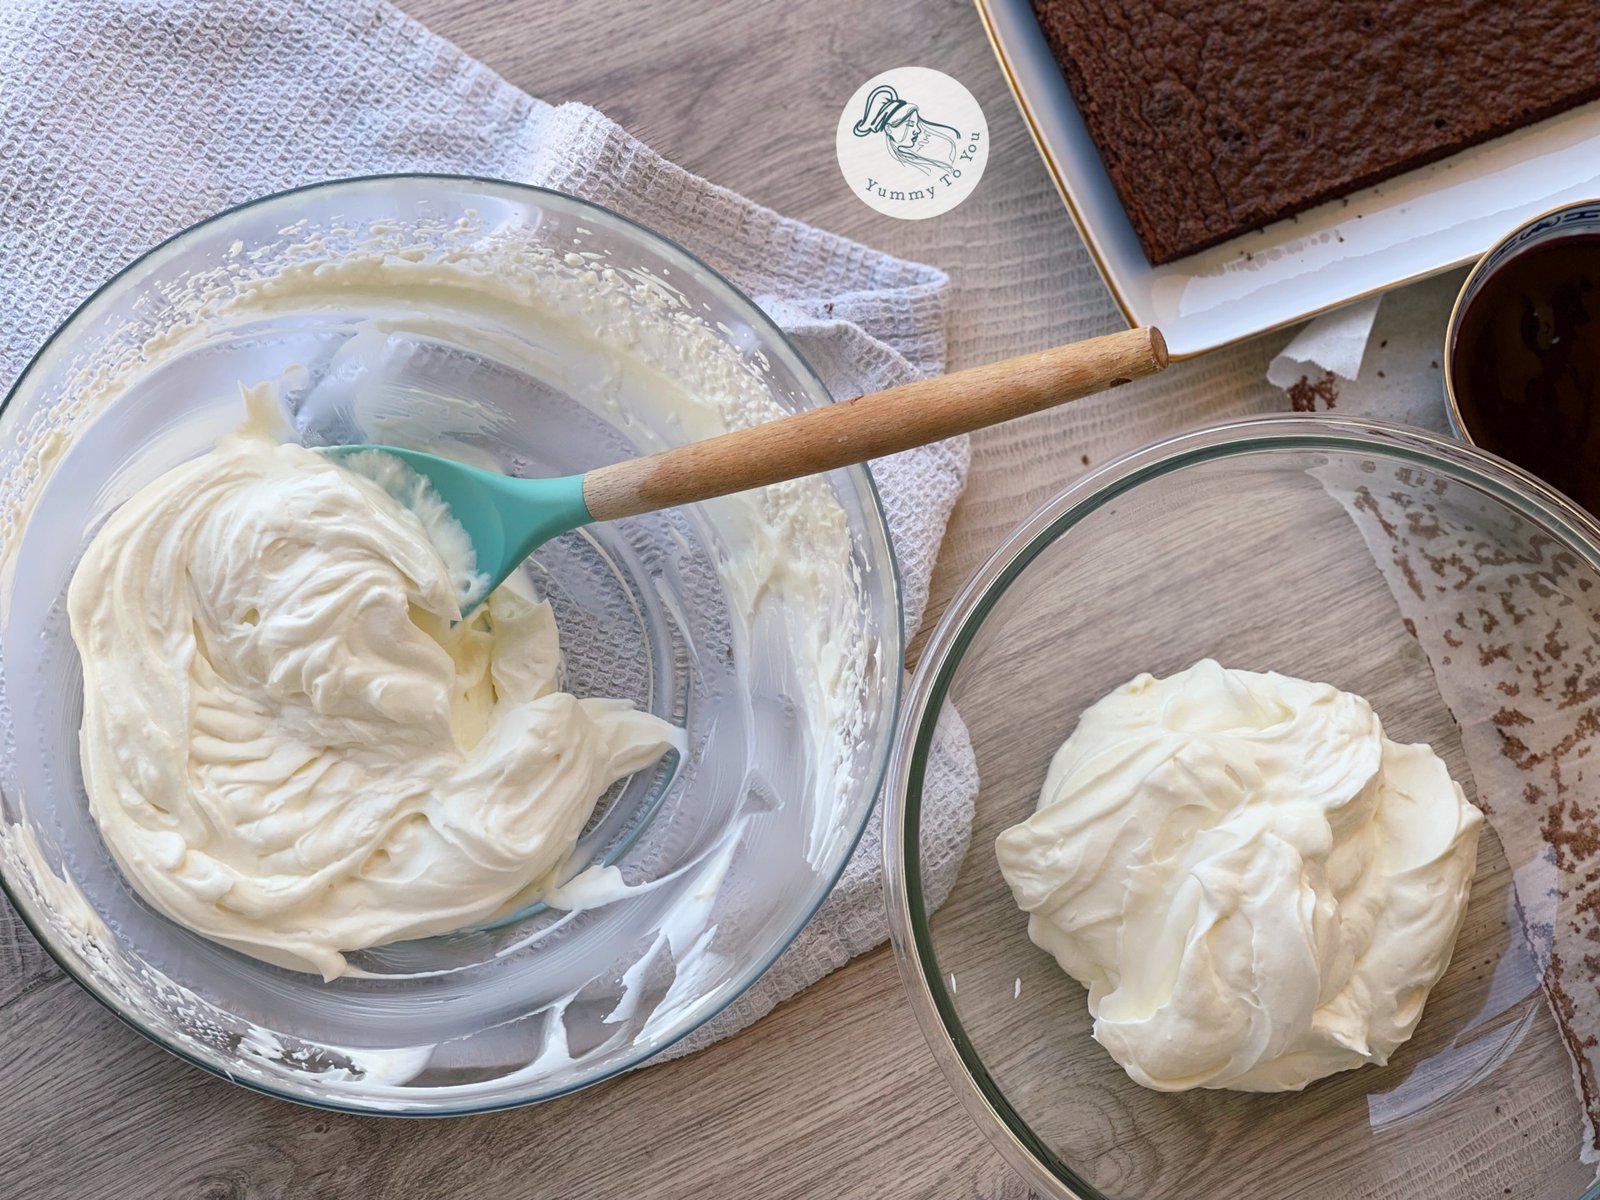
Bloom the gelatin in the 60 ml of cold water and let it sit for a few minutes to swell. Meanwhile, whip the heavy cream until firm, but be careful not to overwhip it.
In a separate bowl, beat the cream cheese together with the powdered sugar and vanilla until smooth and creamy.
Gently fold the whipped cream into the cream cheese mixture using a spatula and light movements.
Melt the bloomed gelatin over very low heat or in short intervals, making sure it does not boil.
To prevent thermal shock, add a few tablespoons of the prepared cream to the melted gelatin and mix well. Then pour the mixture back into the bowl and stir until fully combined.
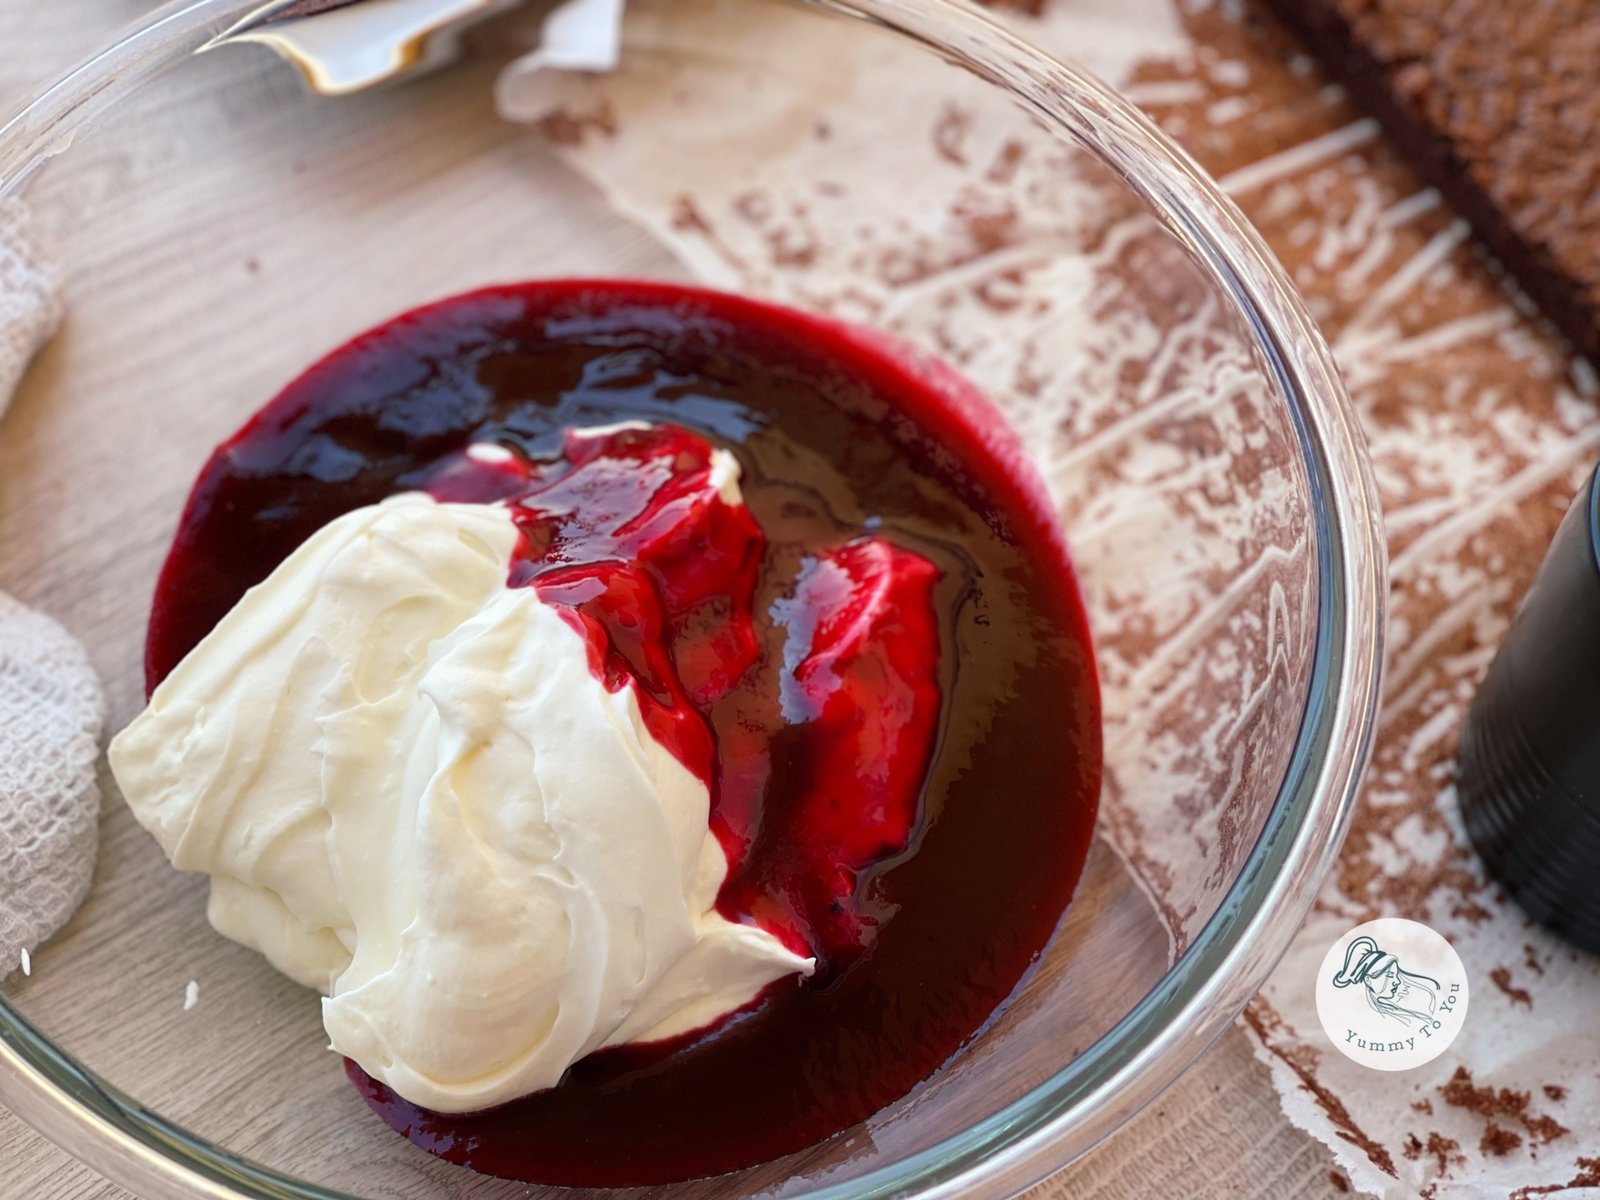
Divide the cream into two equal portions. Leave one portion plain, and add the blackberry purée to the other. - Preparing the Blackberry Purée
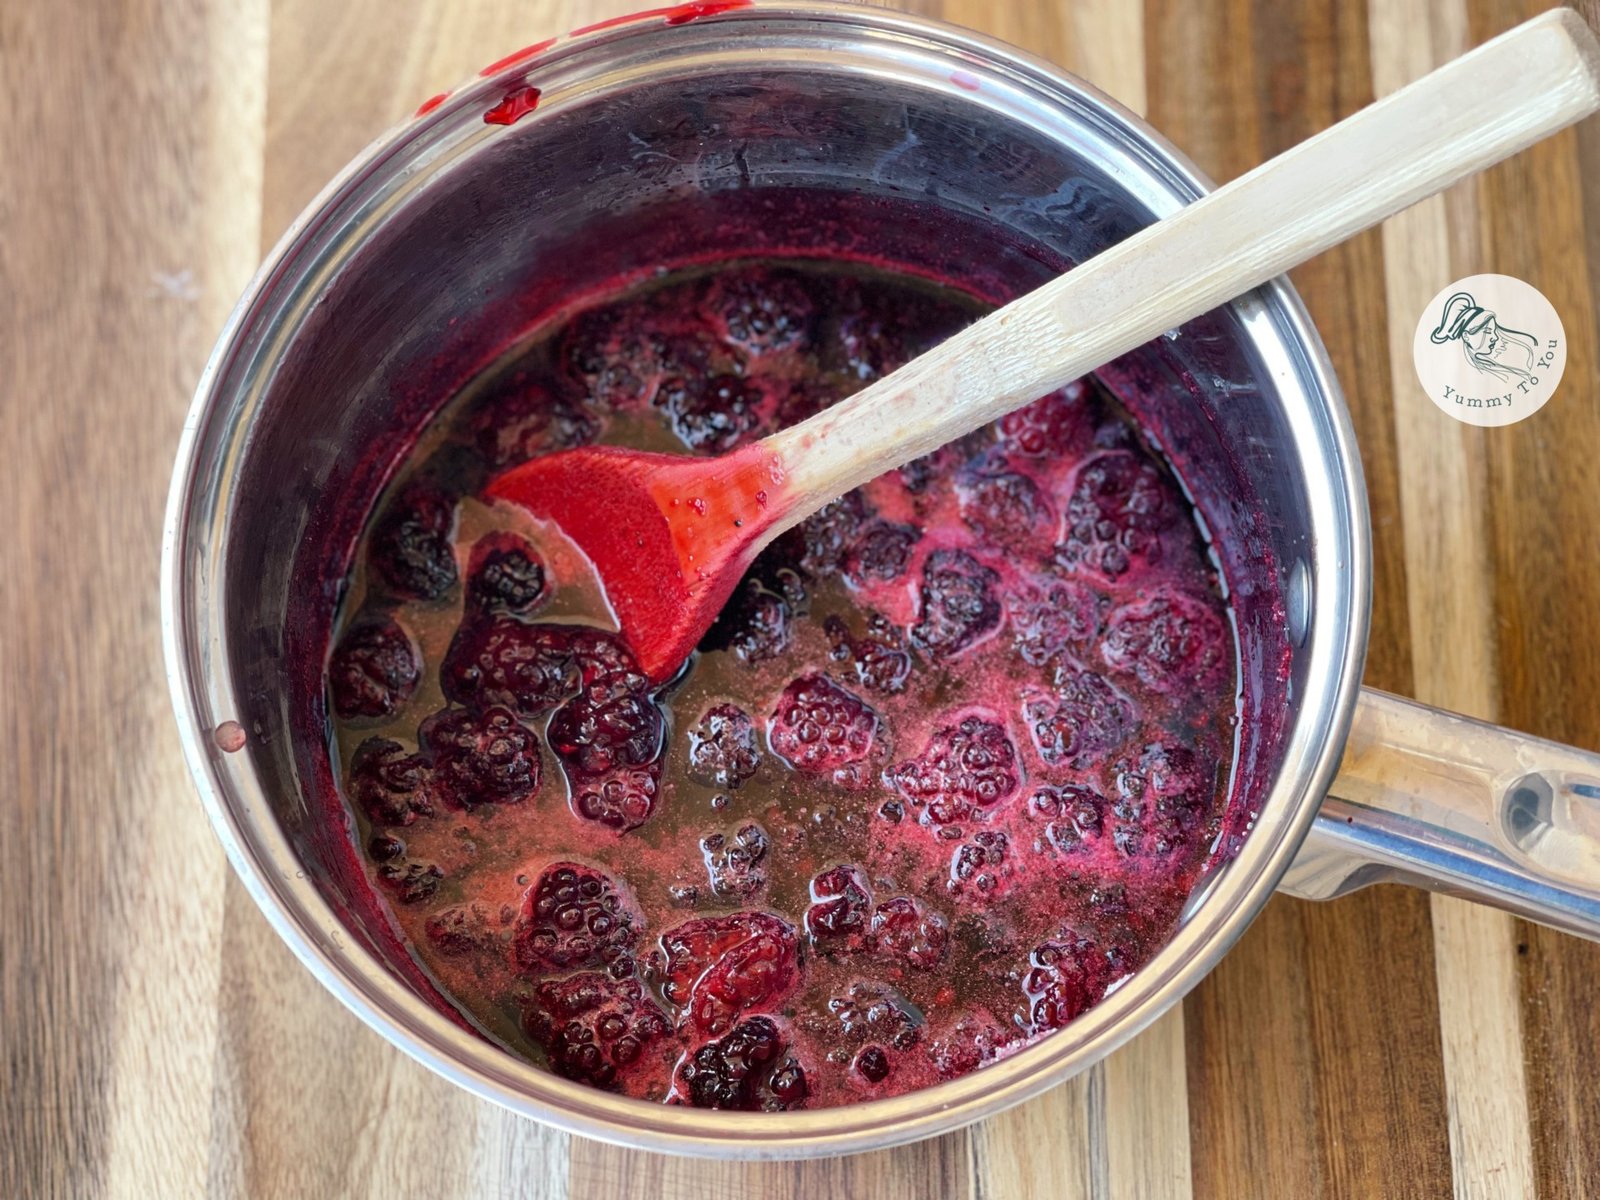
Place the blackberries in a small saucepan and cook over low heat for a few minutes, until the fruit softens and releases its juices.
Mash the fruit, then pass the mixture through a fine-mesh sieve to remove the seeds. Allow the purée to cool completely before adding it to the cream.
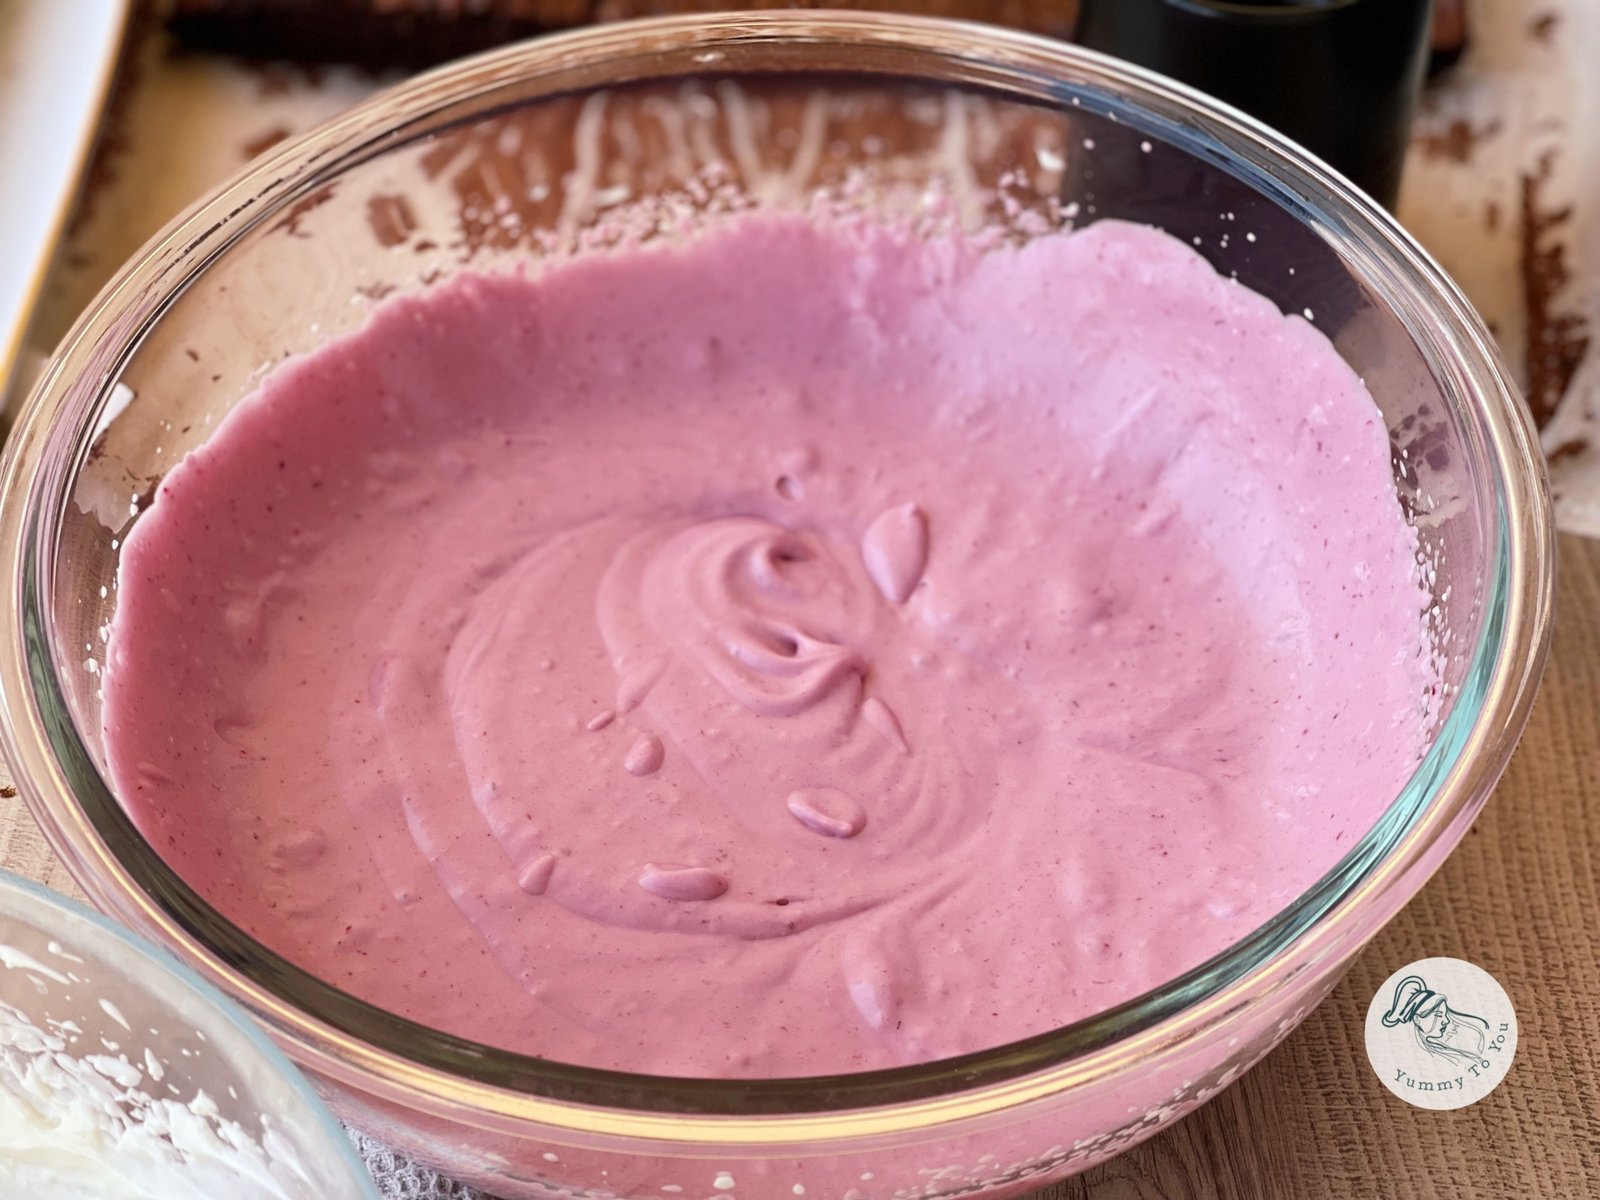
Add the 150 g of blackberry purée to the half of the cream reserved for this layer and mix until well combined.
If the cream becomes too soft after adding the purée, place it in the freezer for 20–30 minutes, stirring gently every 5–10 minutes, until it reaches the right consistency for assembling the cake.
It should not freeze; it only needs to cool enough to become firmer. - Preparing the Blackberry Jelly
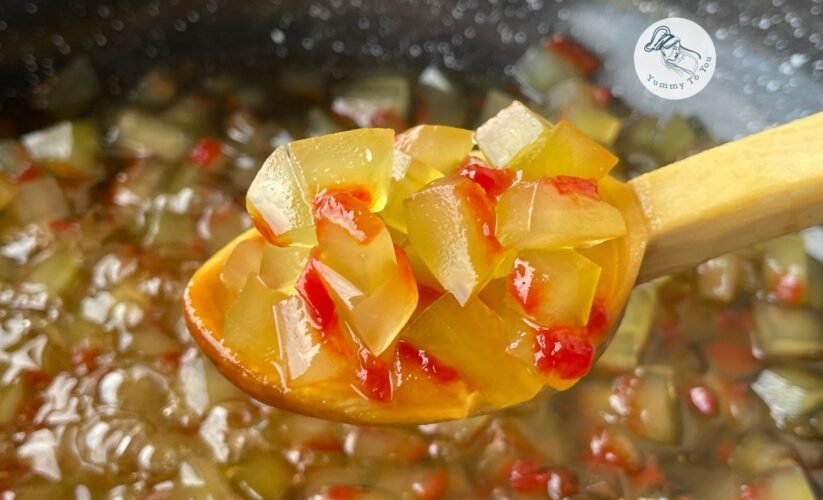
Place the blackberries and sugar in a small saucepan and cook over low heat for approximately 5–6 minutes.
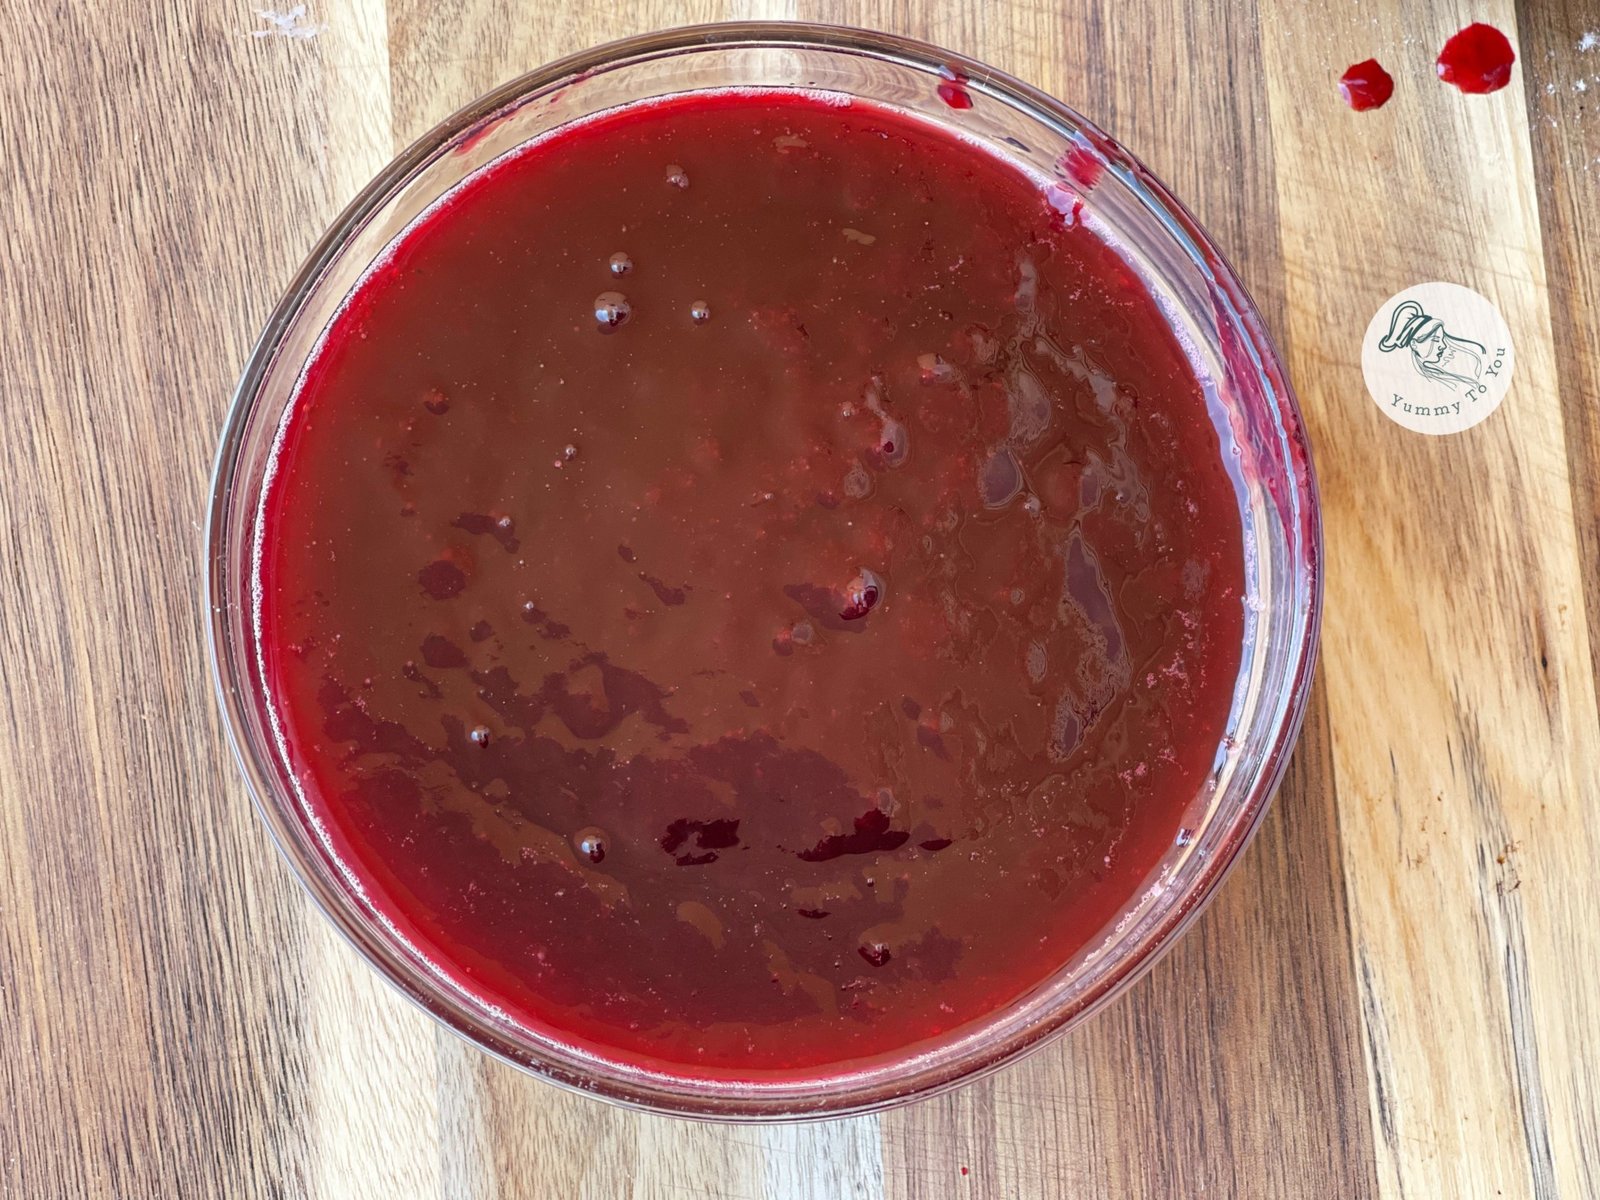
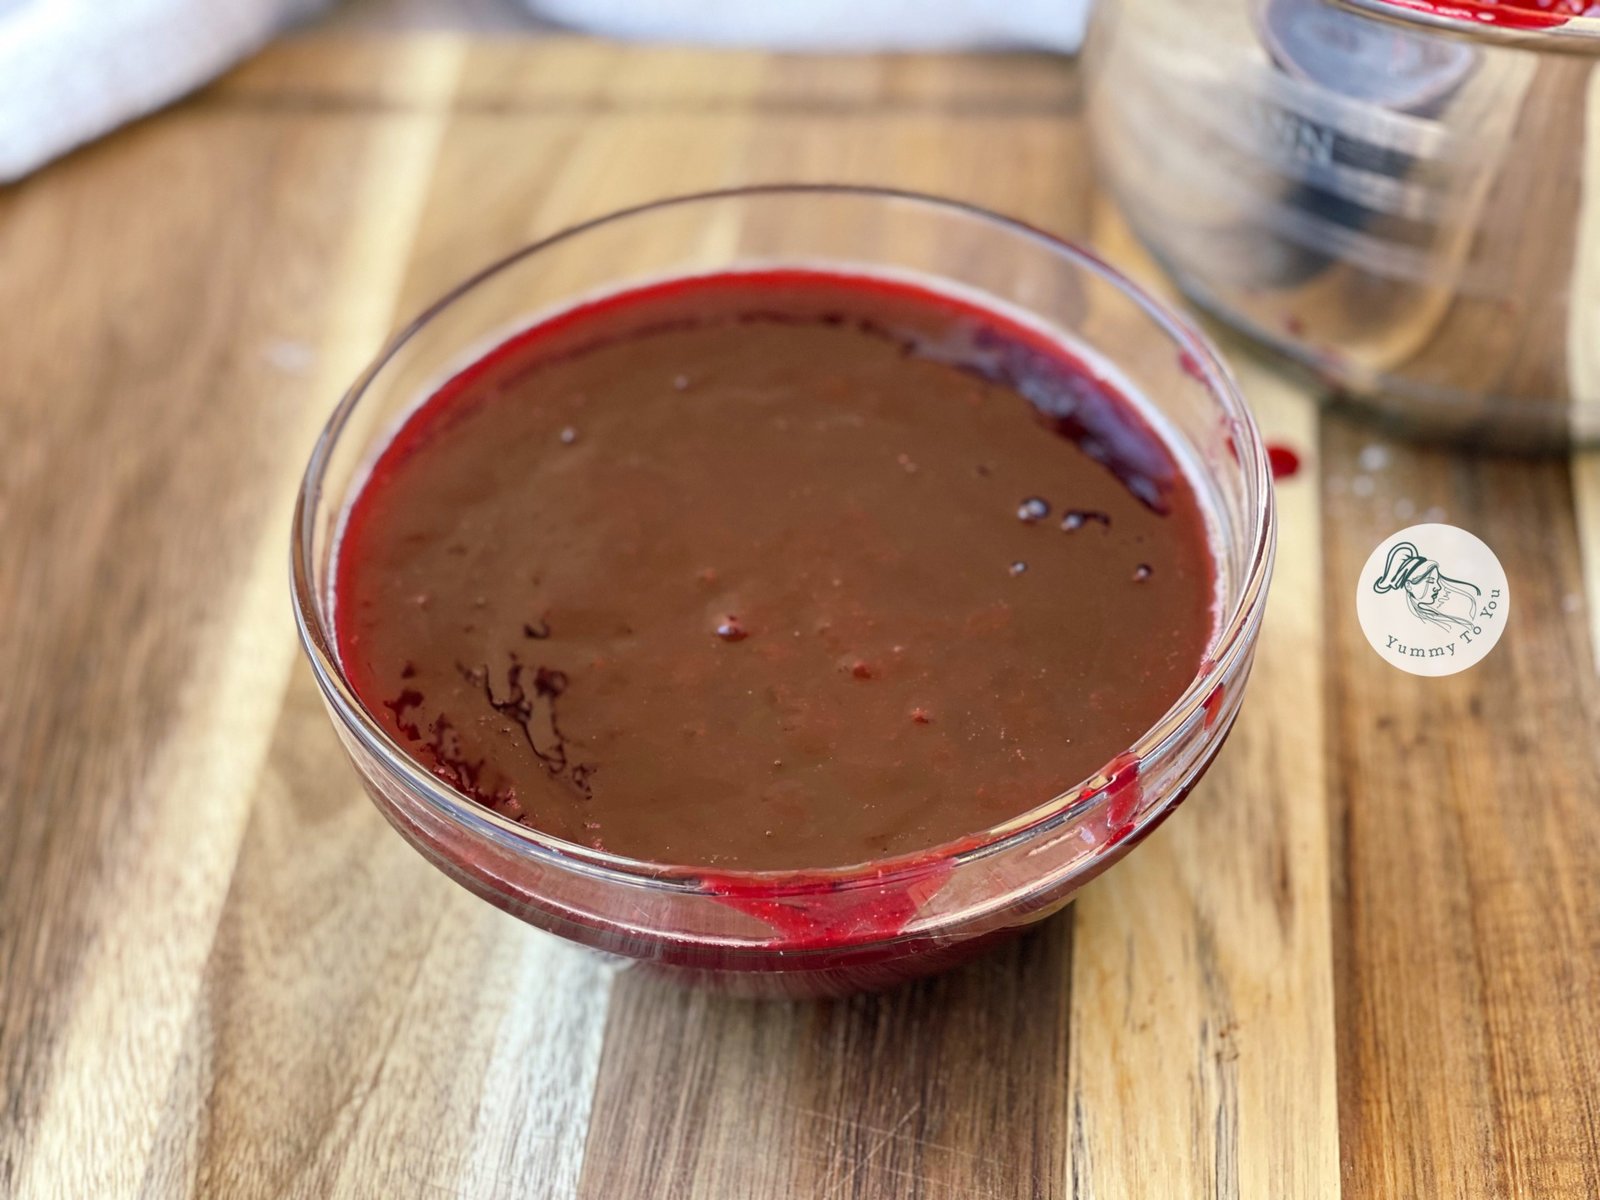
Mash the fruit and pass the mixture through a fine-mesh sieve to remove the seeds. Add the lemon juice.
In a separate bowl, bloom the gelatin in the 30 ml of cold water. Once hydrated, gently melt it without bringing it to a boil, then stir it into the blackberry purée.
Allow the jelly to cool until lukewarm, while keeping it fluid enough to spread evenly over the cake. - Assembling the Cake
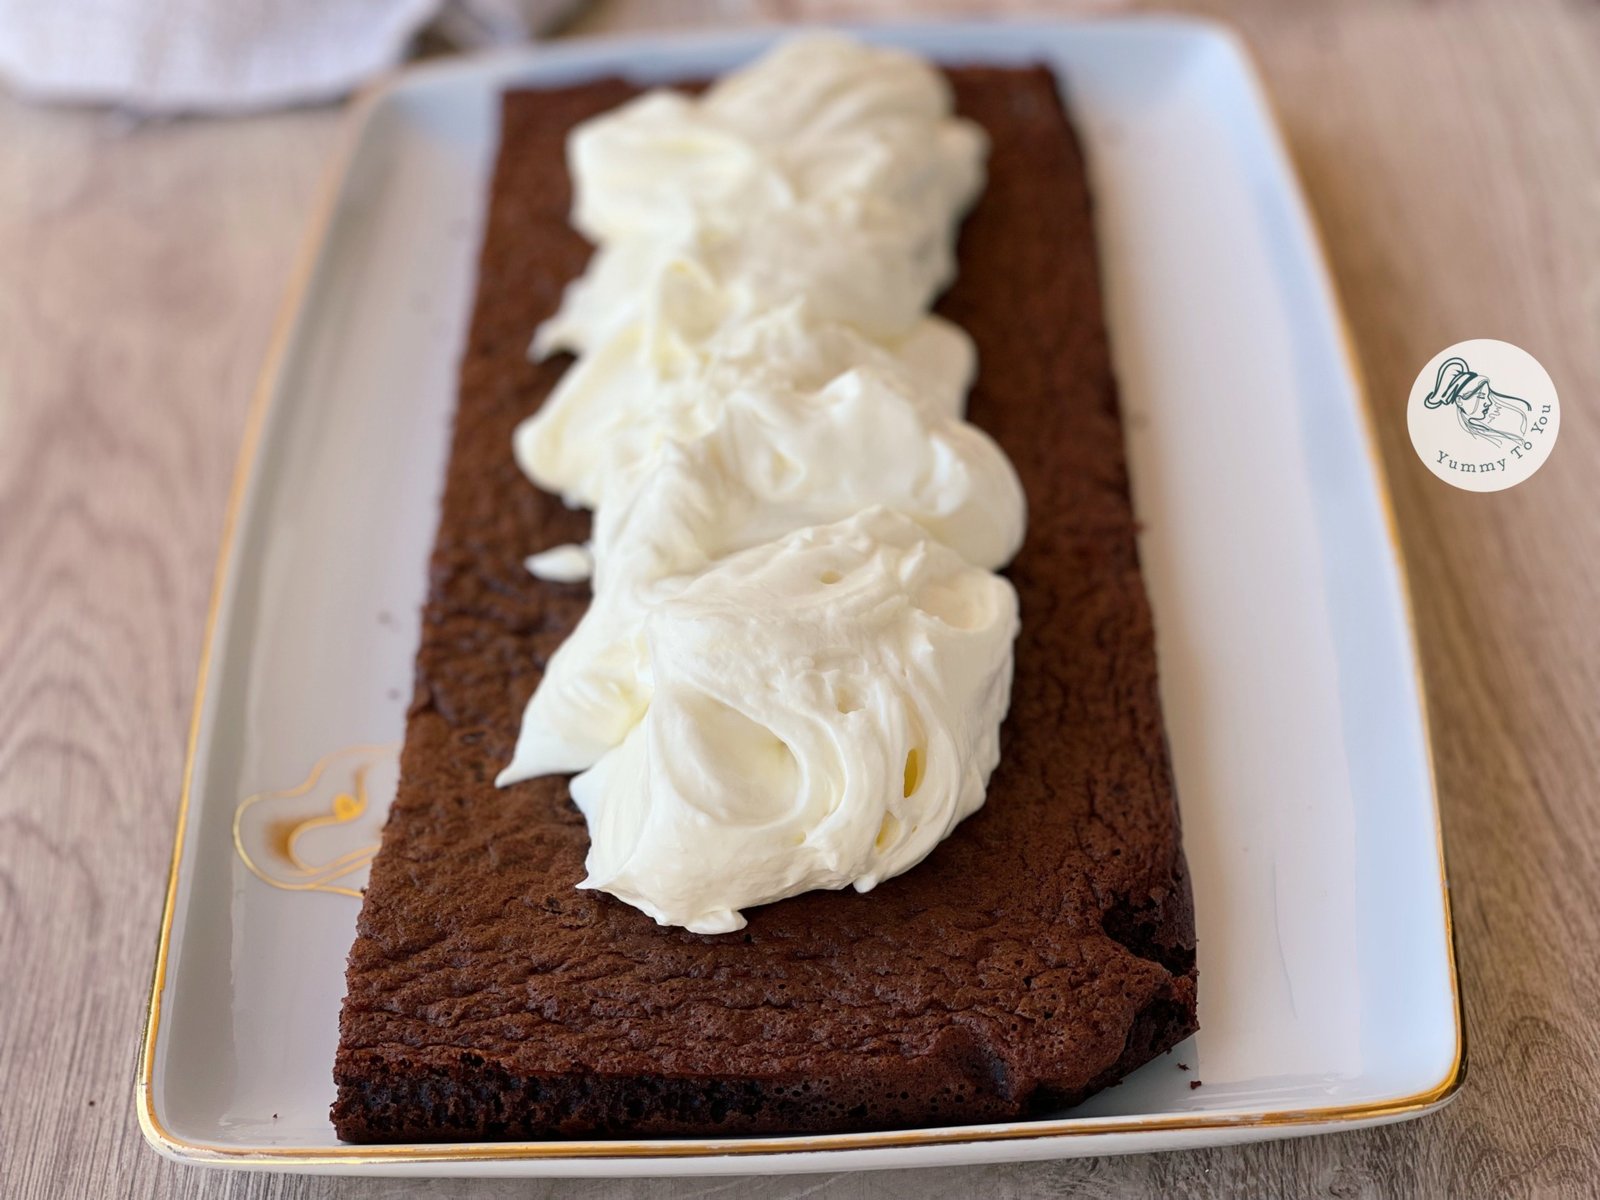
Place the first cocoa sponge layer on a serving platter or in a suitable tray. Spread the entire white cream cheese filling evenly over the top.
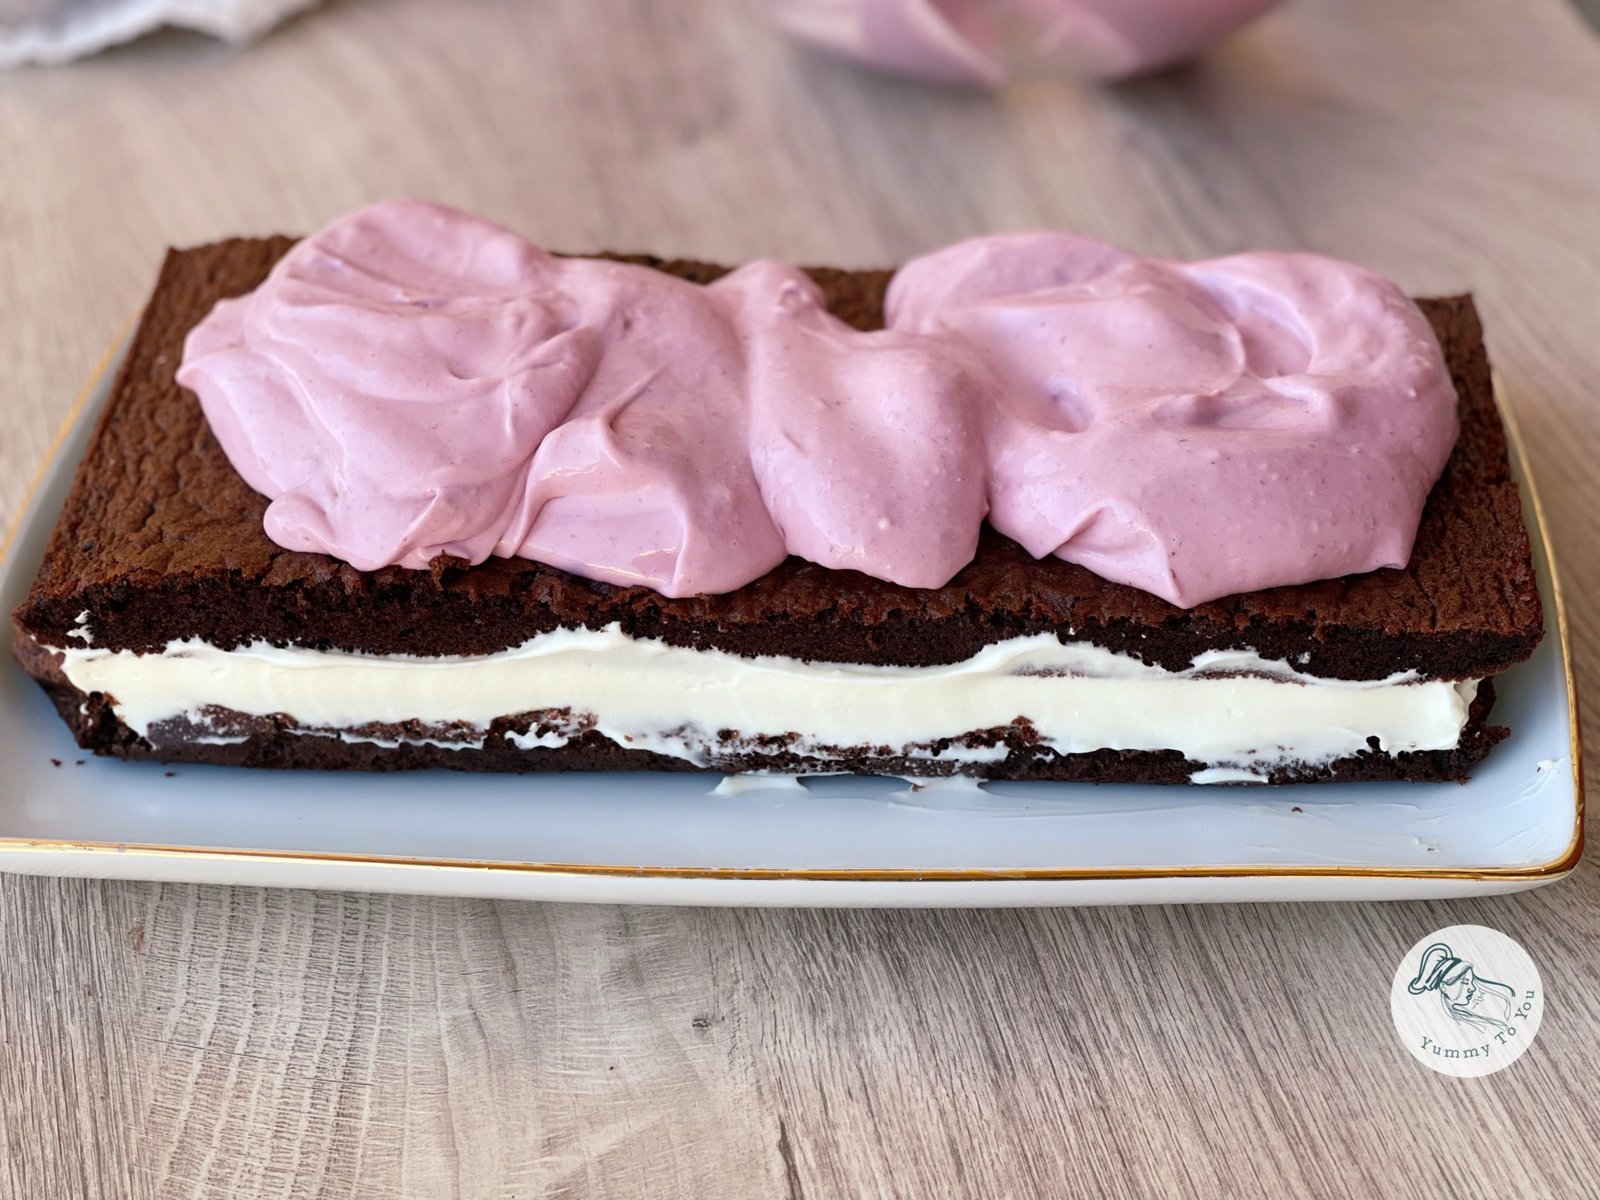
Place the second sponge layer on top and gently press down to help the layers settle. Spread the blackberry cream evenly over the surface, making sure to create an even layer.
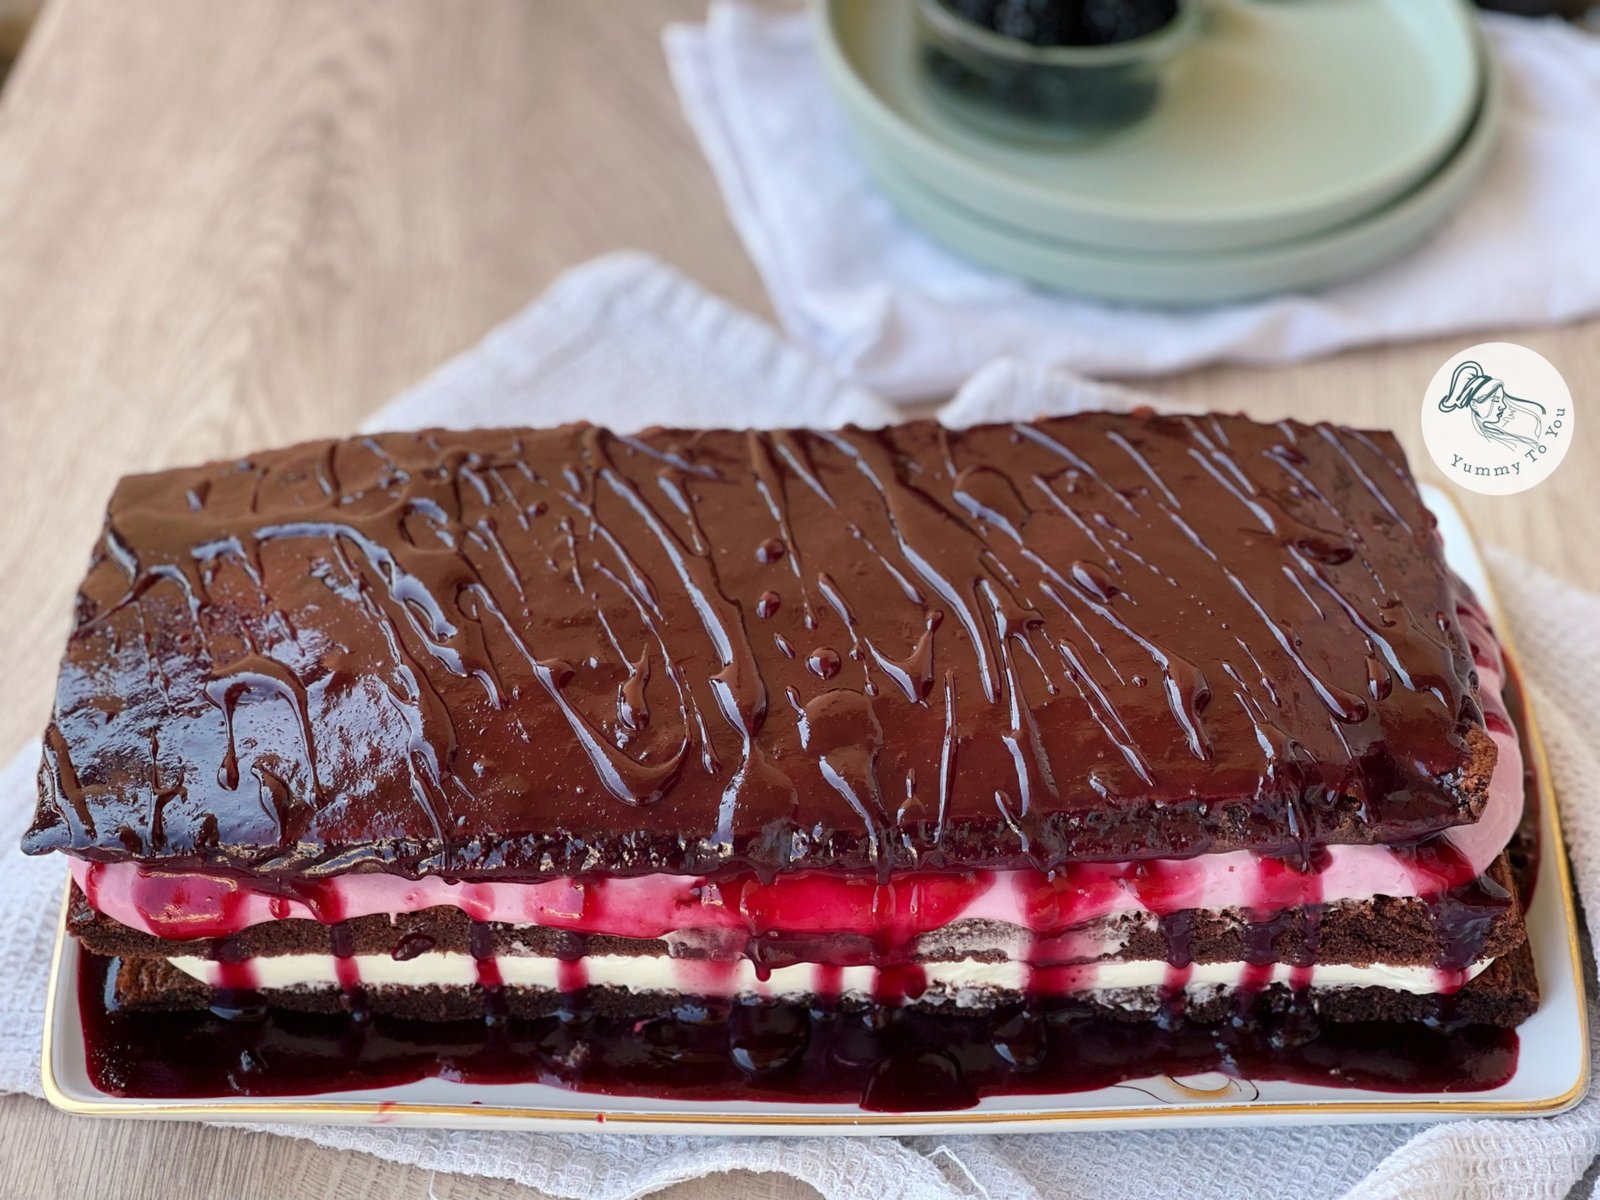
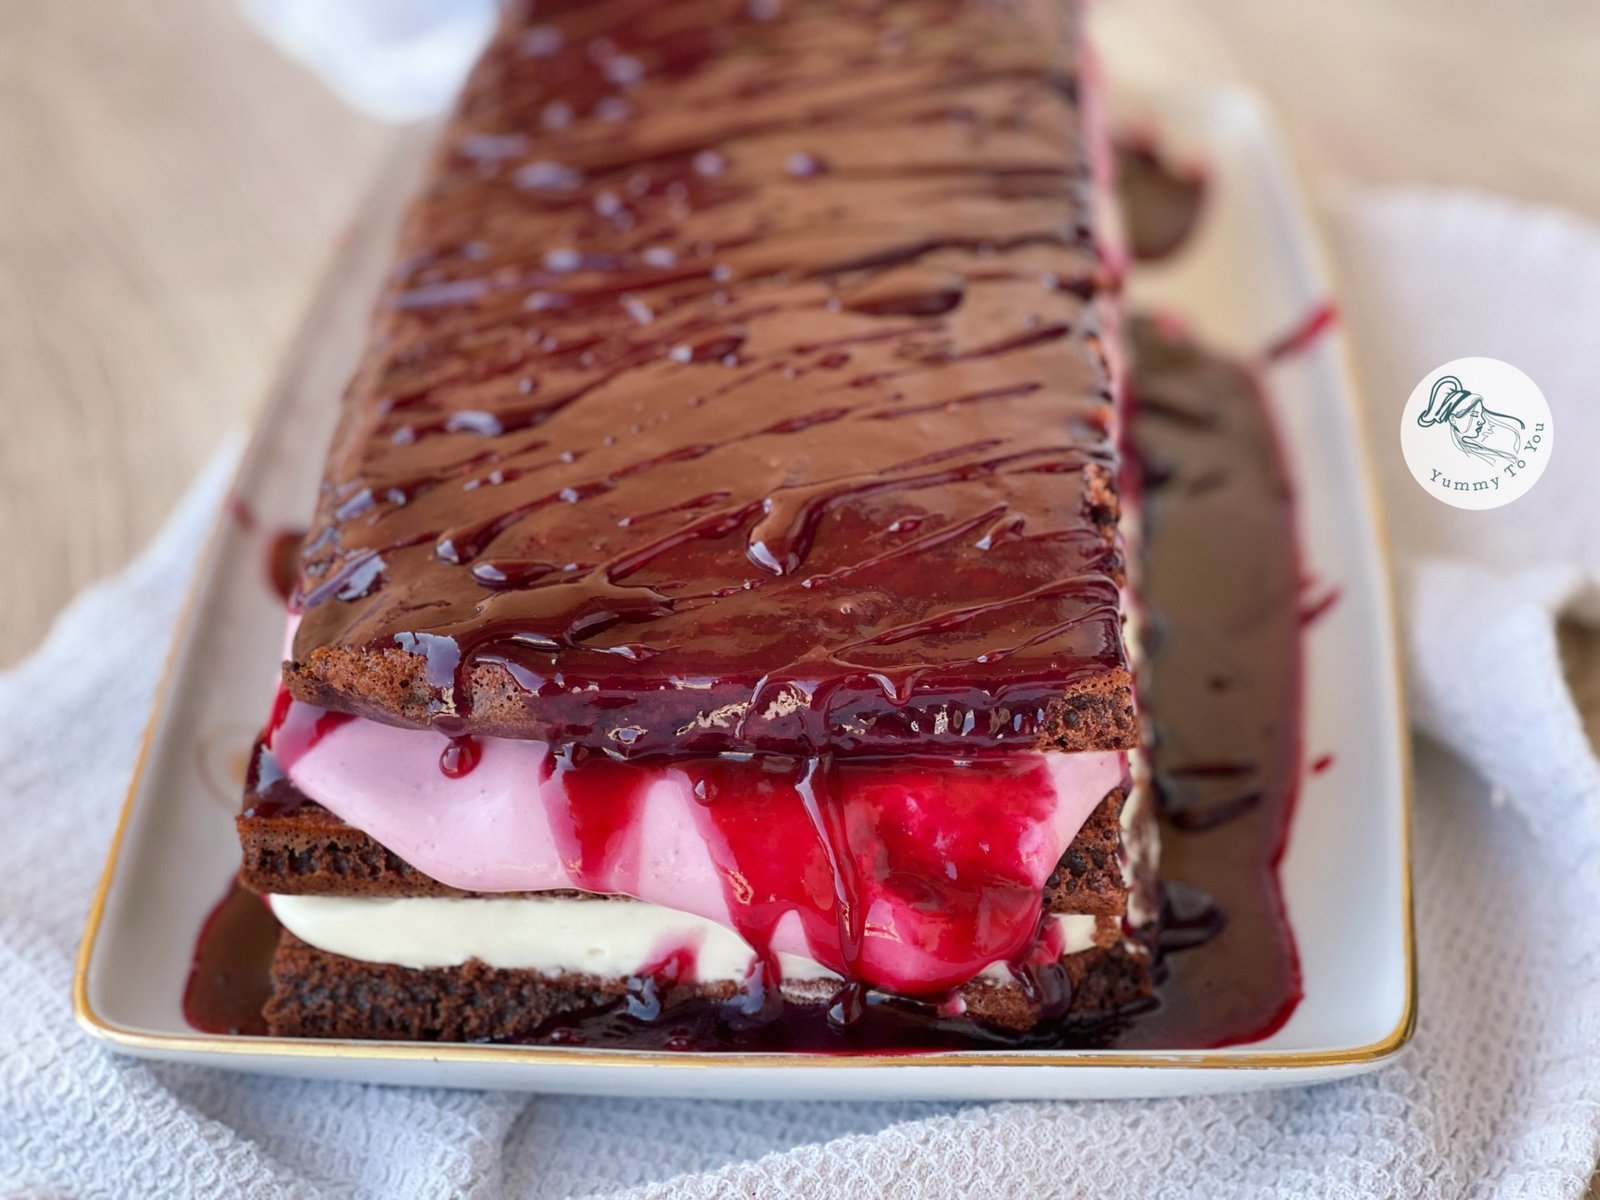
Place the final sponge layer on top. Finally, pour the blackberry jelly over the cake and spread it evenly across the surface. - Place the final sponge layer on top.
Finally, pour the blackberry jelly over the cake and spread it evenly across the surface. I chose to leave the jelly layer simple, without any additional decoration. Its intense color and glossy finish are more than enough to create a beautiful result. - Serving
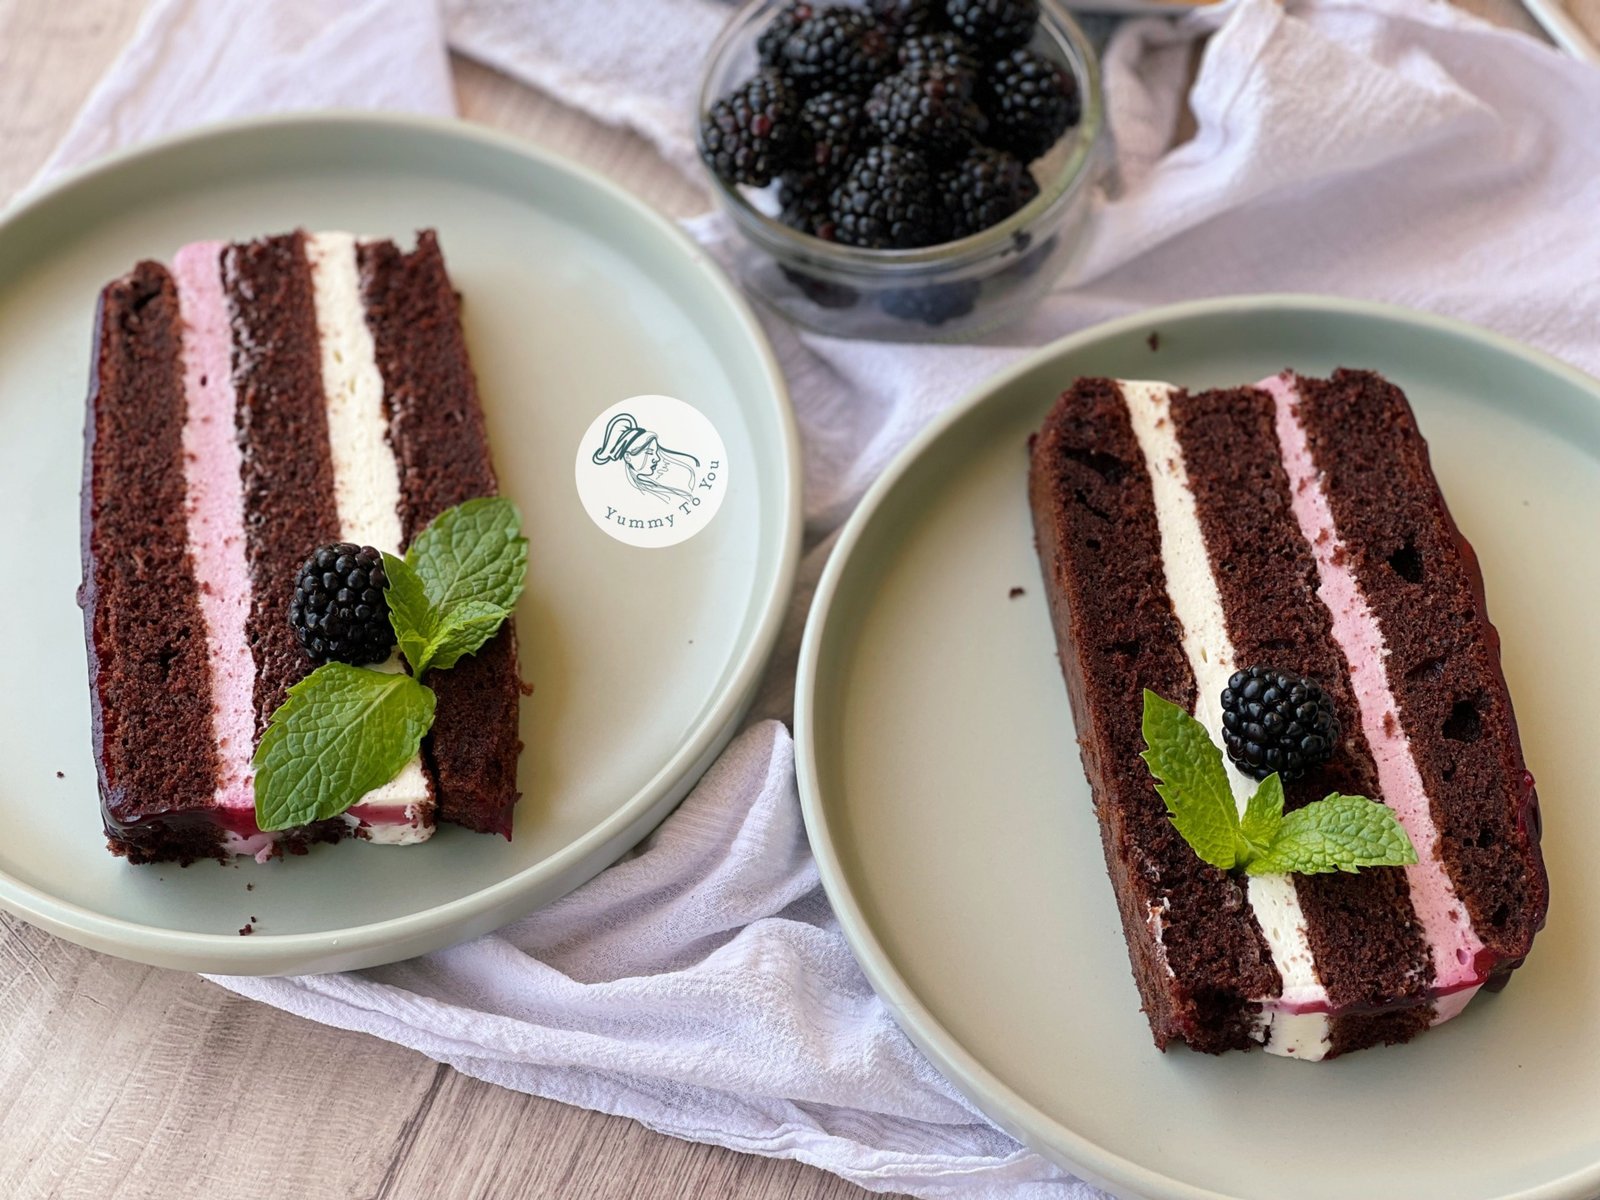
Serve the cake chilled, cut into generous slices so that all three sponge layers and the two cream layers are beautifully visible.
The blackberry jelly on top adds just the right fruity, slightly tart note to complement the silky cream cheese filling.
For clean slices, use a long knife with a smooth blade. Dip the blade in hot water, dry it thoroughly, and then make a single cut. Repeat the process before each slice.
This way, the layers stay beautifully defined, and the blackberry jelly won’t tear or look messy. - How to Store
Store the cake in the refrigerator, in an airtight container or well covered, for up to 3–4 days.
It is even better after resting overnight in the fridge, allowing the sponge and creams to set properly and the blackberry flavor to become even more pronounced.