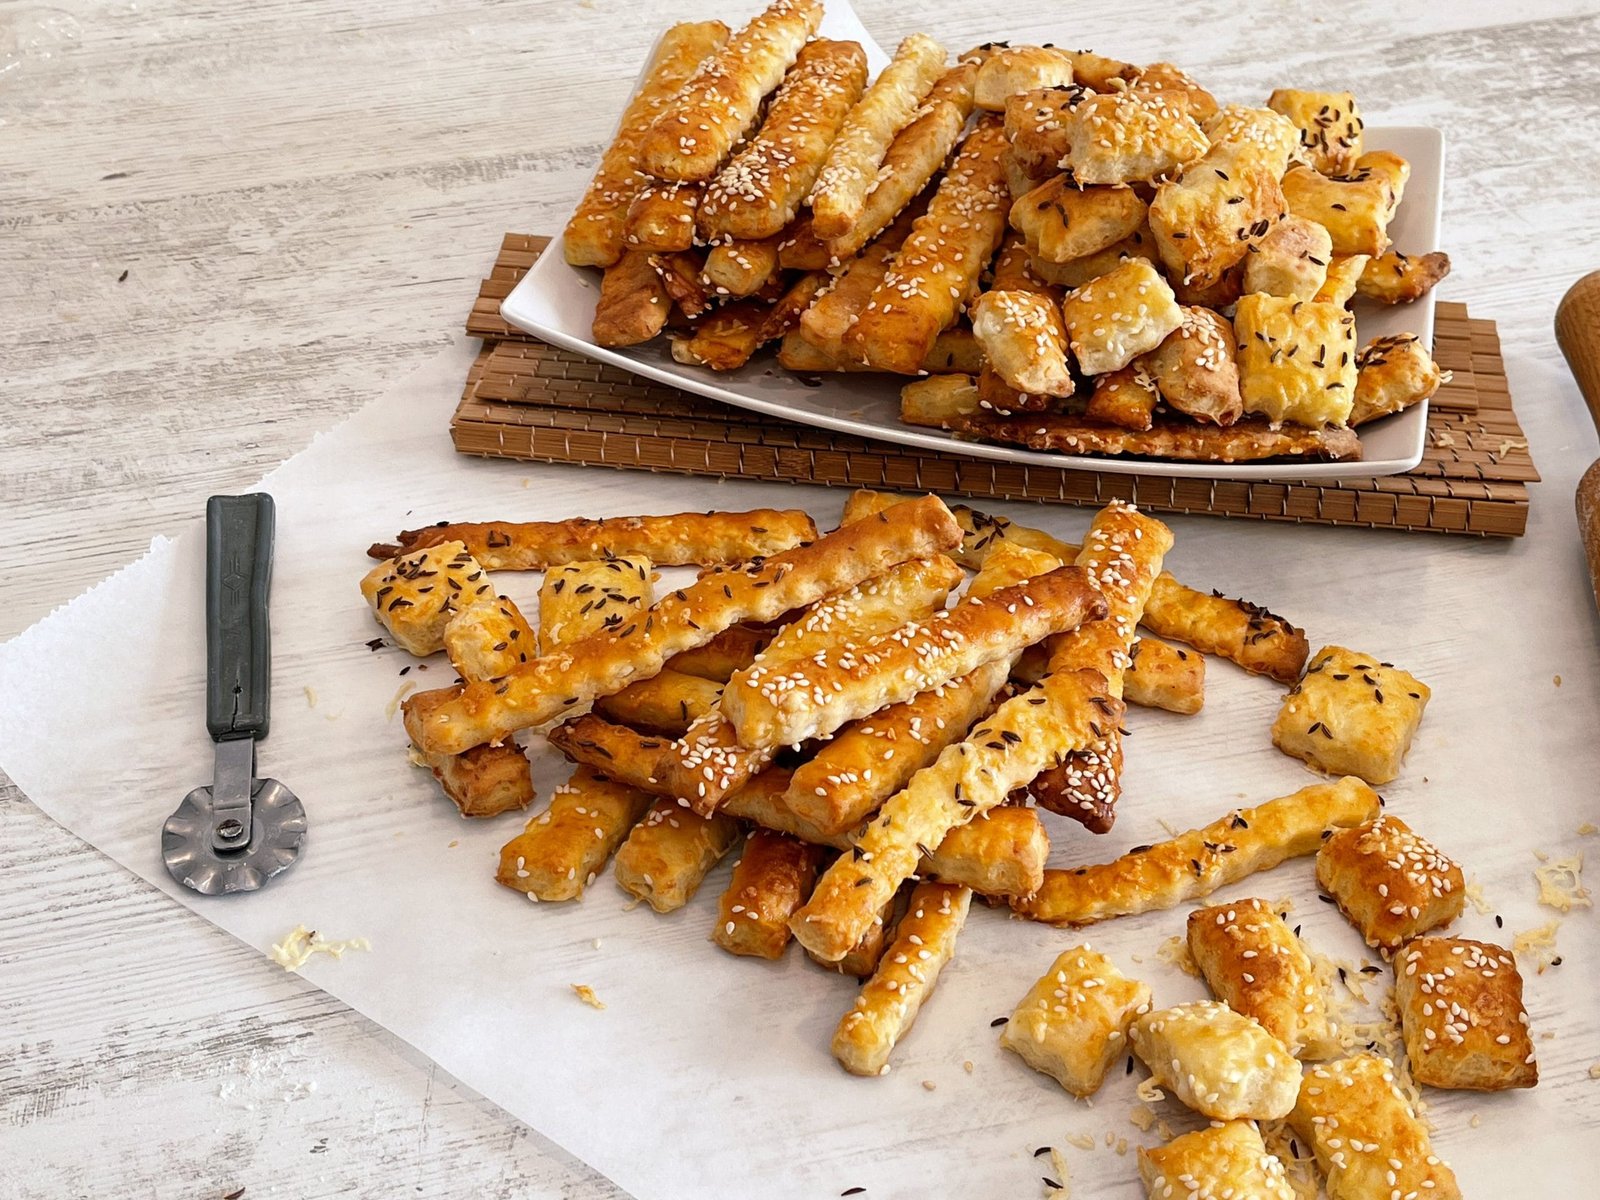
How to make the most tender crackers with cheese – old recipe
If you are a fan of salty crackers with cheese, then this old and cheap recipe is perfect for you. Just give it a try, I promise you will love it!
Easy salted crackers with cheese and lard
Course: SnacksCuisine: RomanianDifficulty: Easy1.500
kg25
minutes45
minutes520
kcal1
hour10
minutesI remember this cheese crackers from my childhood. My mother used to make us some kind of packages full of cheese, or cut them into triangles. Finally, you can cut them in any shape you want, they are just as delicious anyway. We are in a period where the prices of ingredients have gone “crazy”, many ingredients are very expensive and you rarely have the luxury of buying them. This recipe for salted crackers with cheese is a very economical one. The butter is replaced with pure lard (osanza), as was done in the old days. Regardless of whether you have a large family or not, I strongly recommend that you double the quantities right from the start. These cheese crackers are so delicious that they disappear immediately!
Ingredients
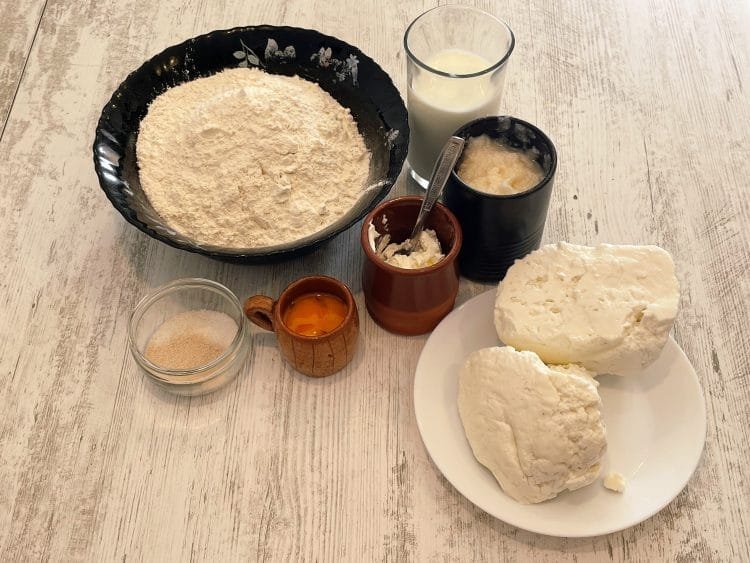
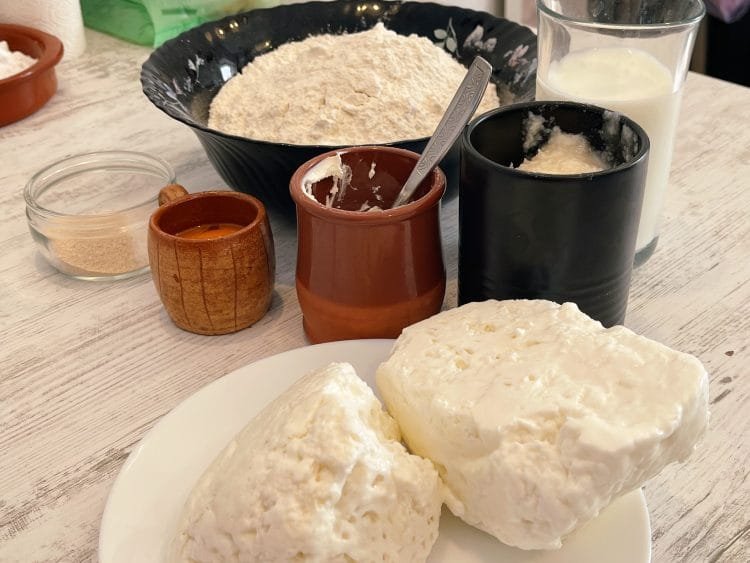
600 g of flour
7 g dry yeast
180-200 ml warm milk (do not add all the milk at the beginning)
350 g salty cheese (I used mature goat cheese, but you can use any cheese you want)
250 g lard
80-100 g heavy cream with min. 20% fat
3 egg yolks 25 g of salt 1 teaspoon sugar
25 g of salt
1 teaspoon sugar
Directions
- Eu am folosit robotul de bucatarie asa ca am lucrat direct in vasul acestuia. Dar puteti lucra cu usurinta si cu mana, deoarece nu pregatim un aluat care sa necesite framantare prea multa. As a little tip, I sifted the flour 2 times, to be sure that it is dry and has no lumps. It is an optional step.


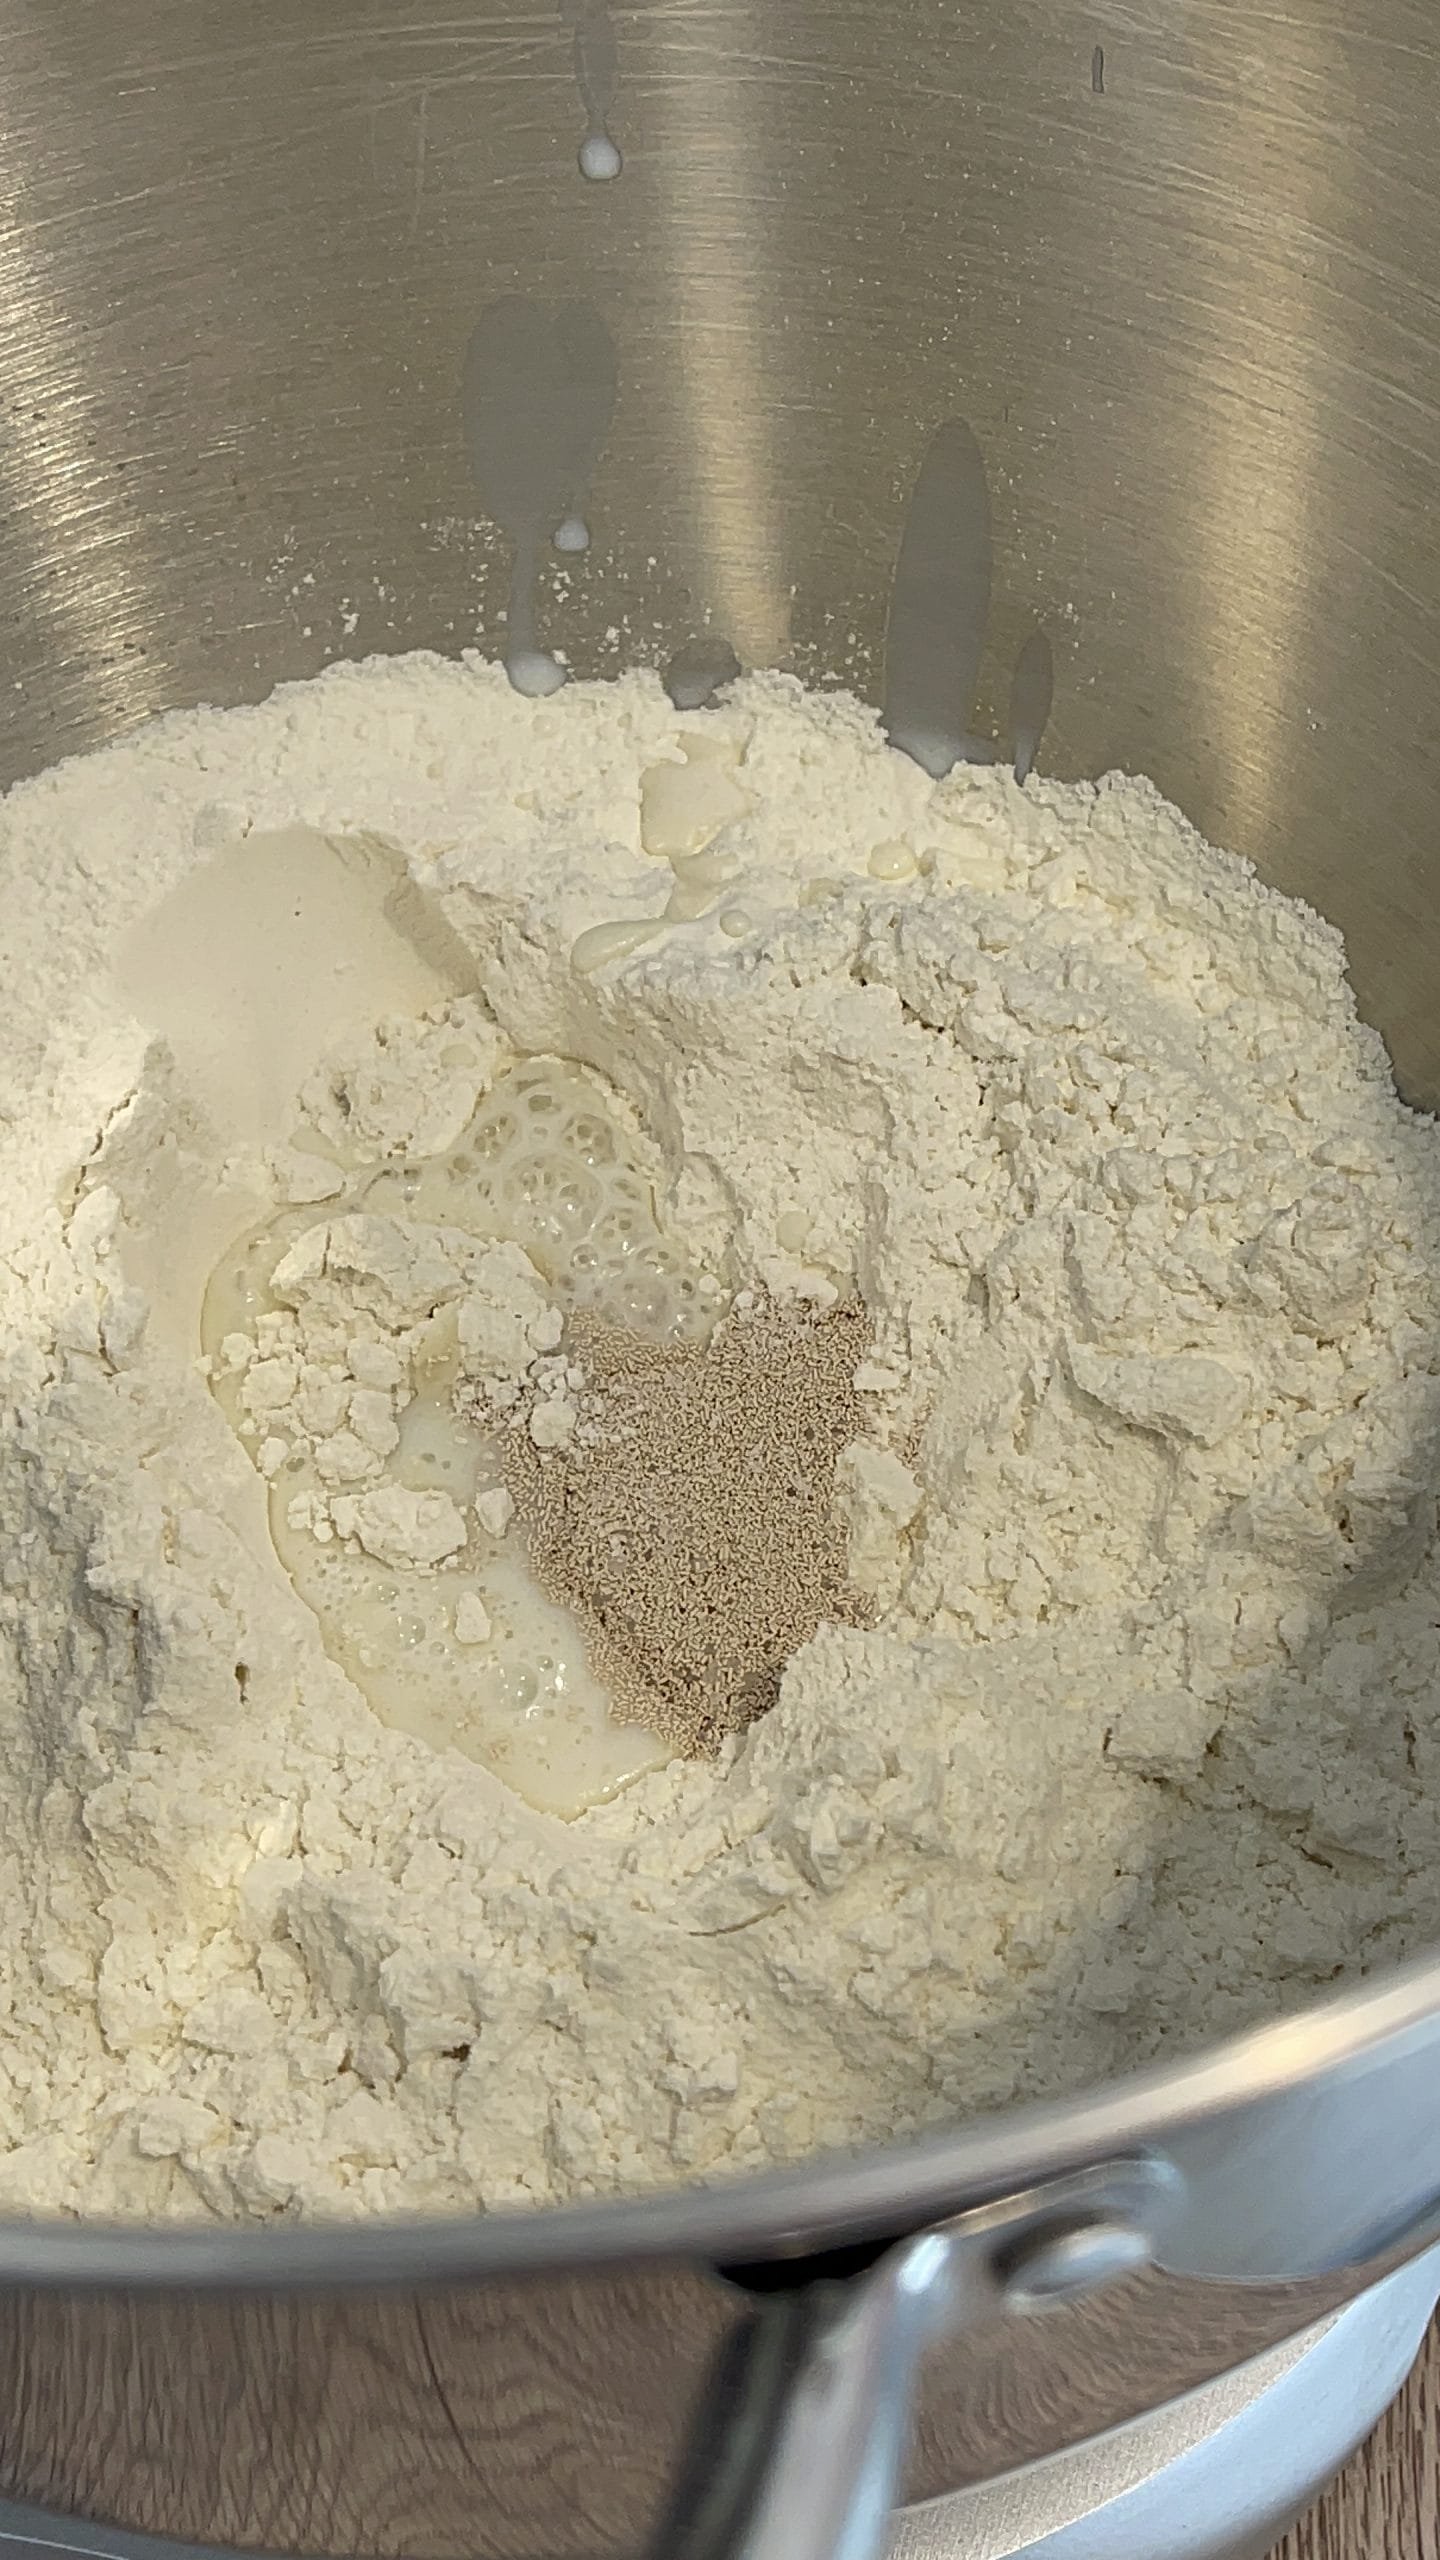
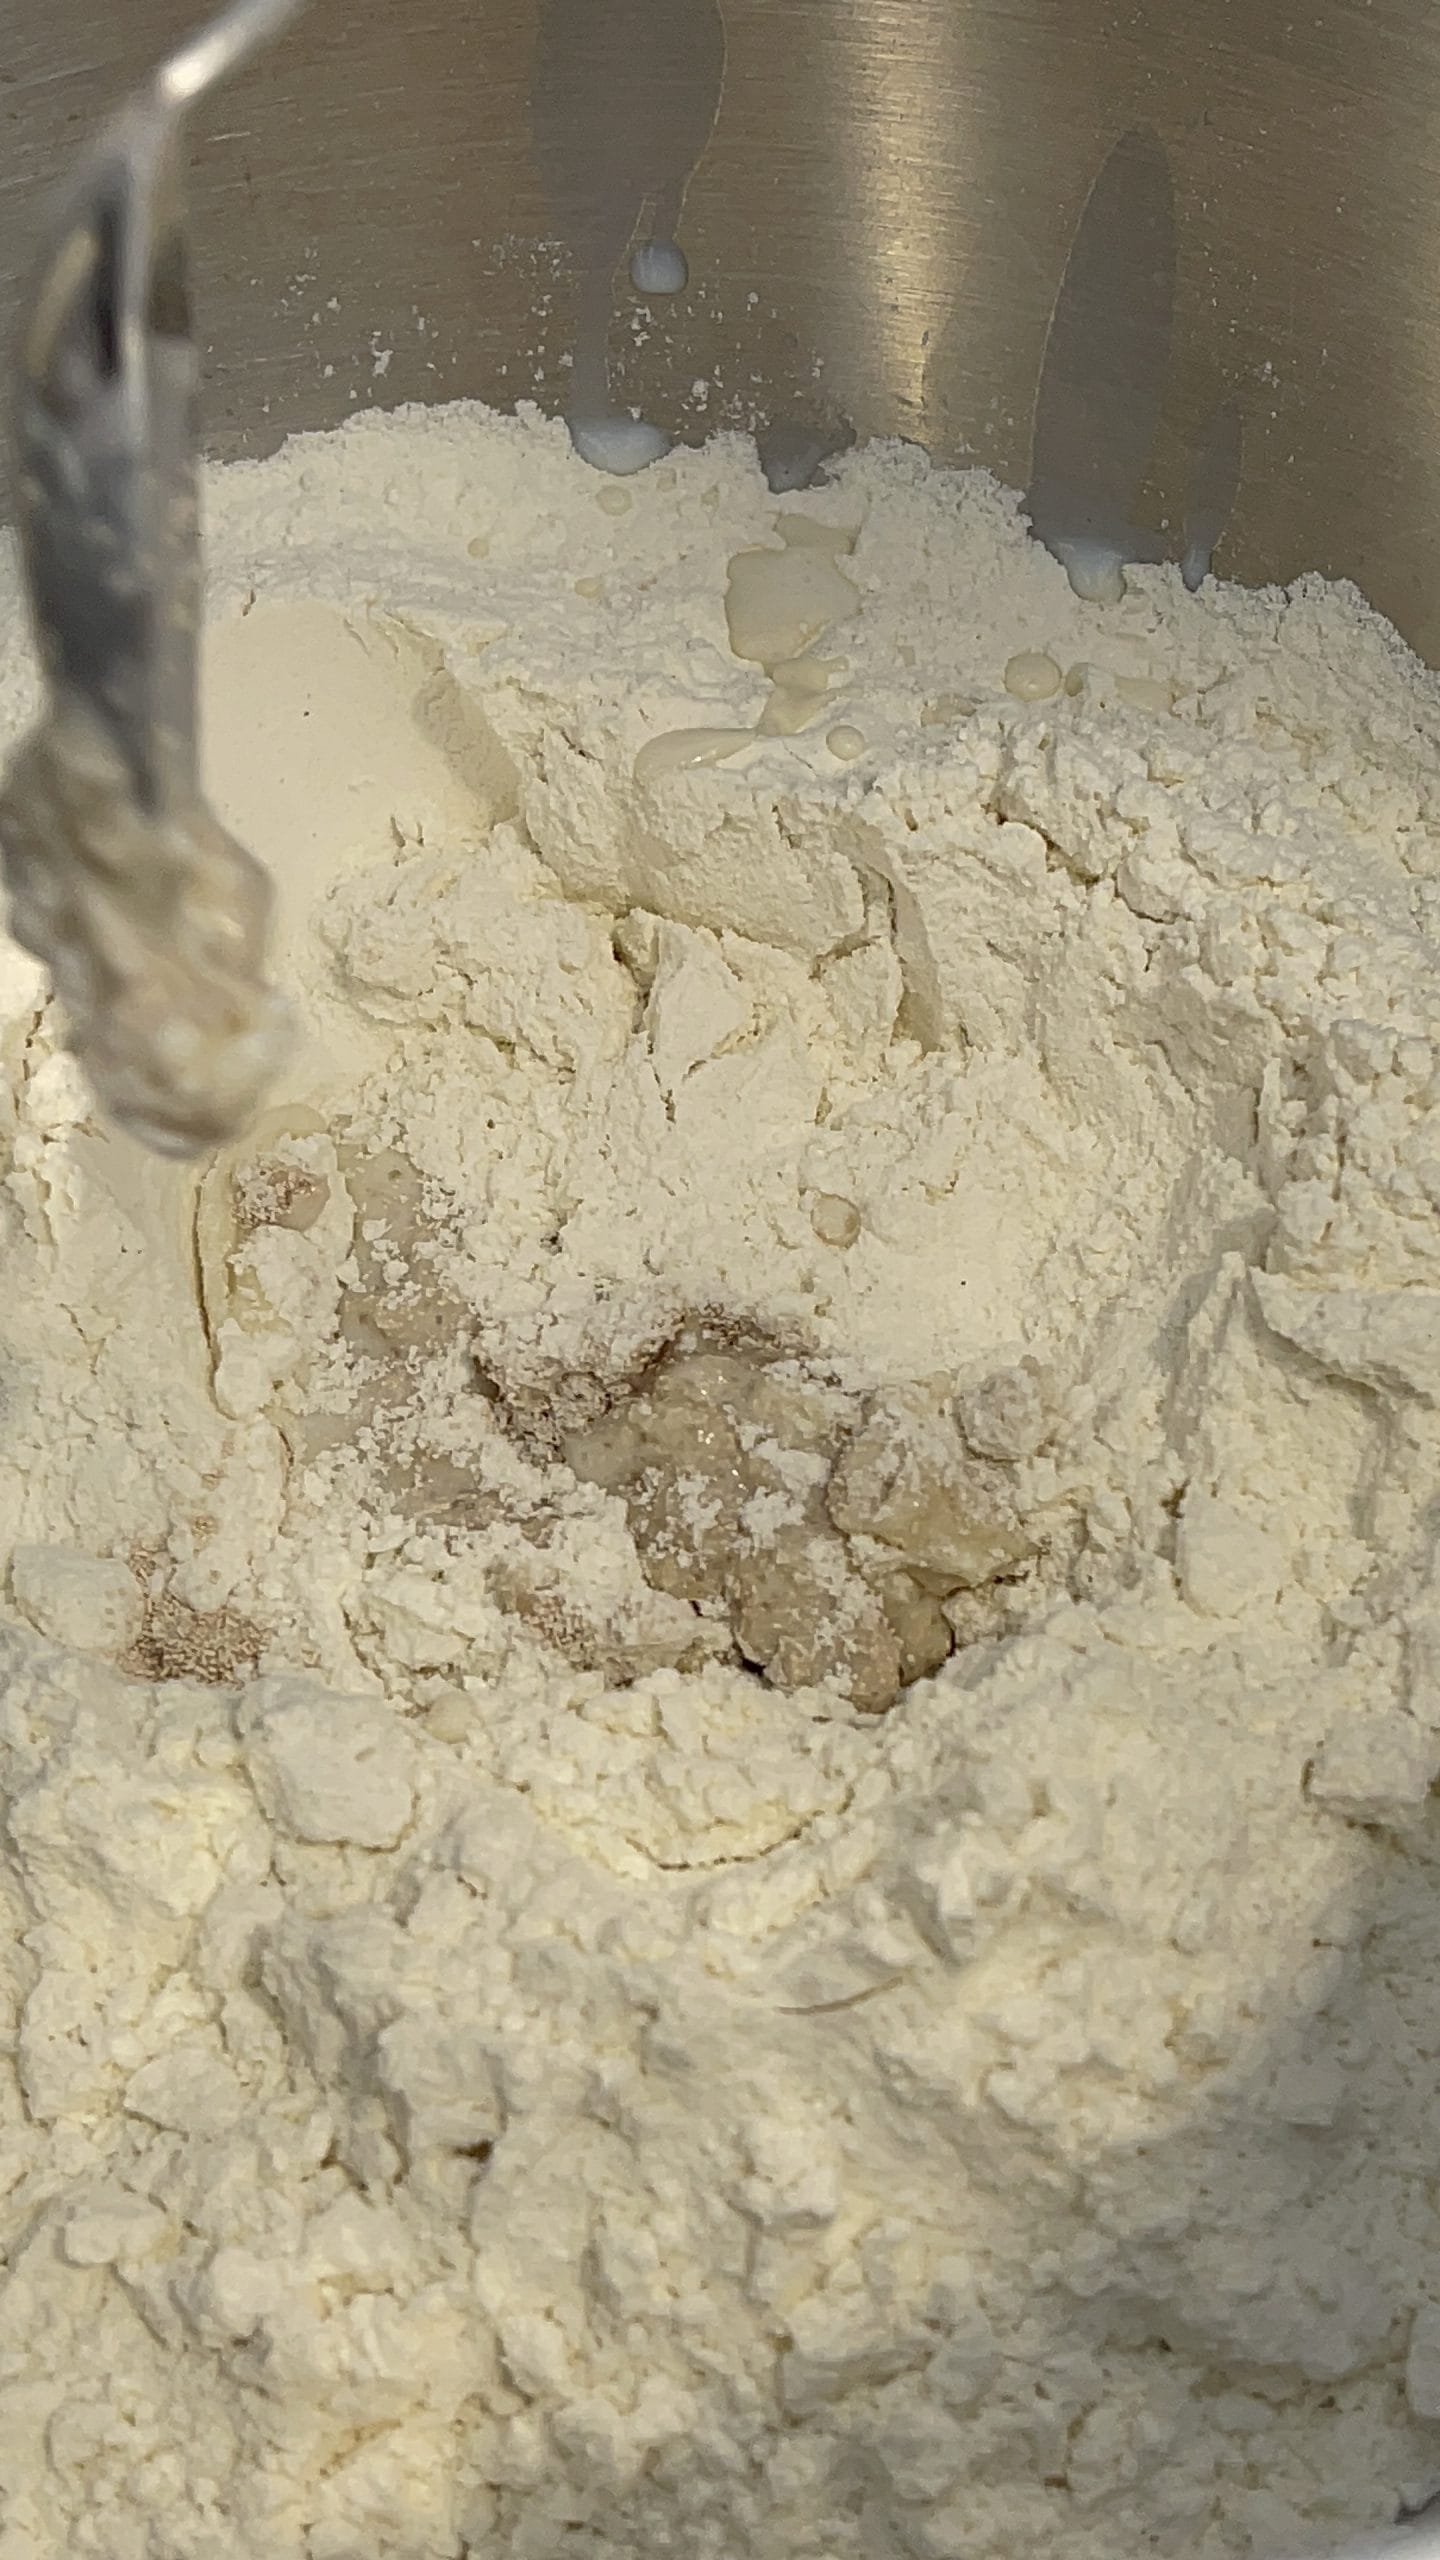
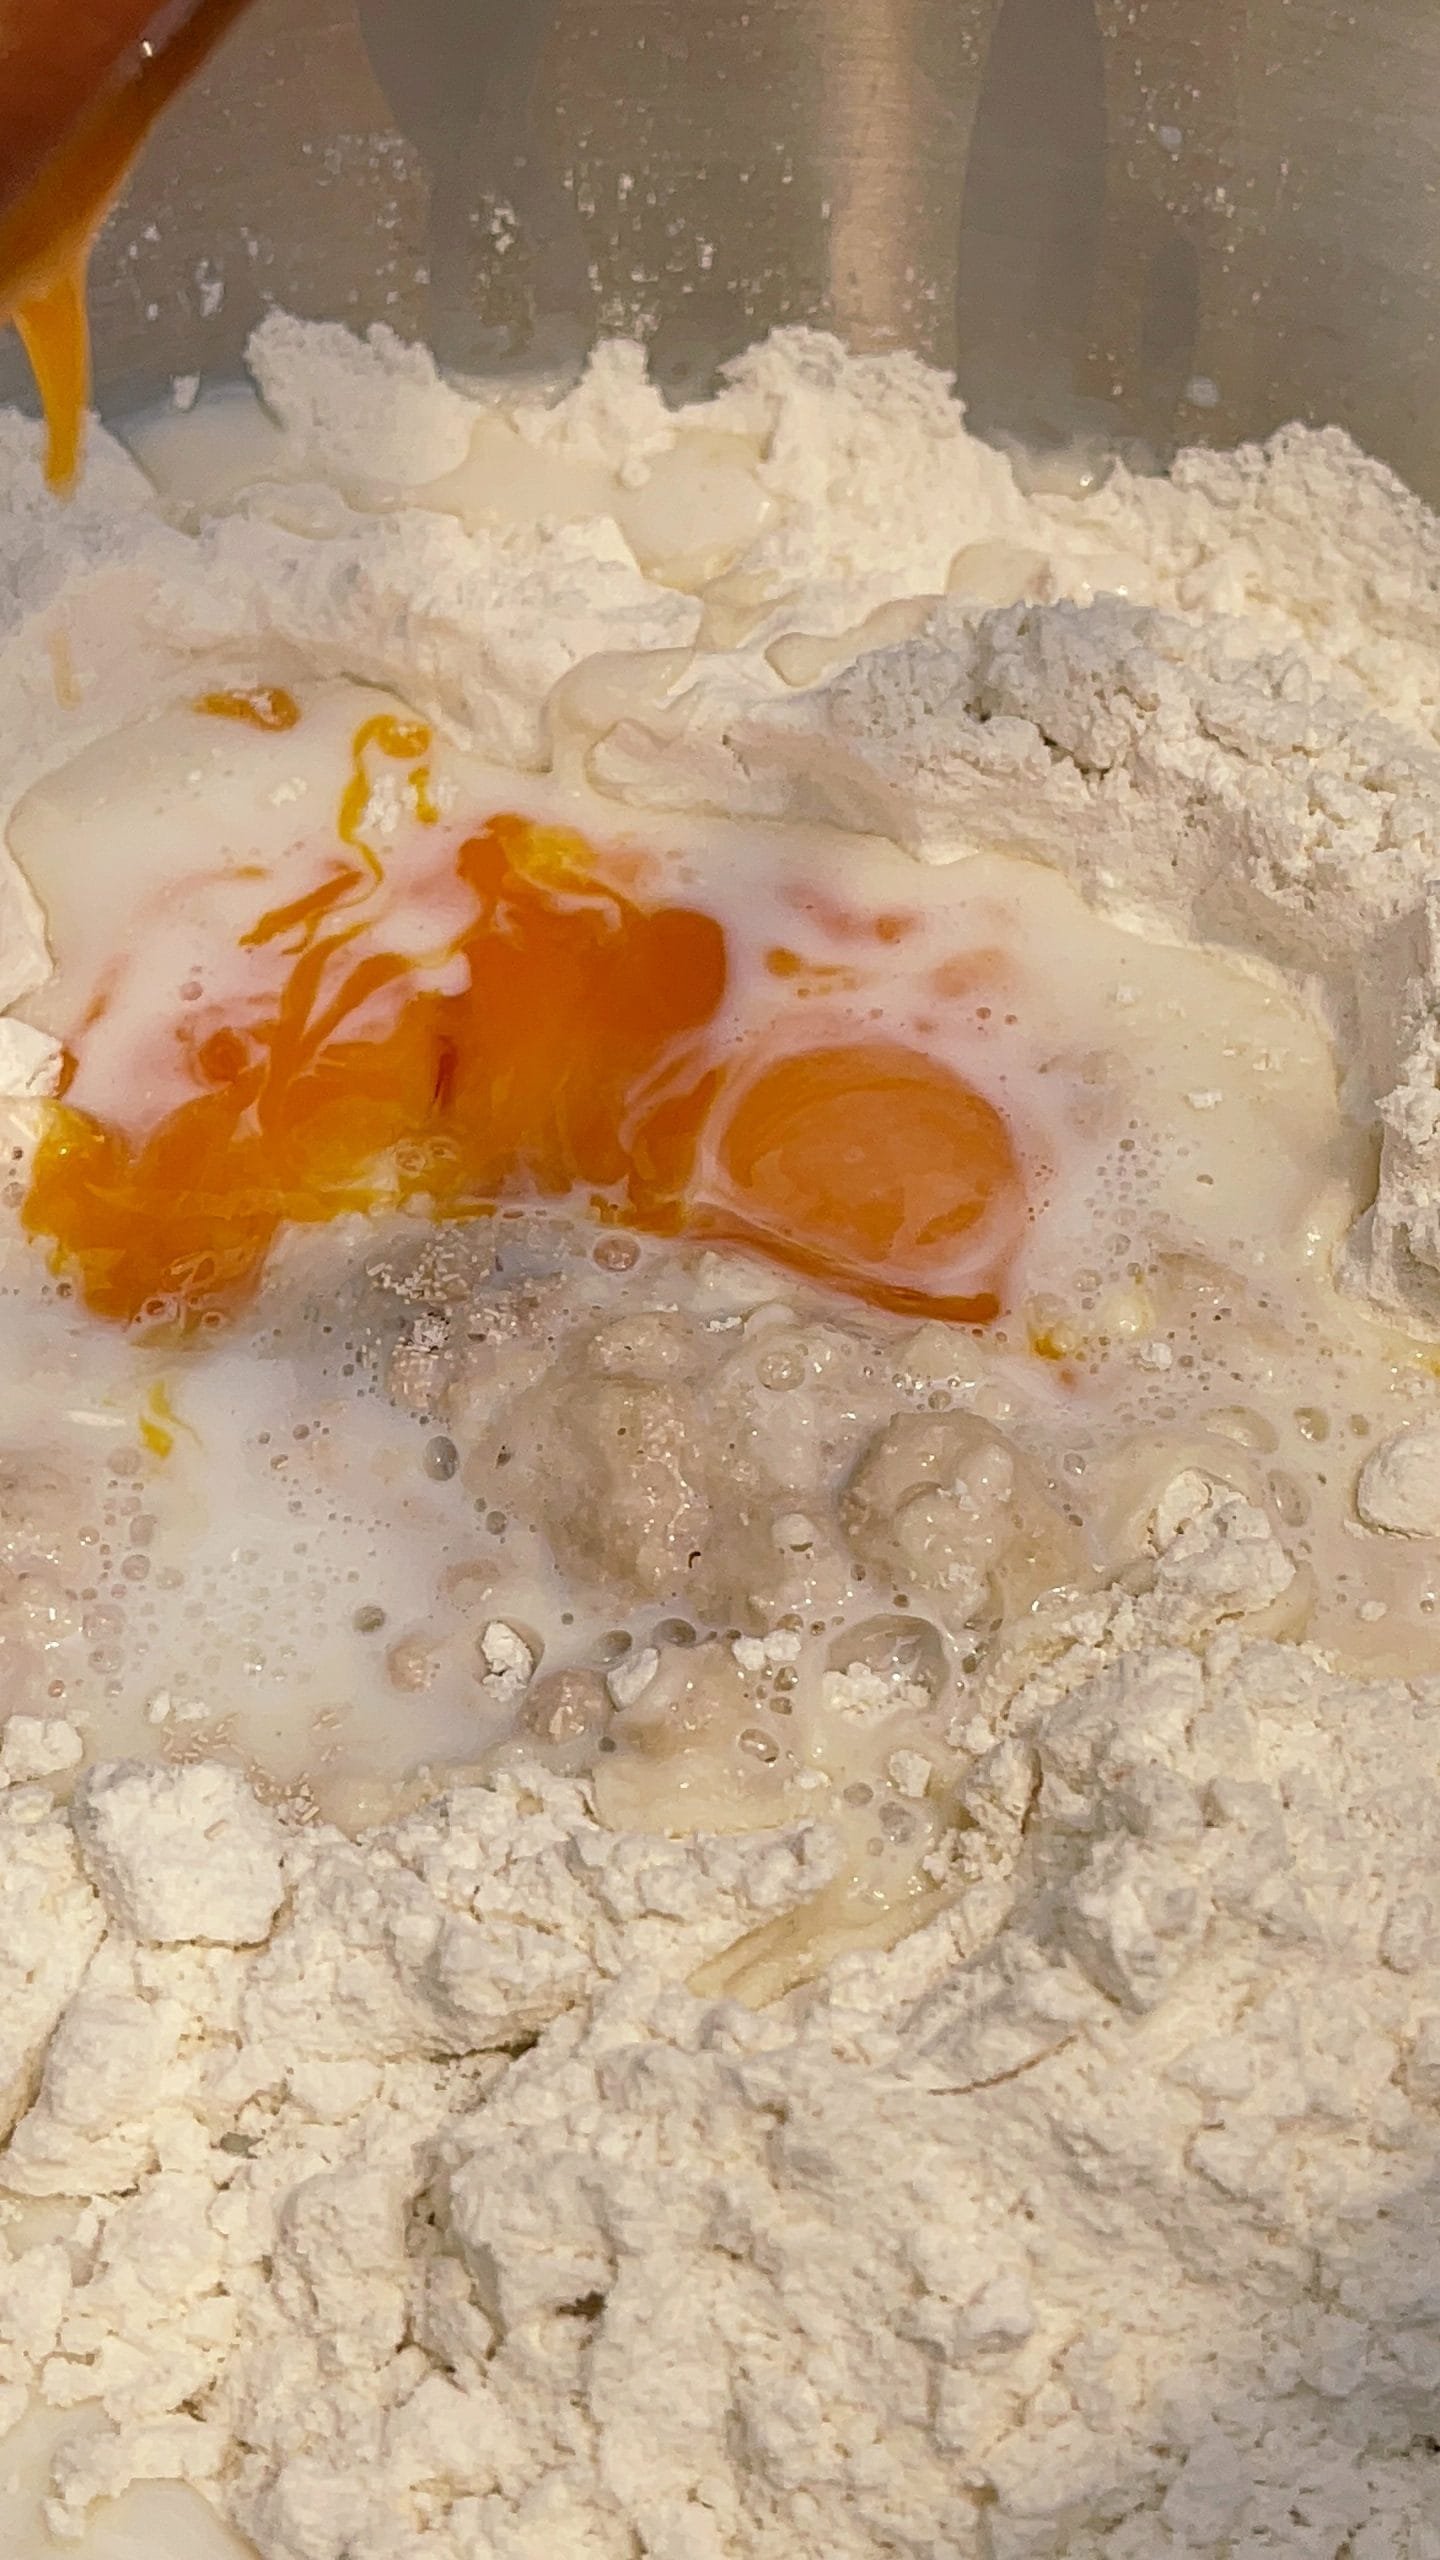
- Add the flour to the water bowl. With the help of a teaspoon we create a small hole in which we add the yeast, sugar and 2-3 spoons of warm milk. Mix with a little flour and let the yeast activate for 5-10 minutes.


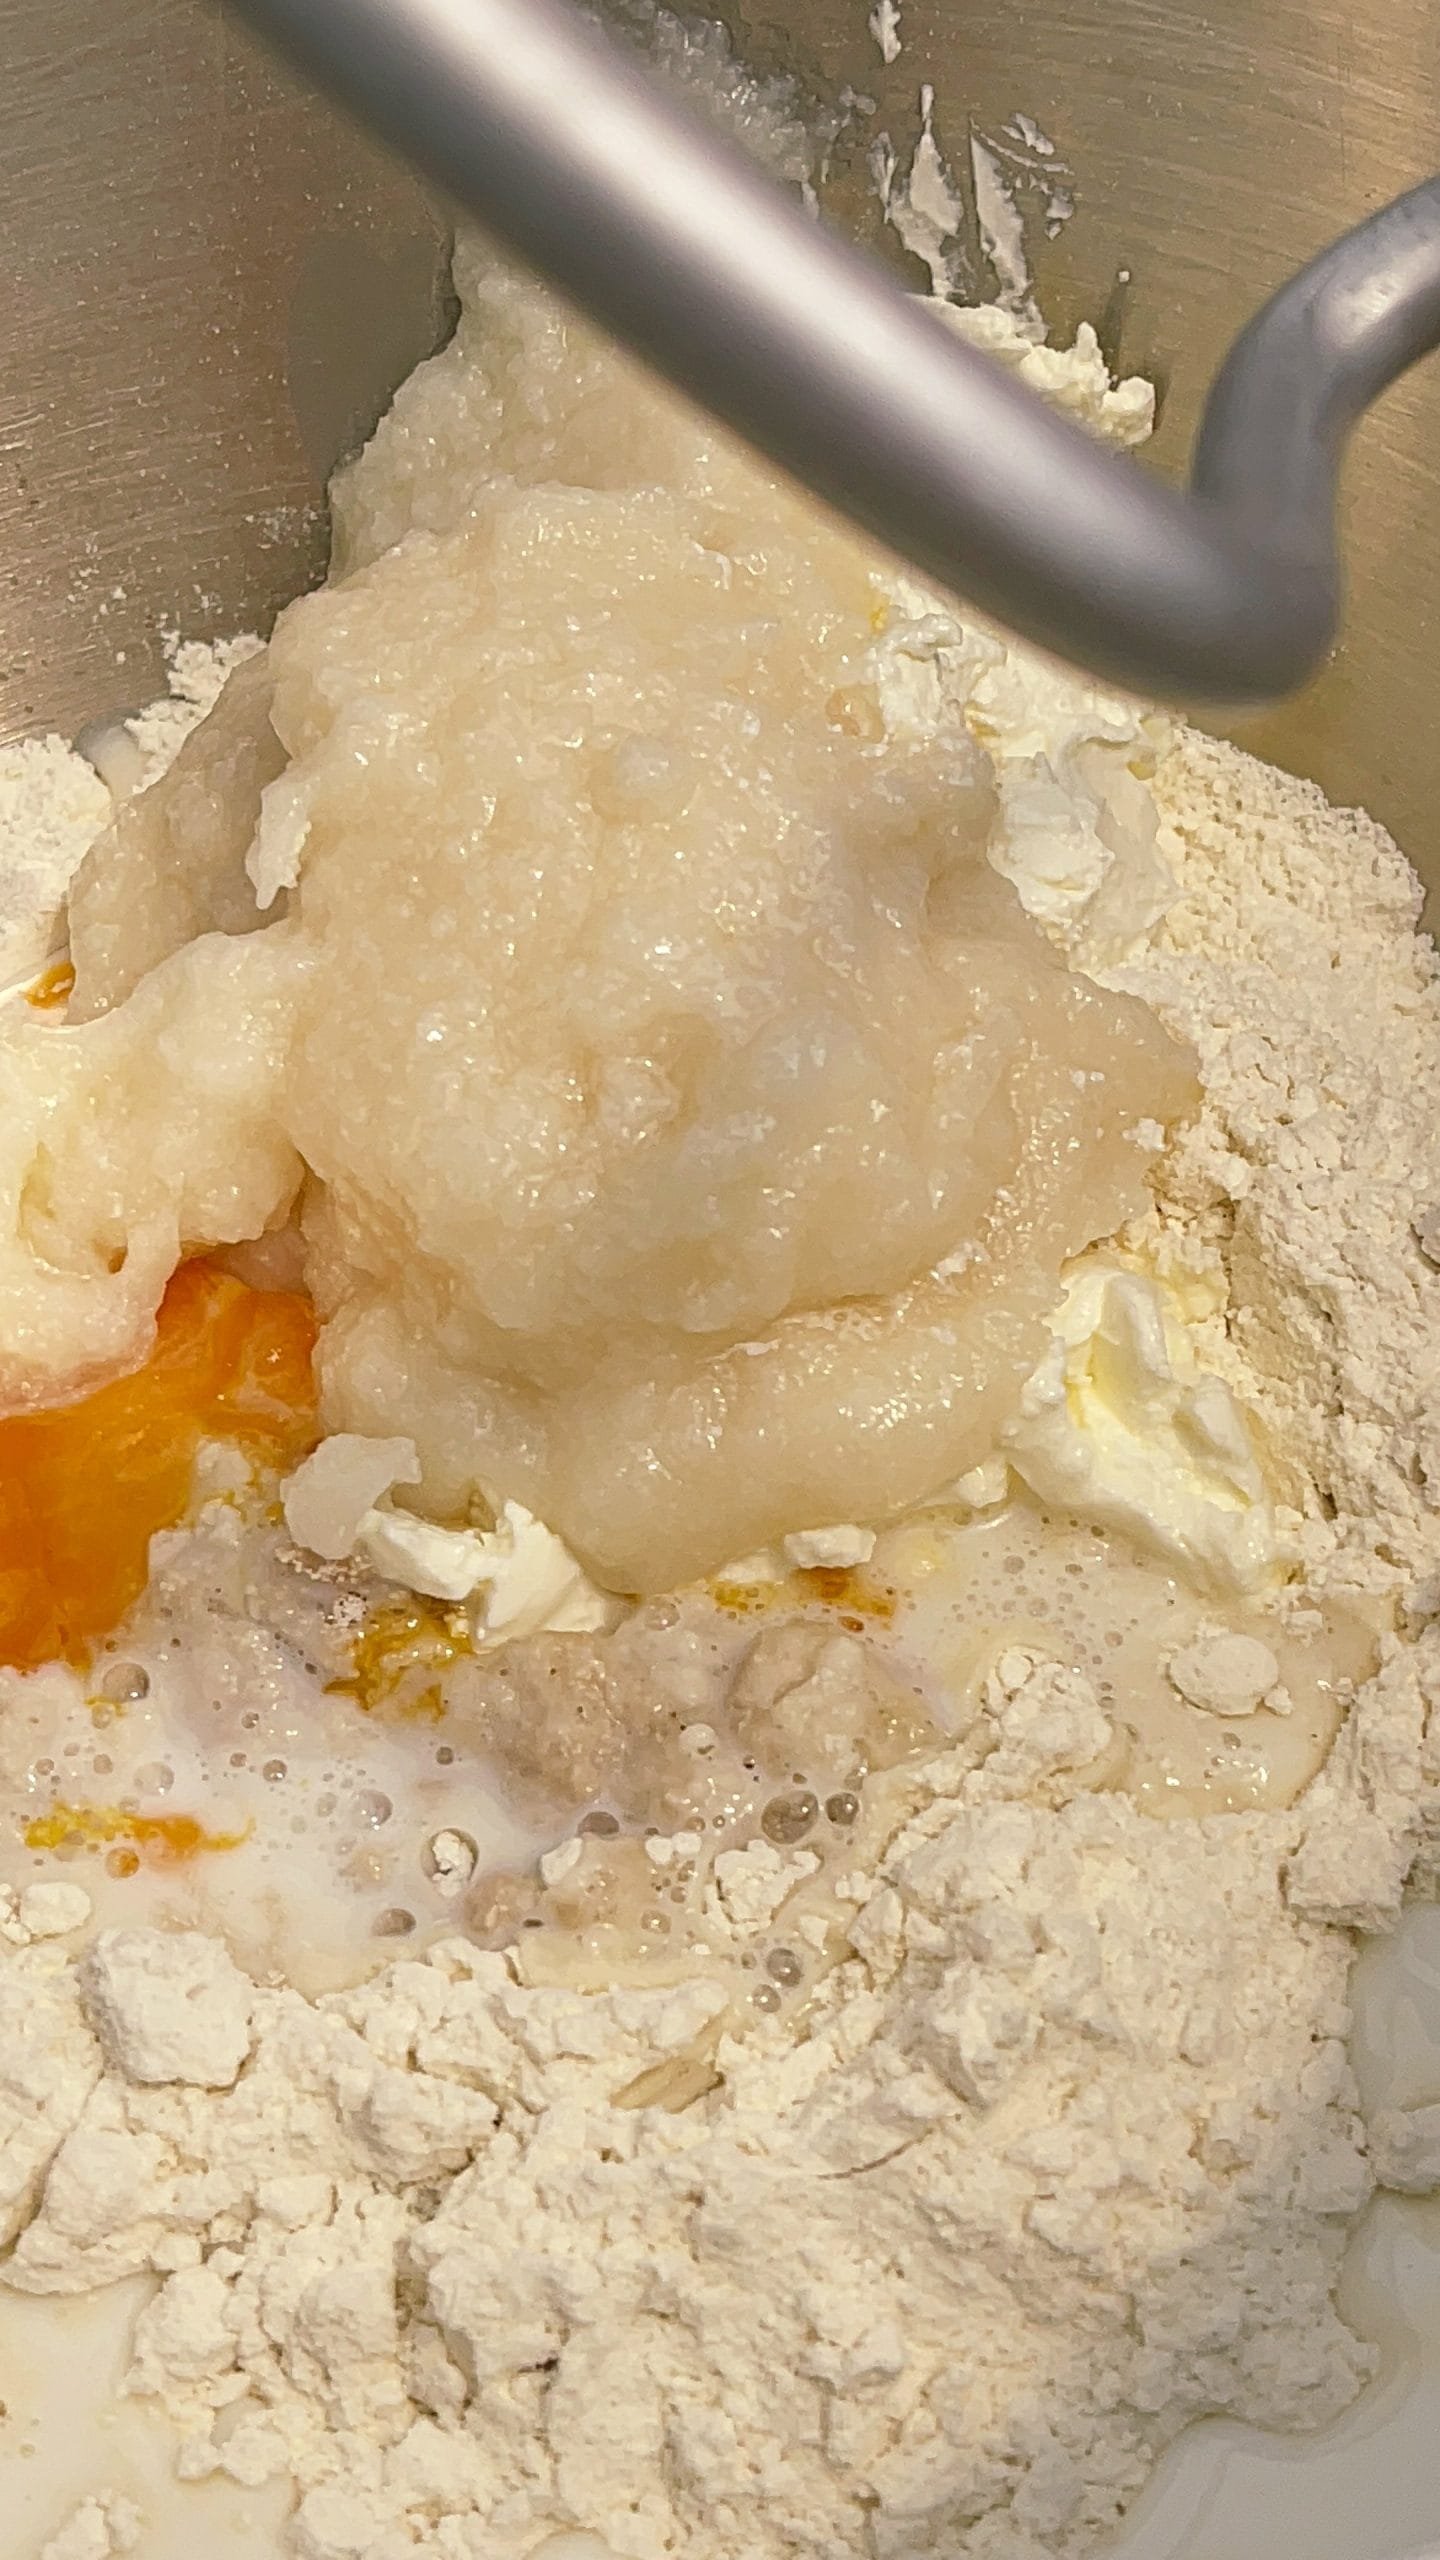
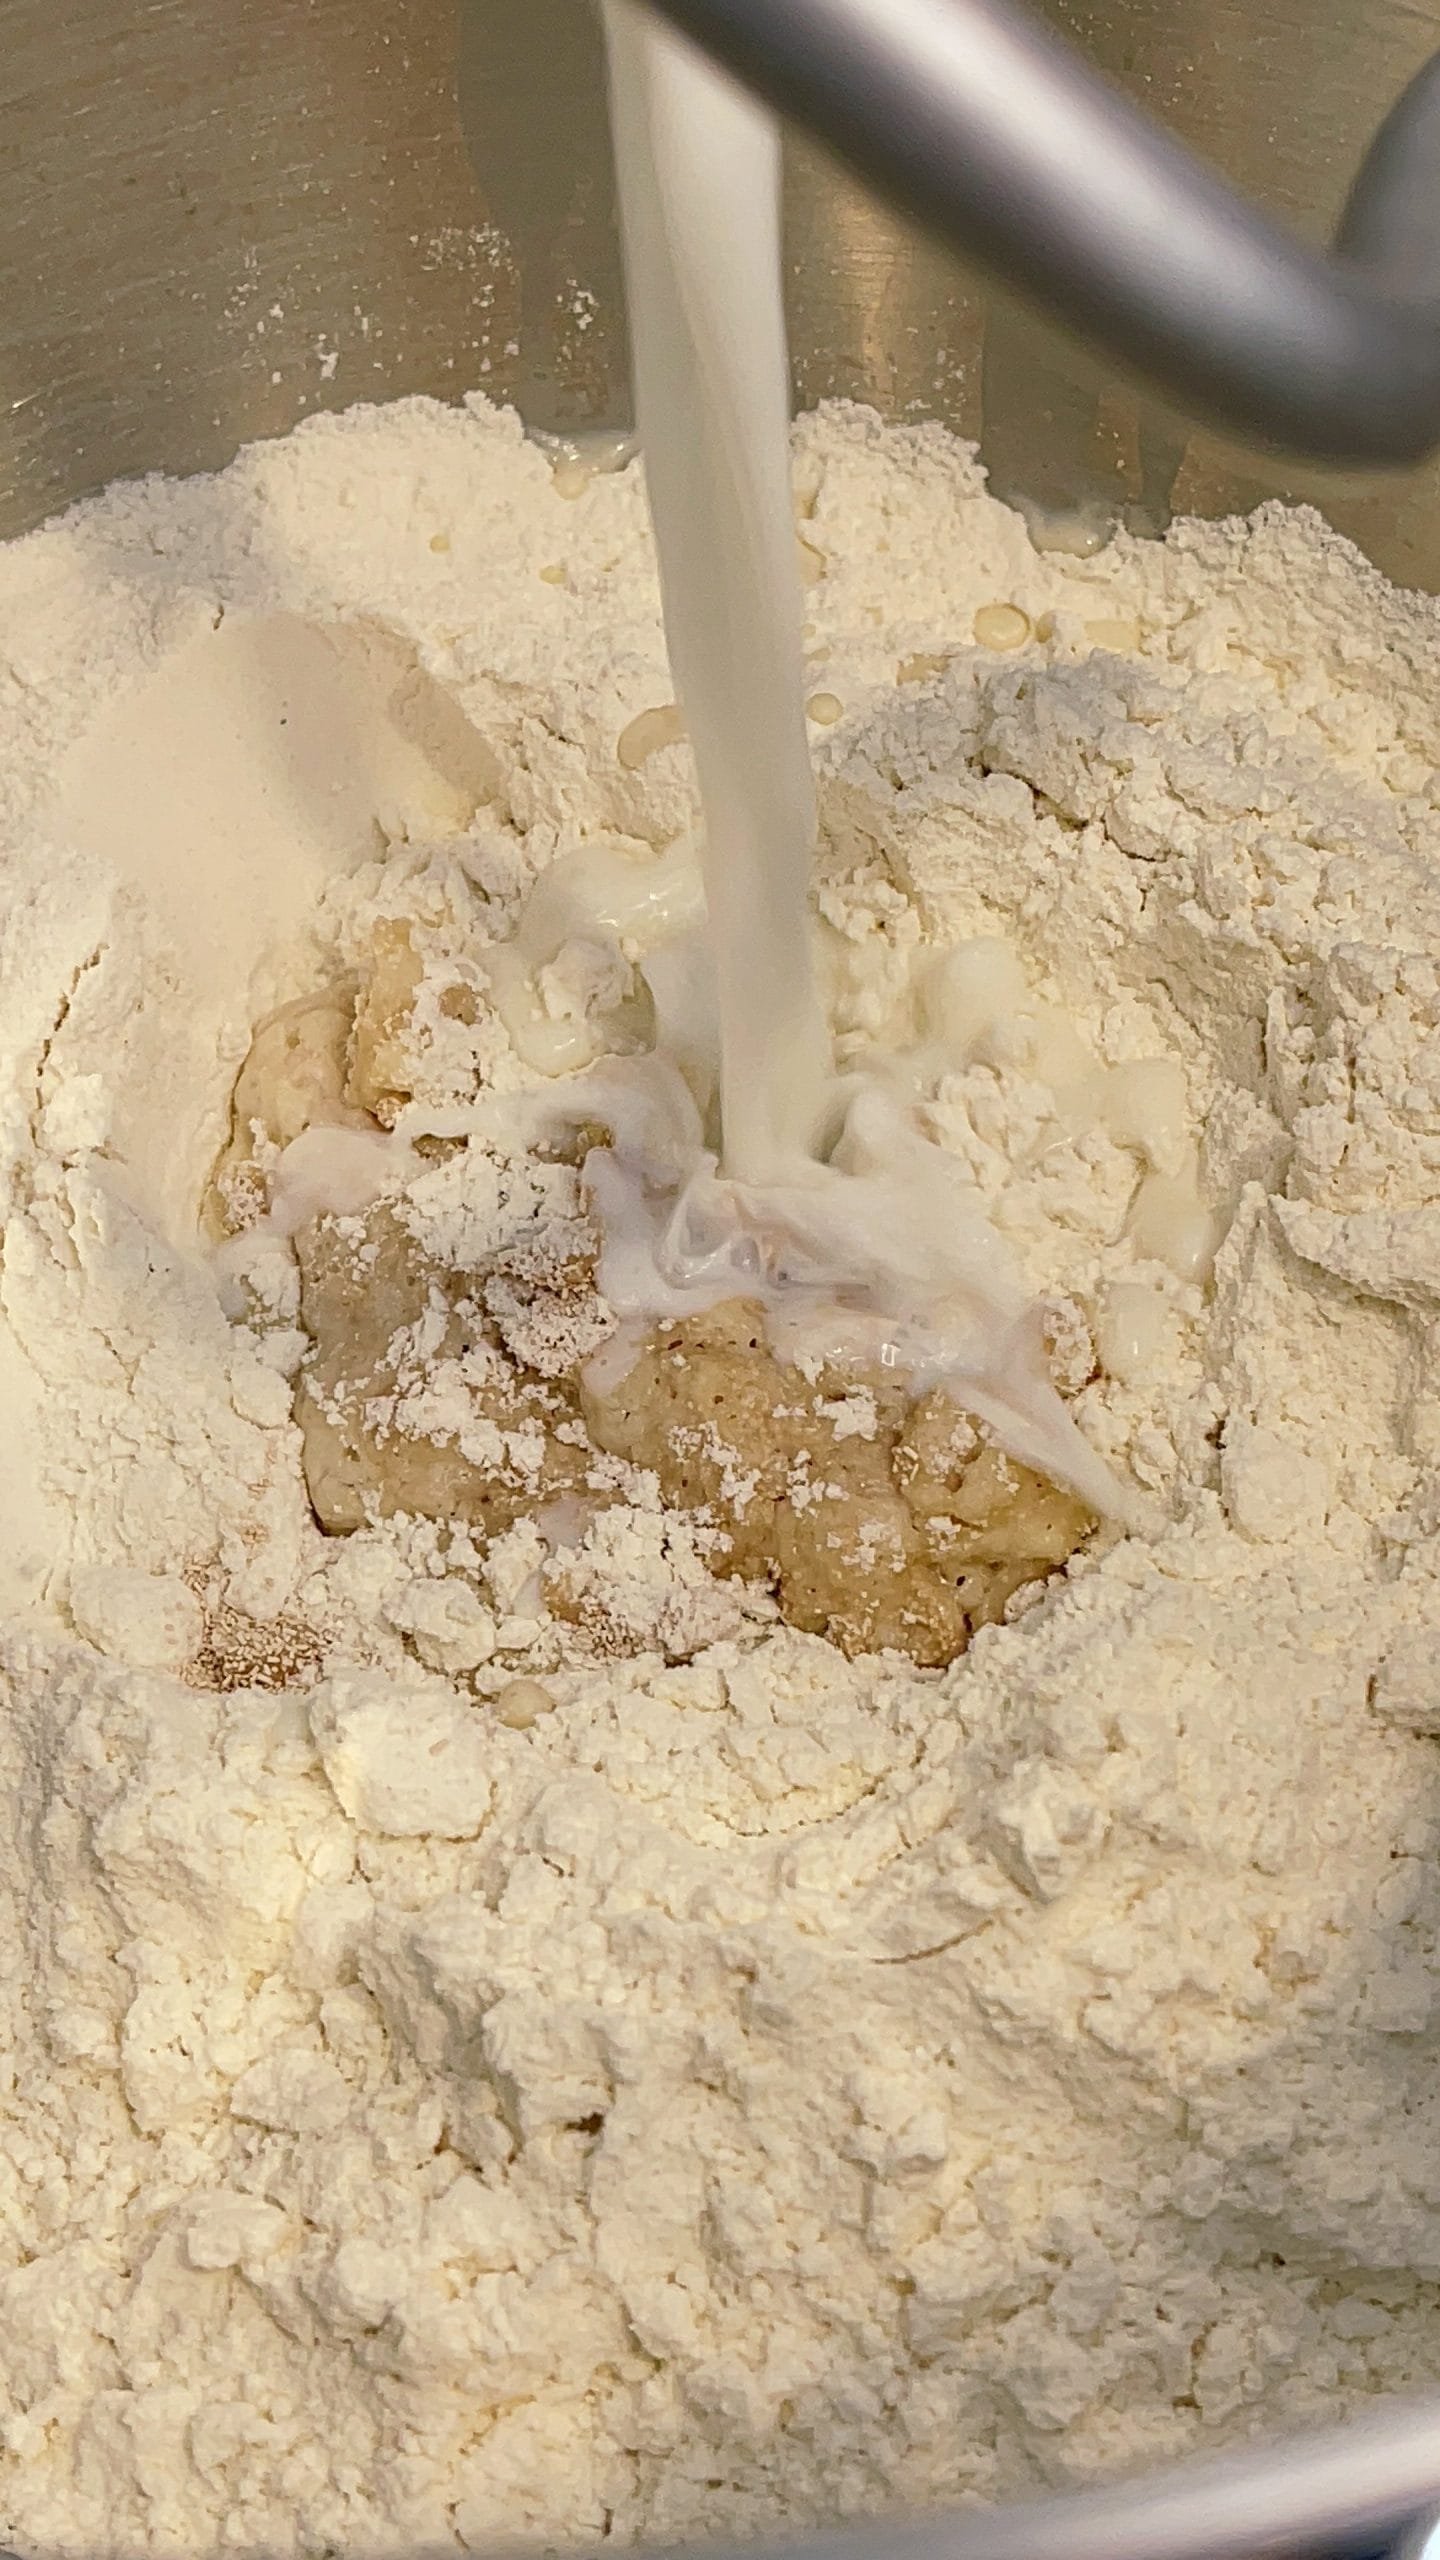
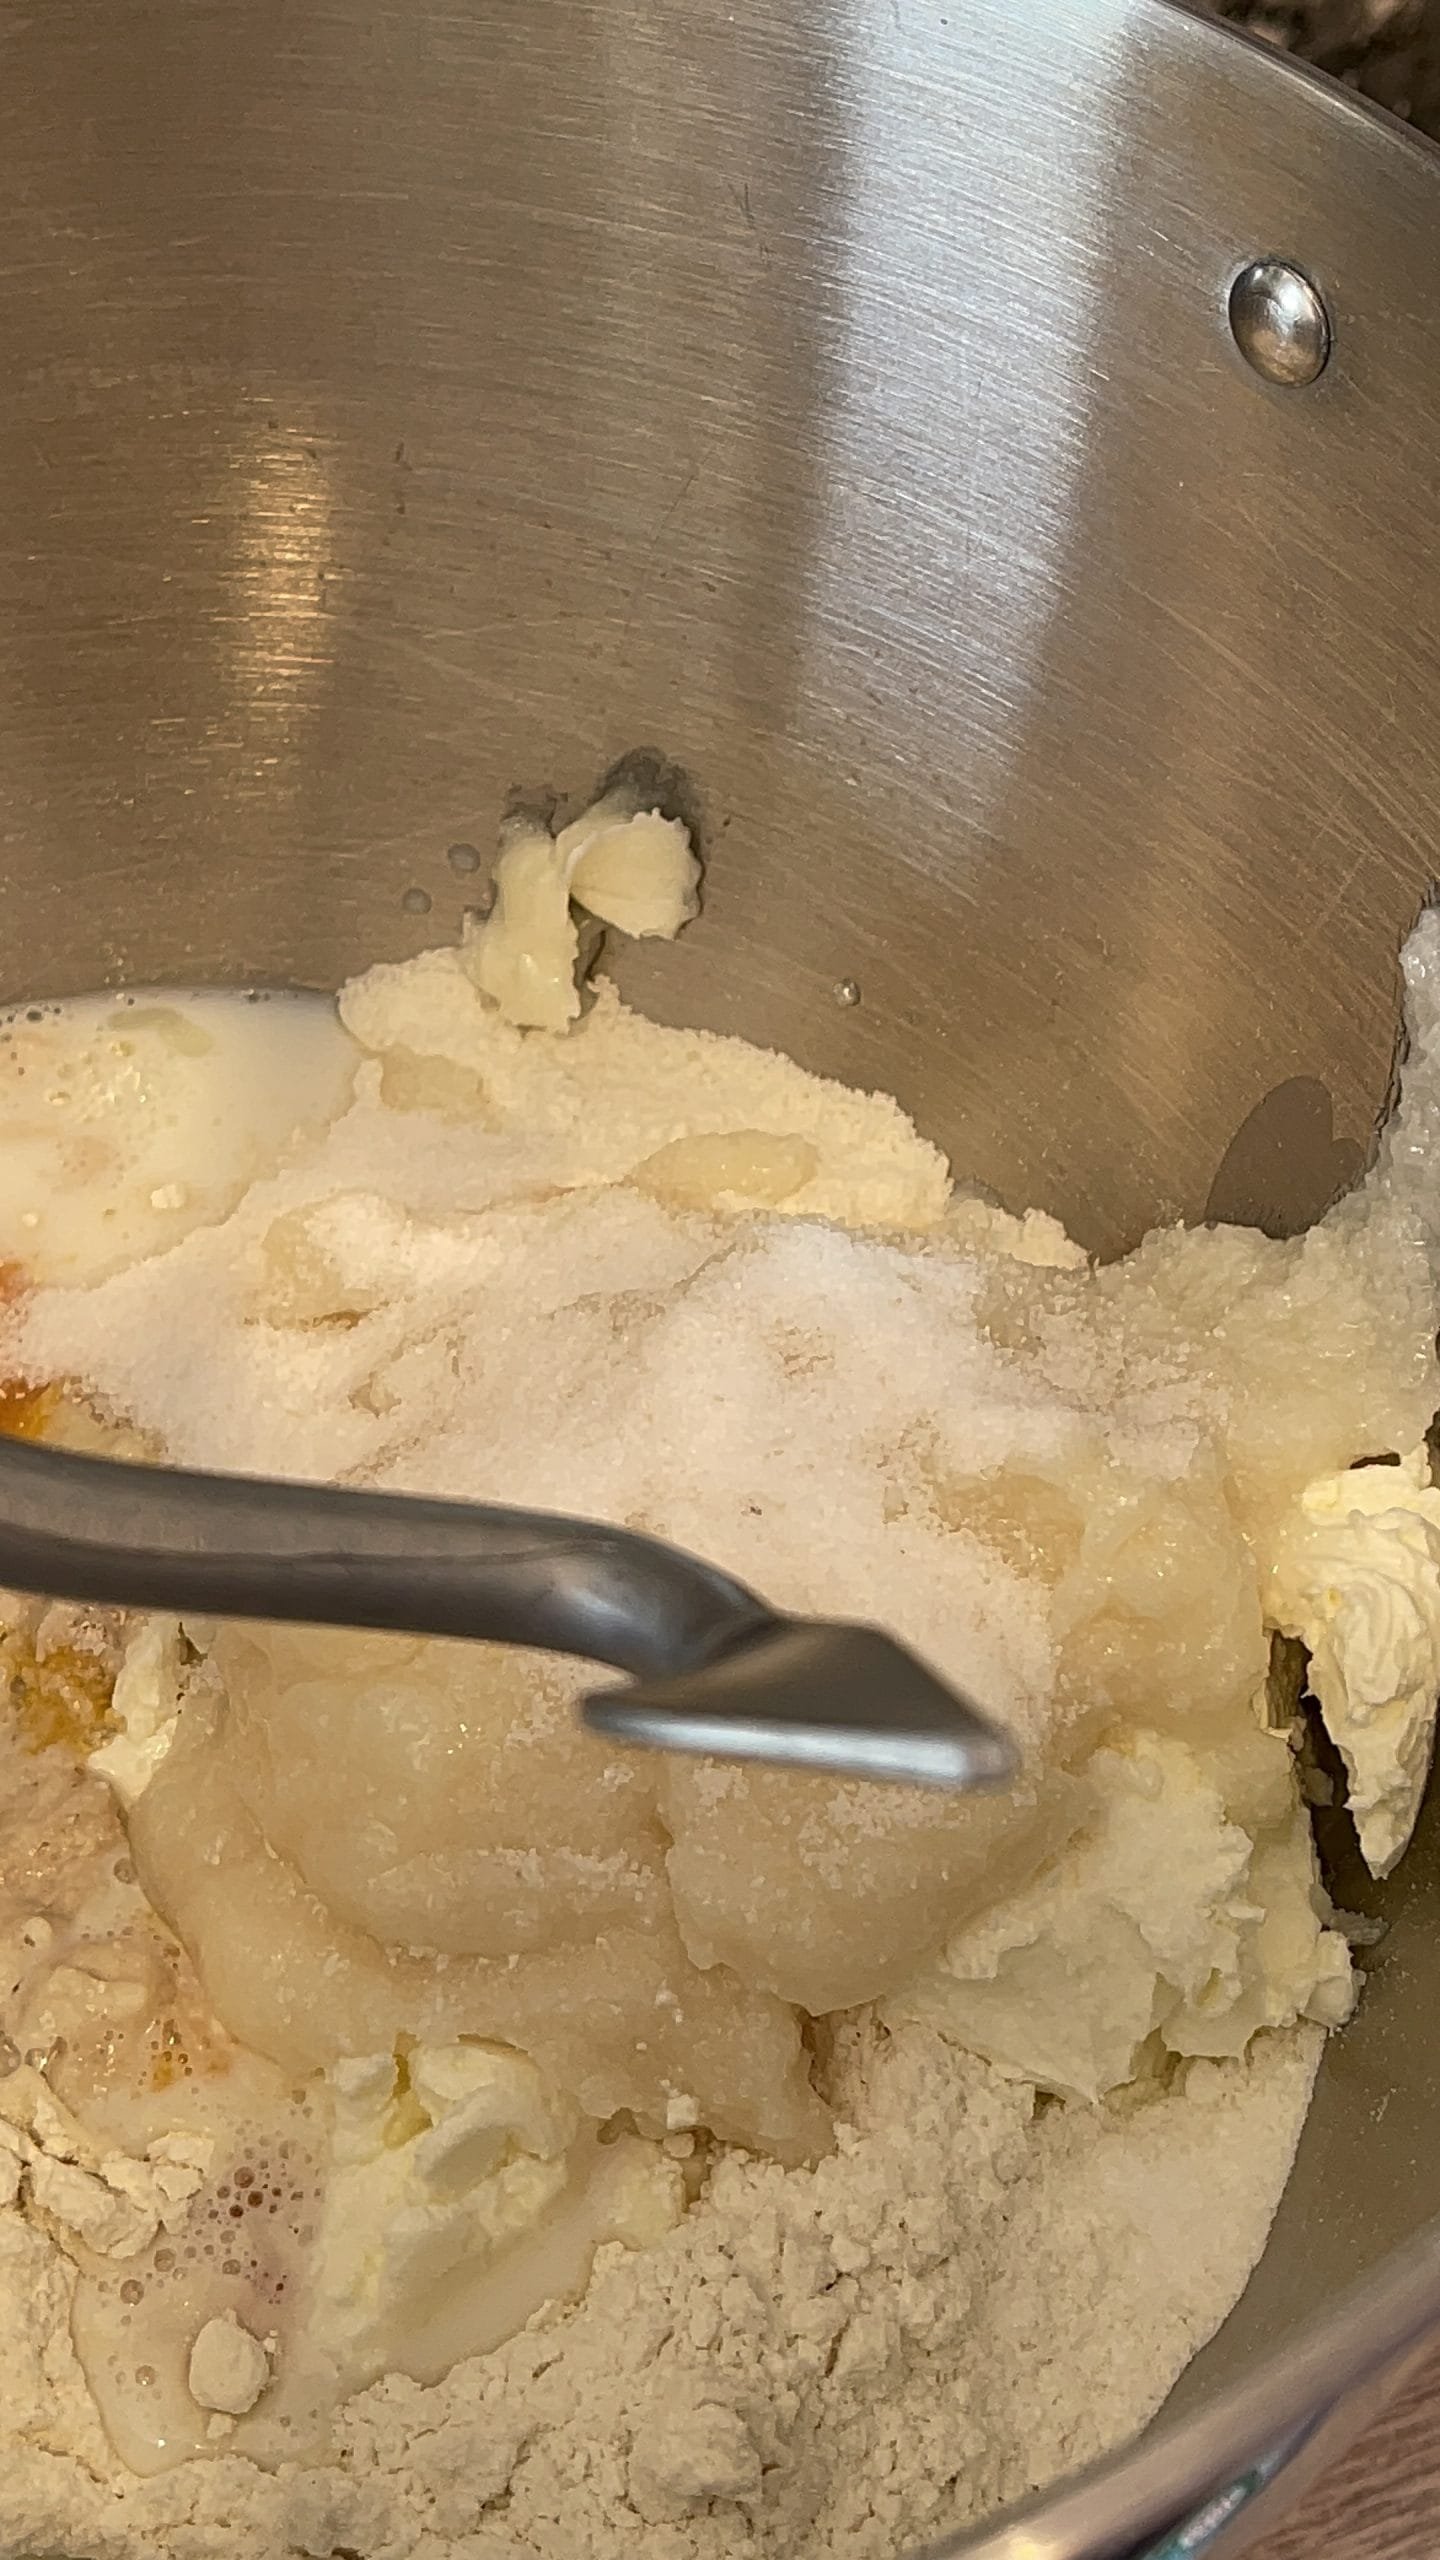
- Add the cream, egg yolks, salt and a third of the milk. It depends on what kind of flour you use, if it is dry it will absorb all the milk, if you use a wet flour, you will not need all the milk. We mix all the ingredients, just enough to incorporate them well, there is no need to knead.


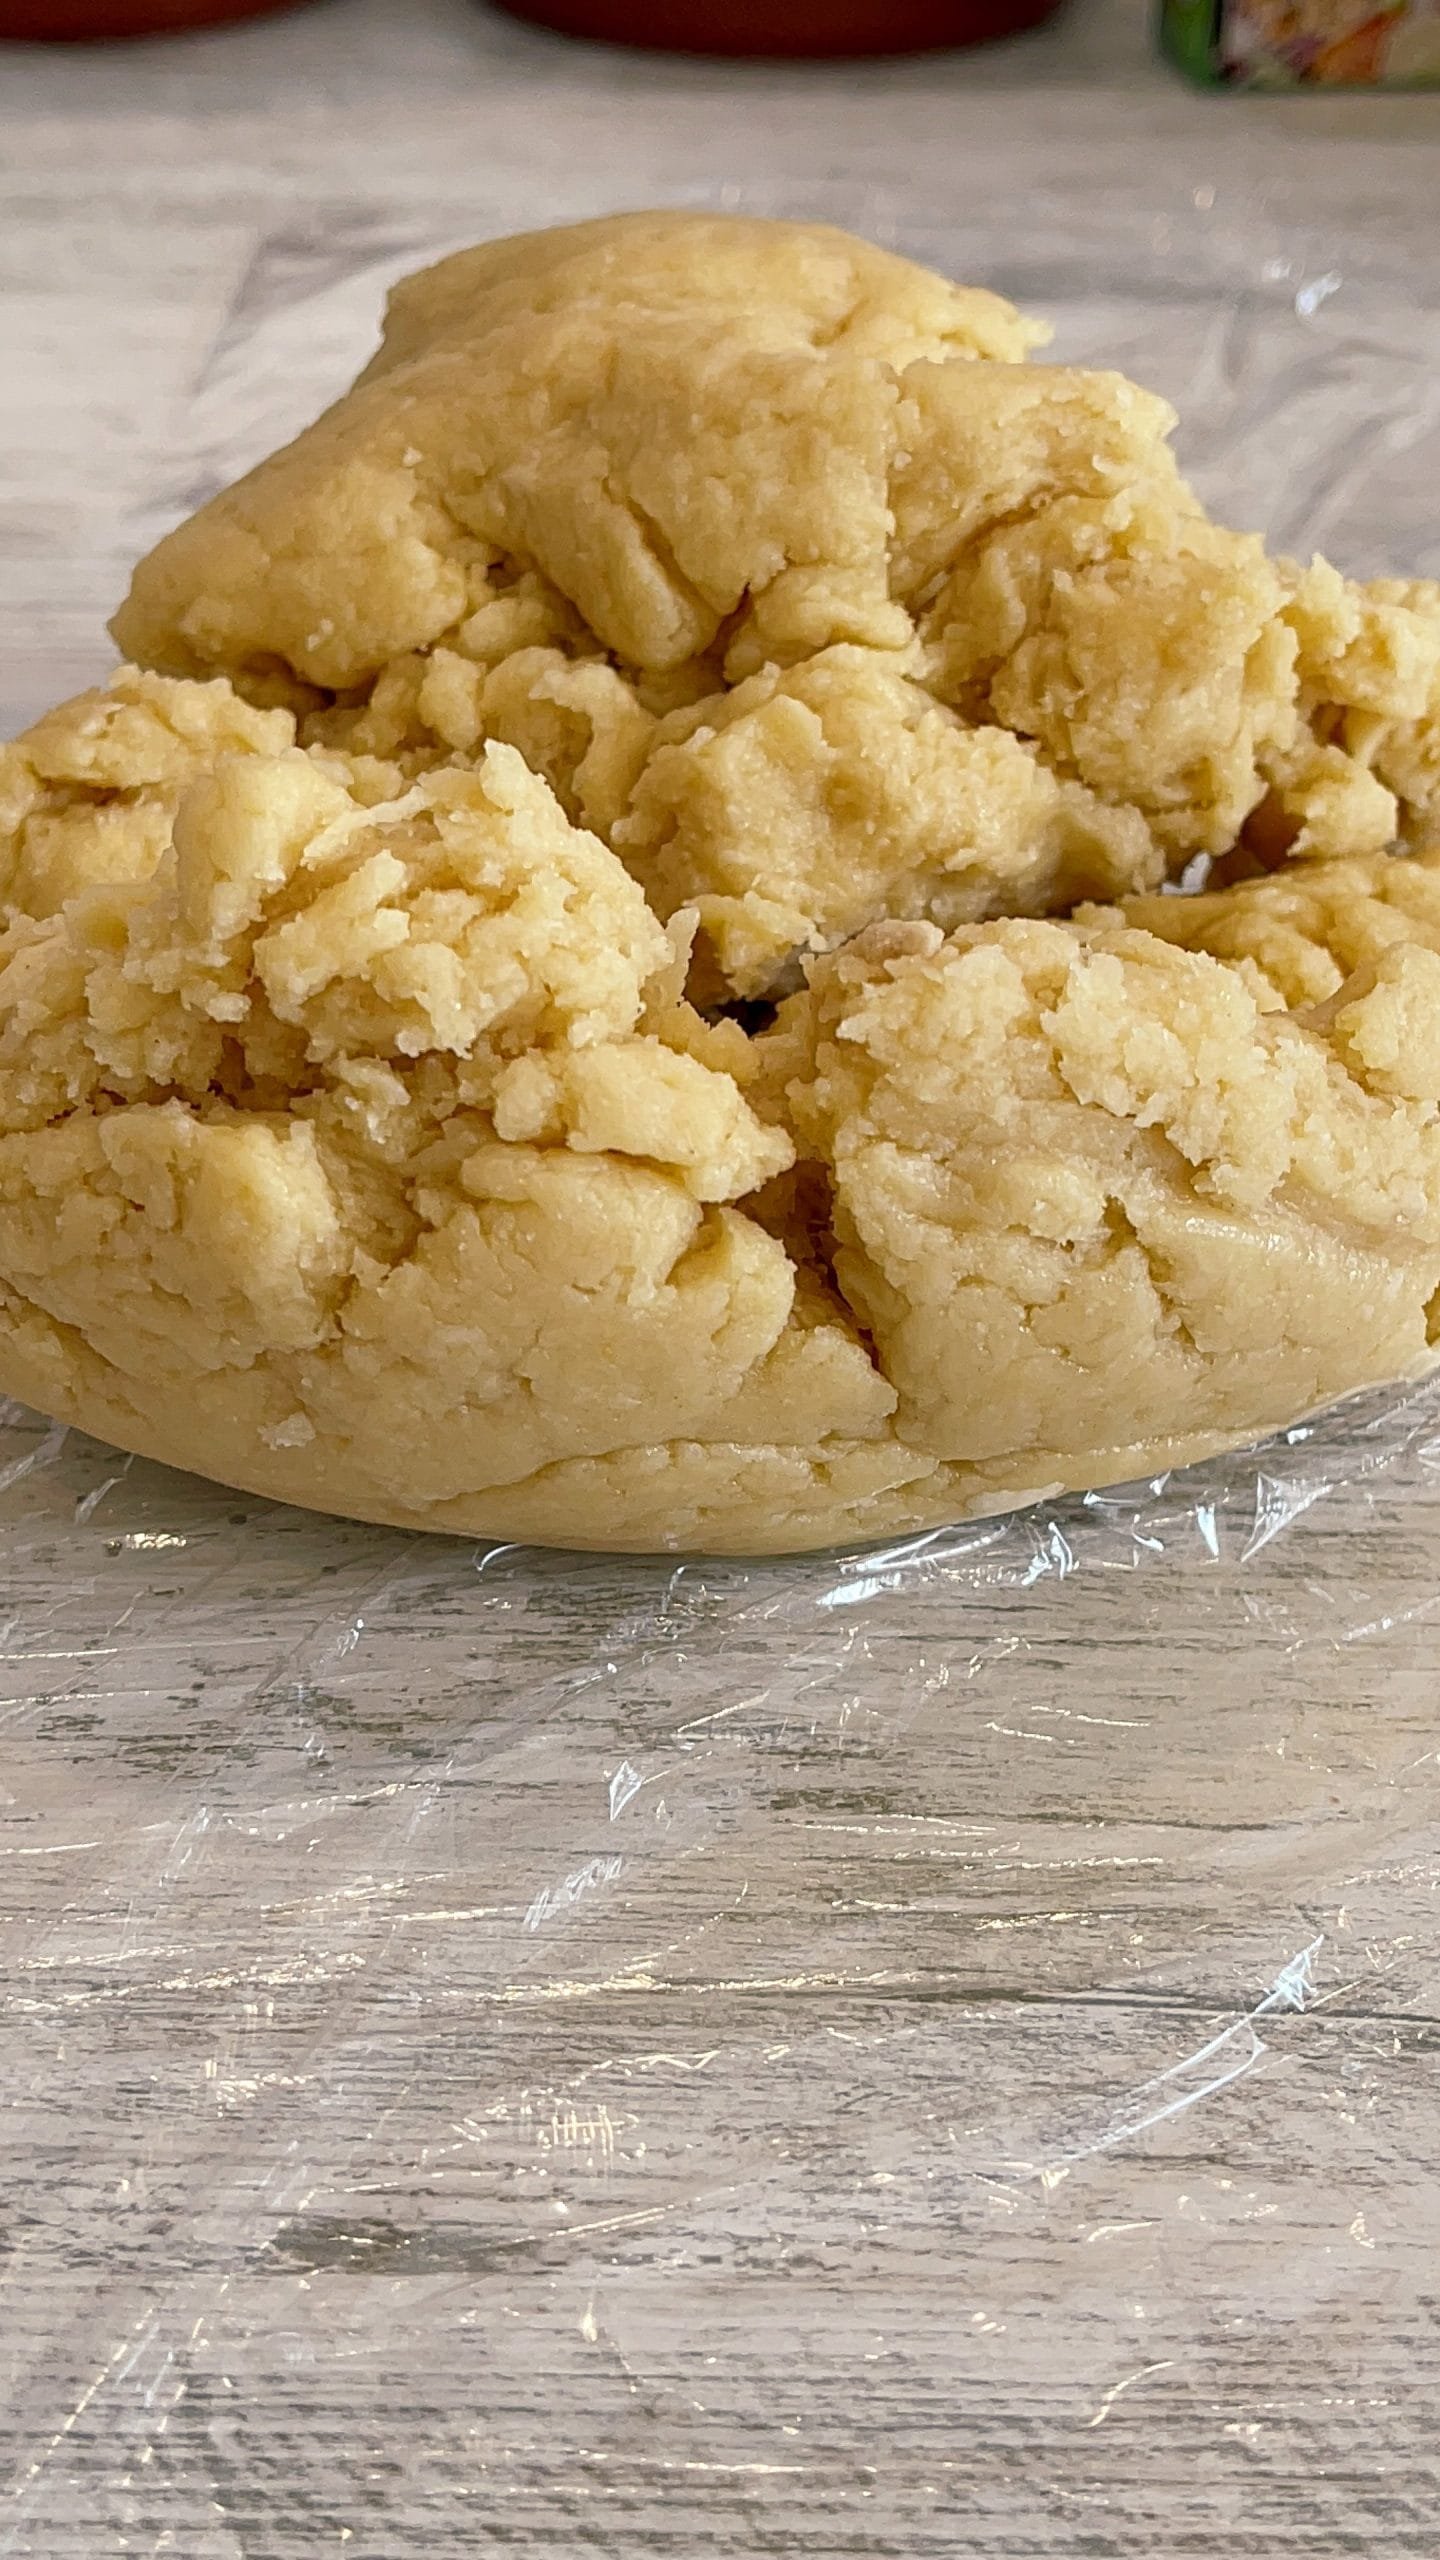
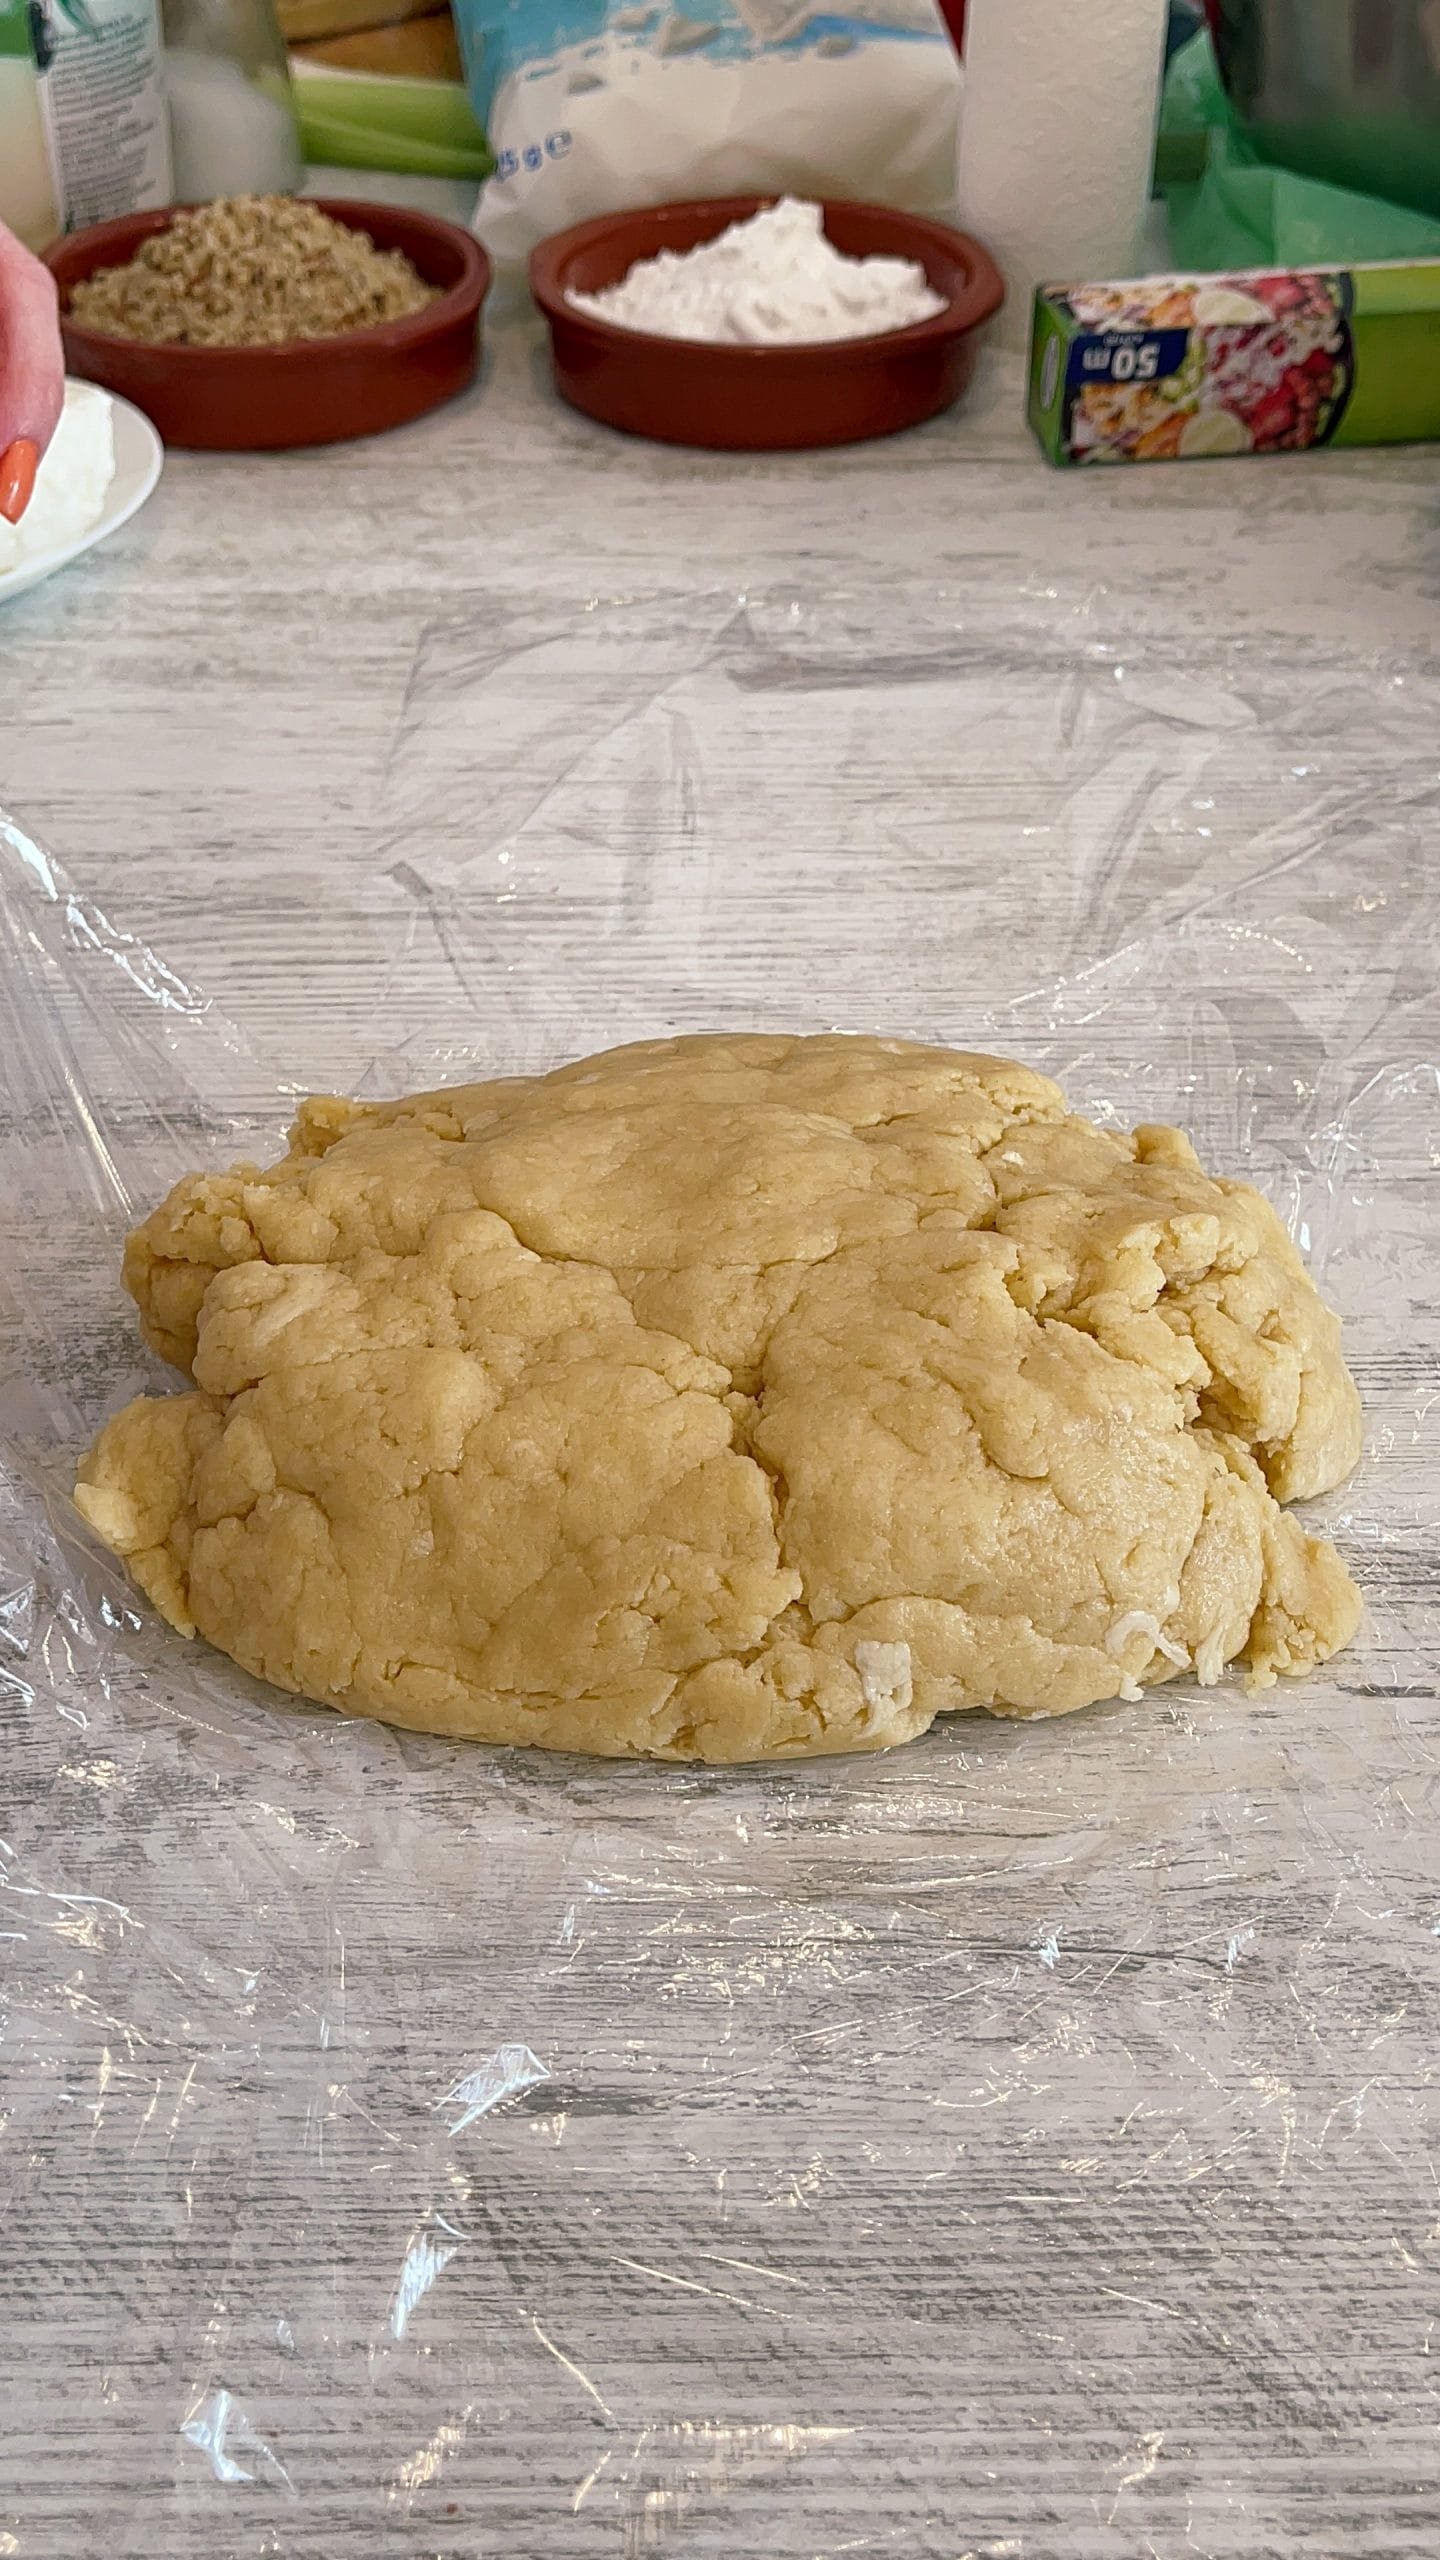
- Place the dough on the work surface, on which you have already placed a food foil. We tighten the dough with the help of our palms and give it a round shape as much as possible. Wrap the dough well and refrigerate overnight. It can stay cold for 12-14 hours without any problem.


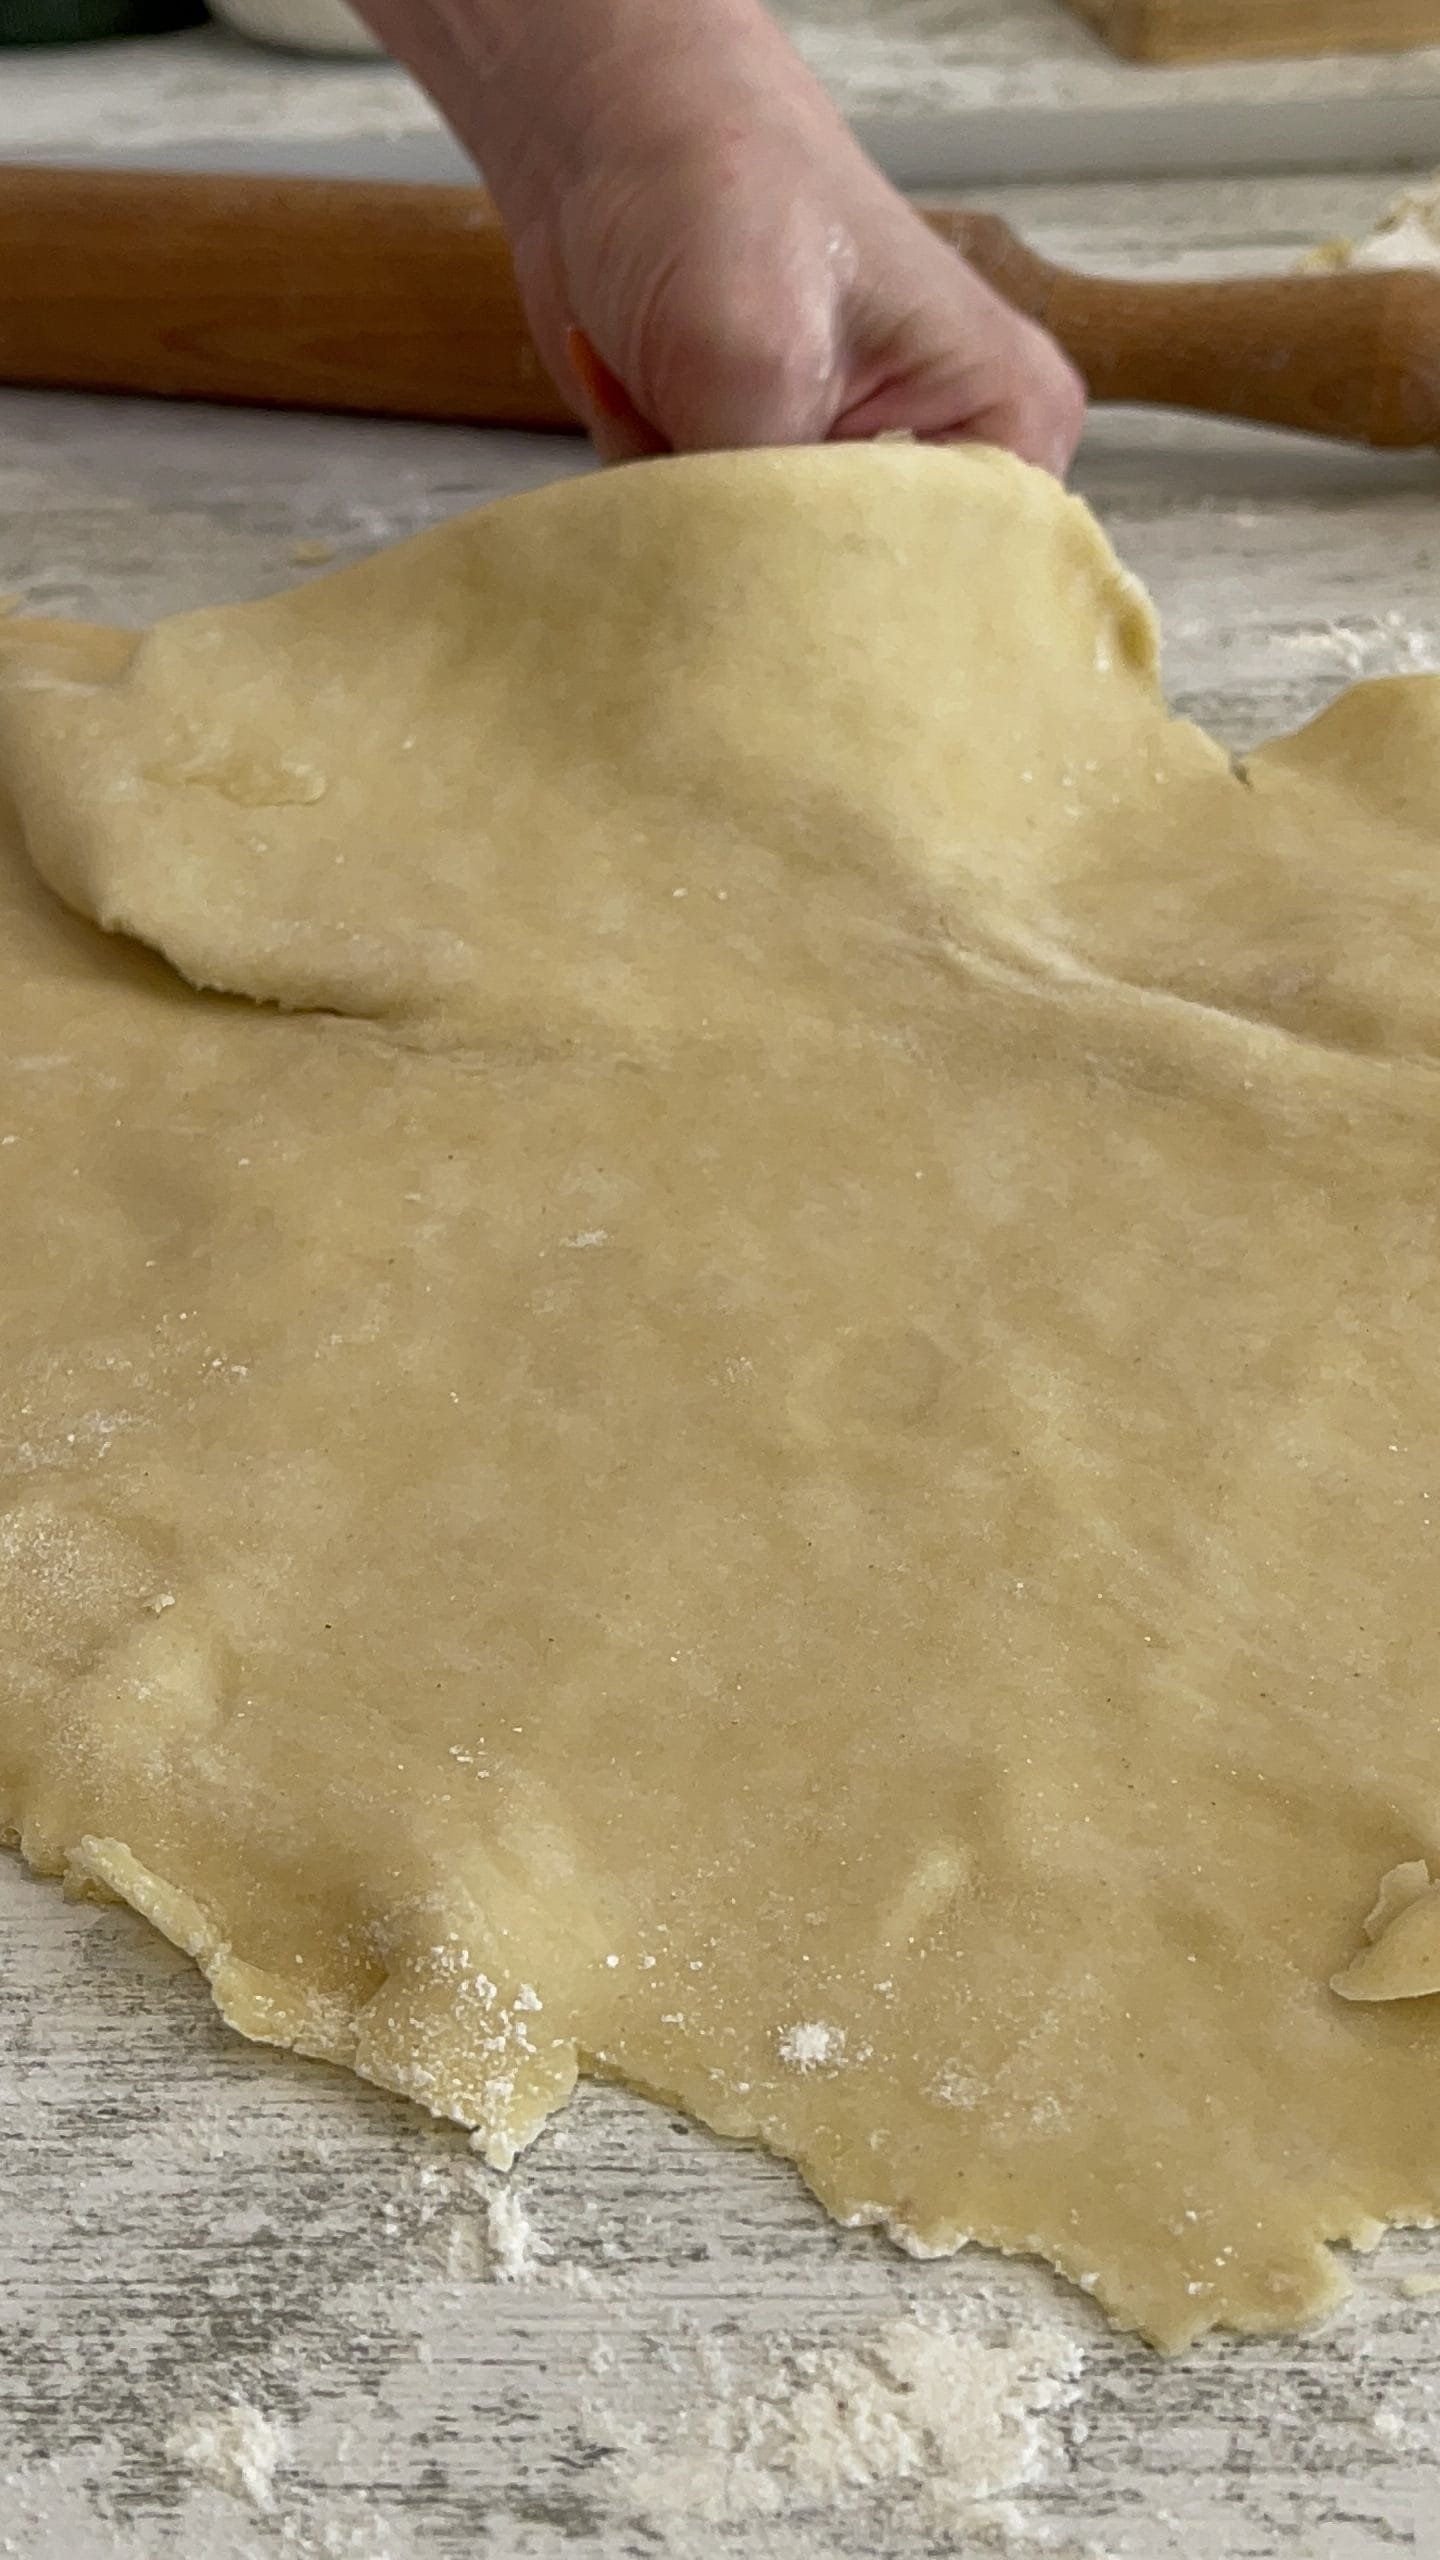
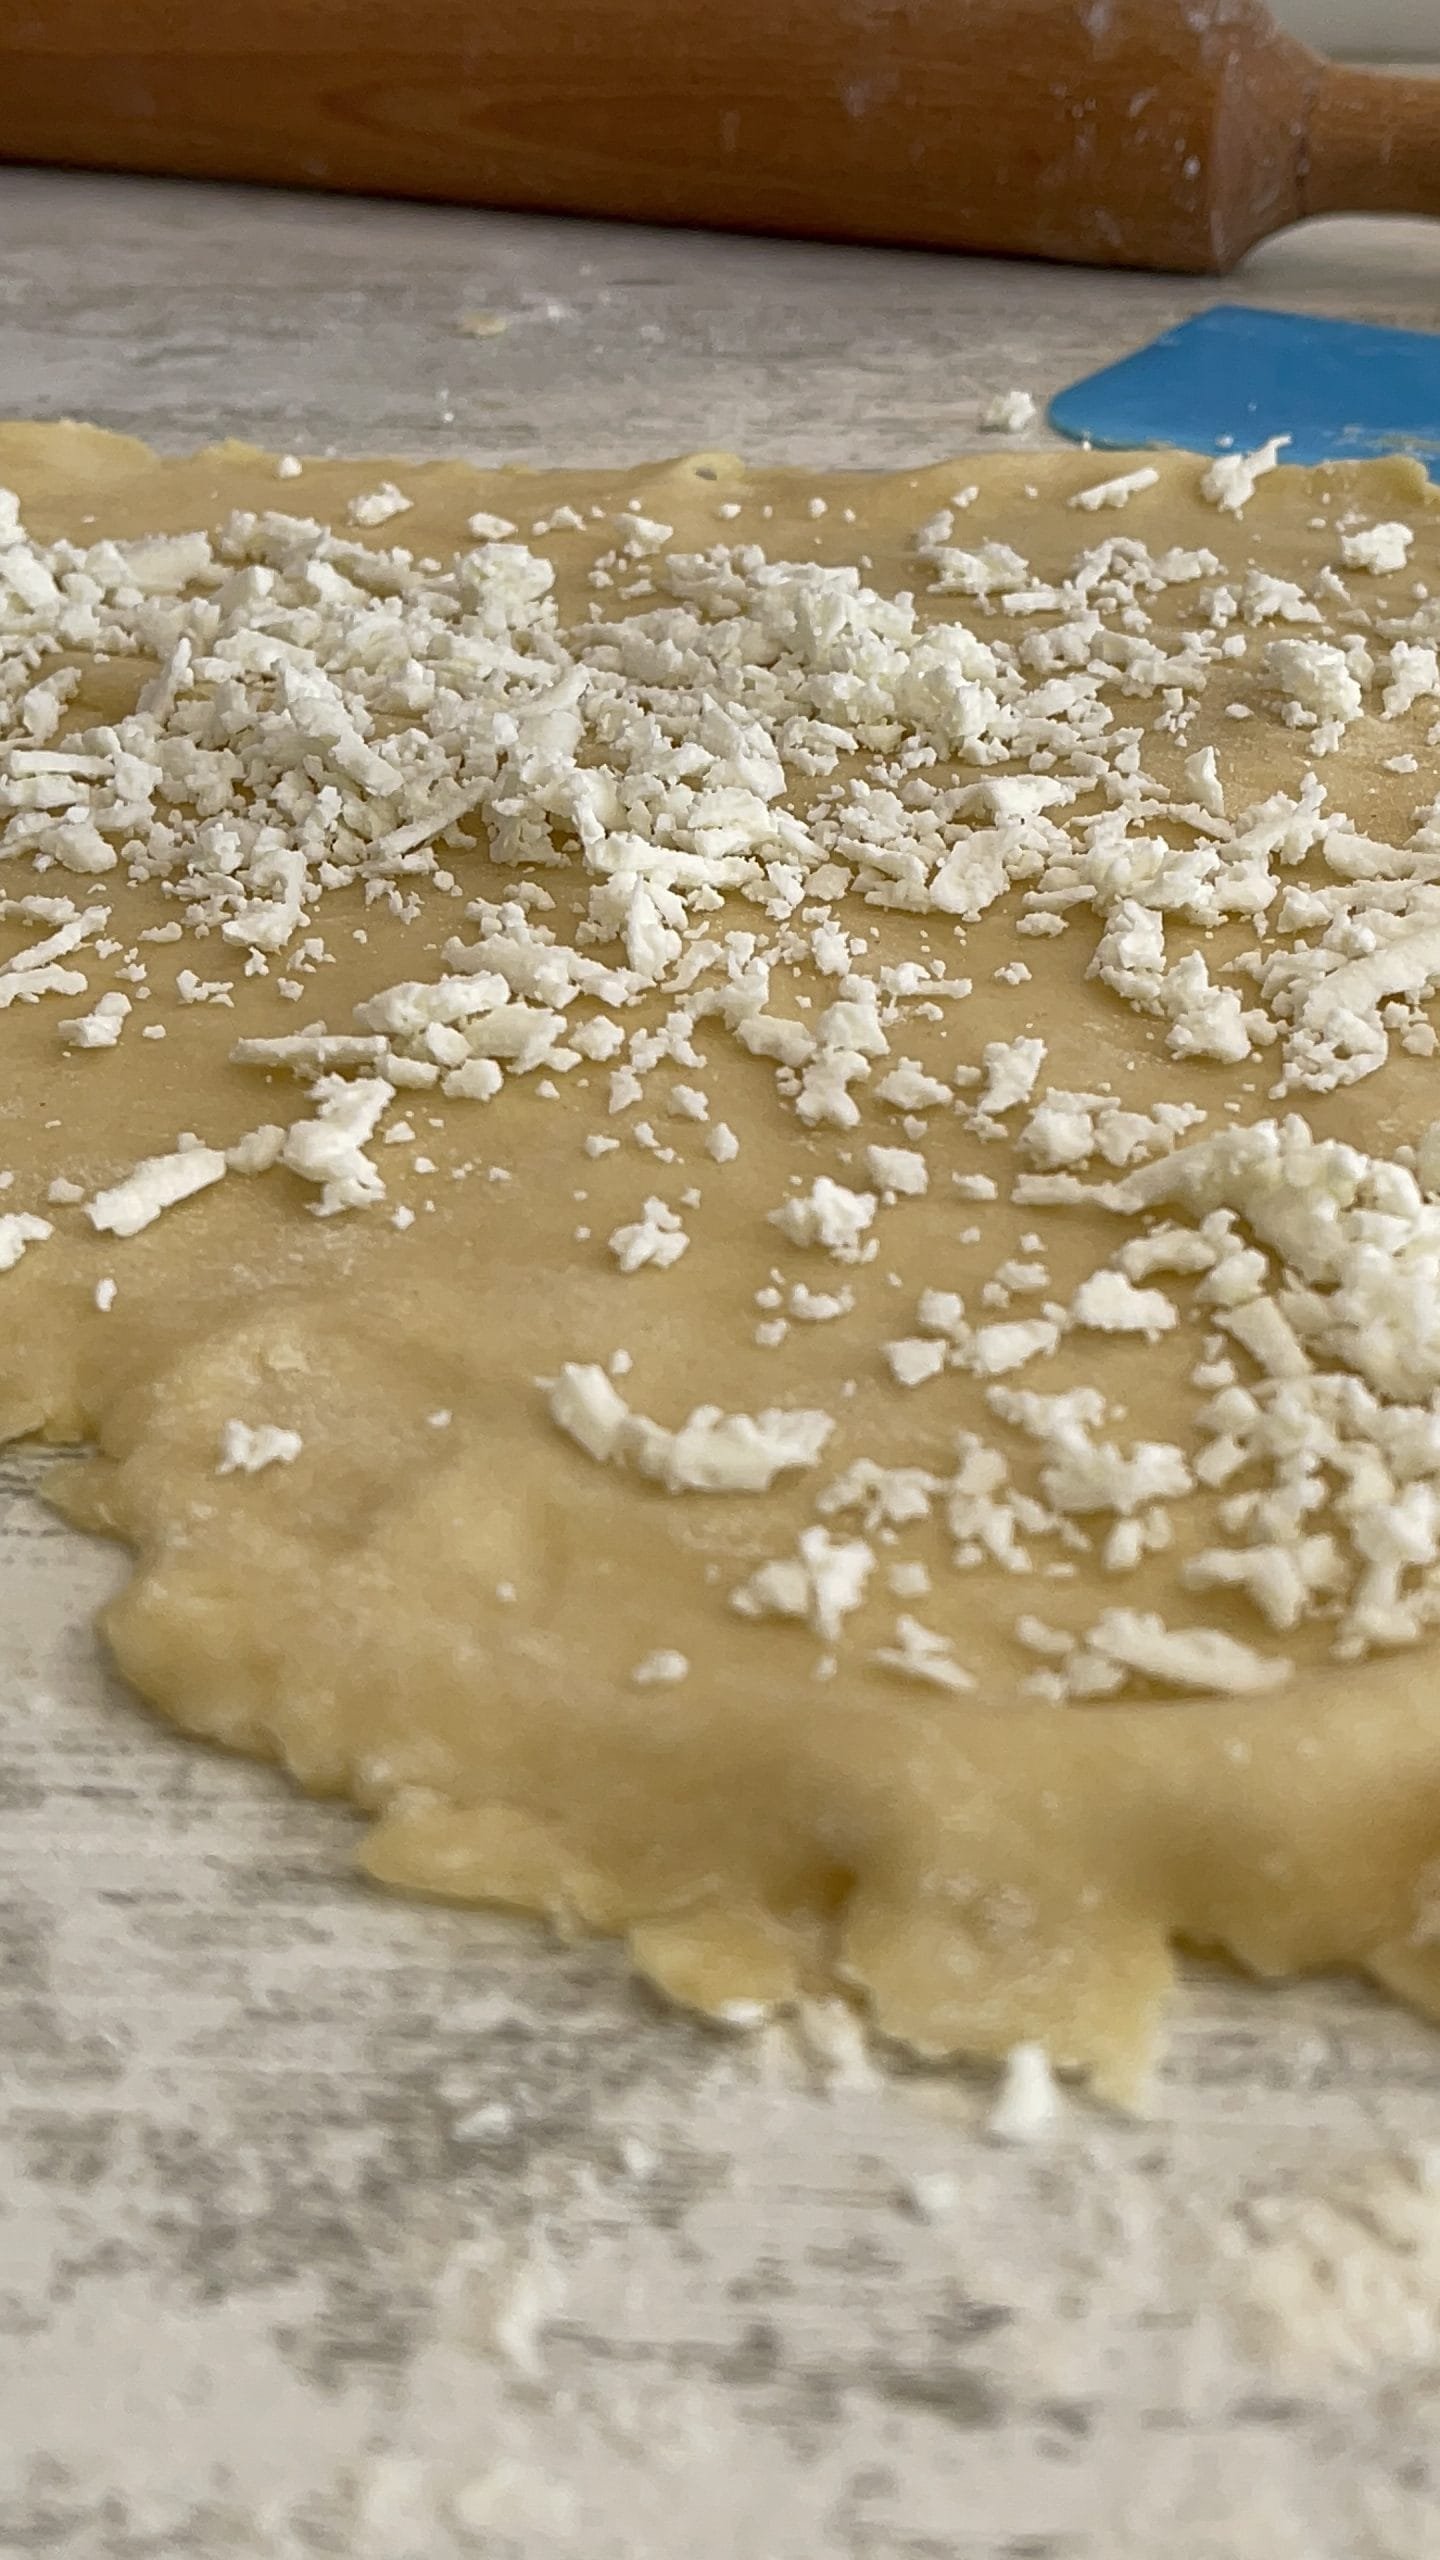
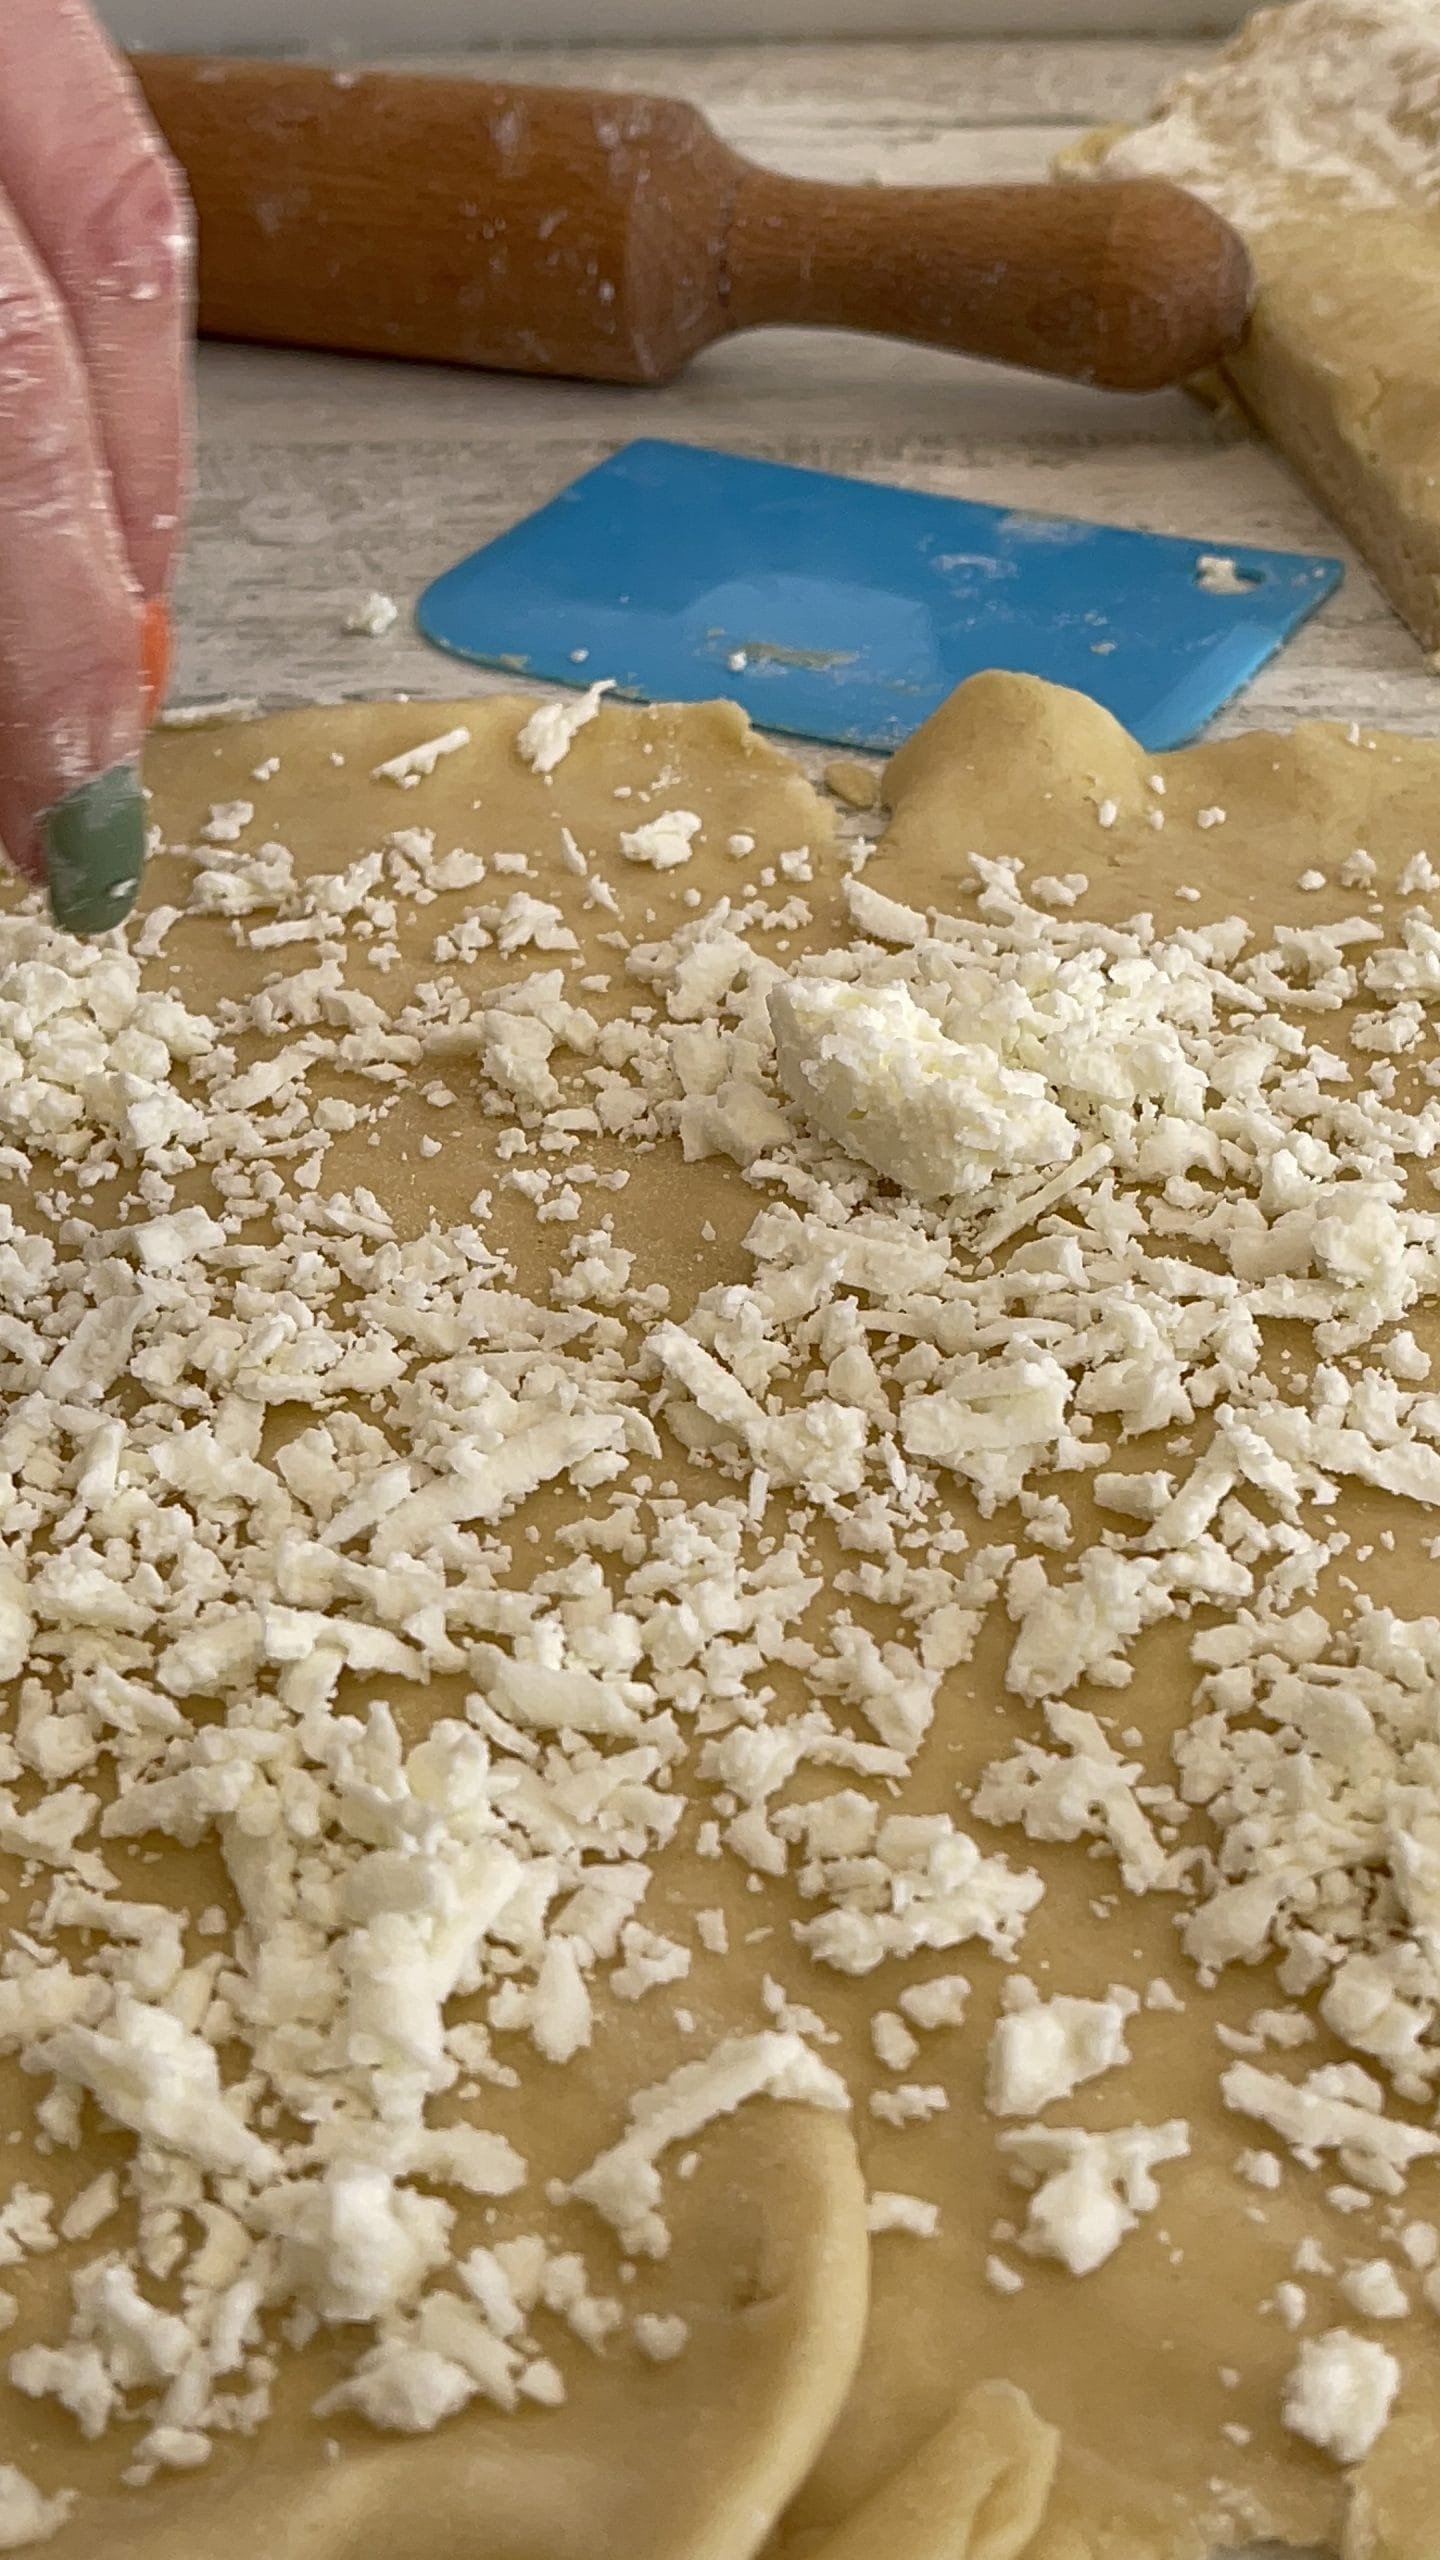
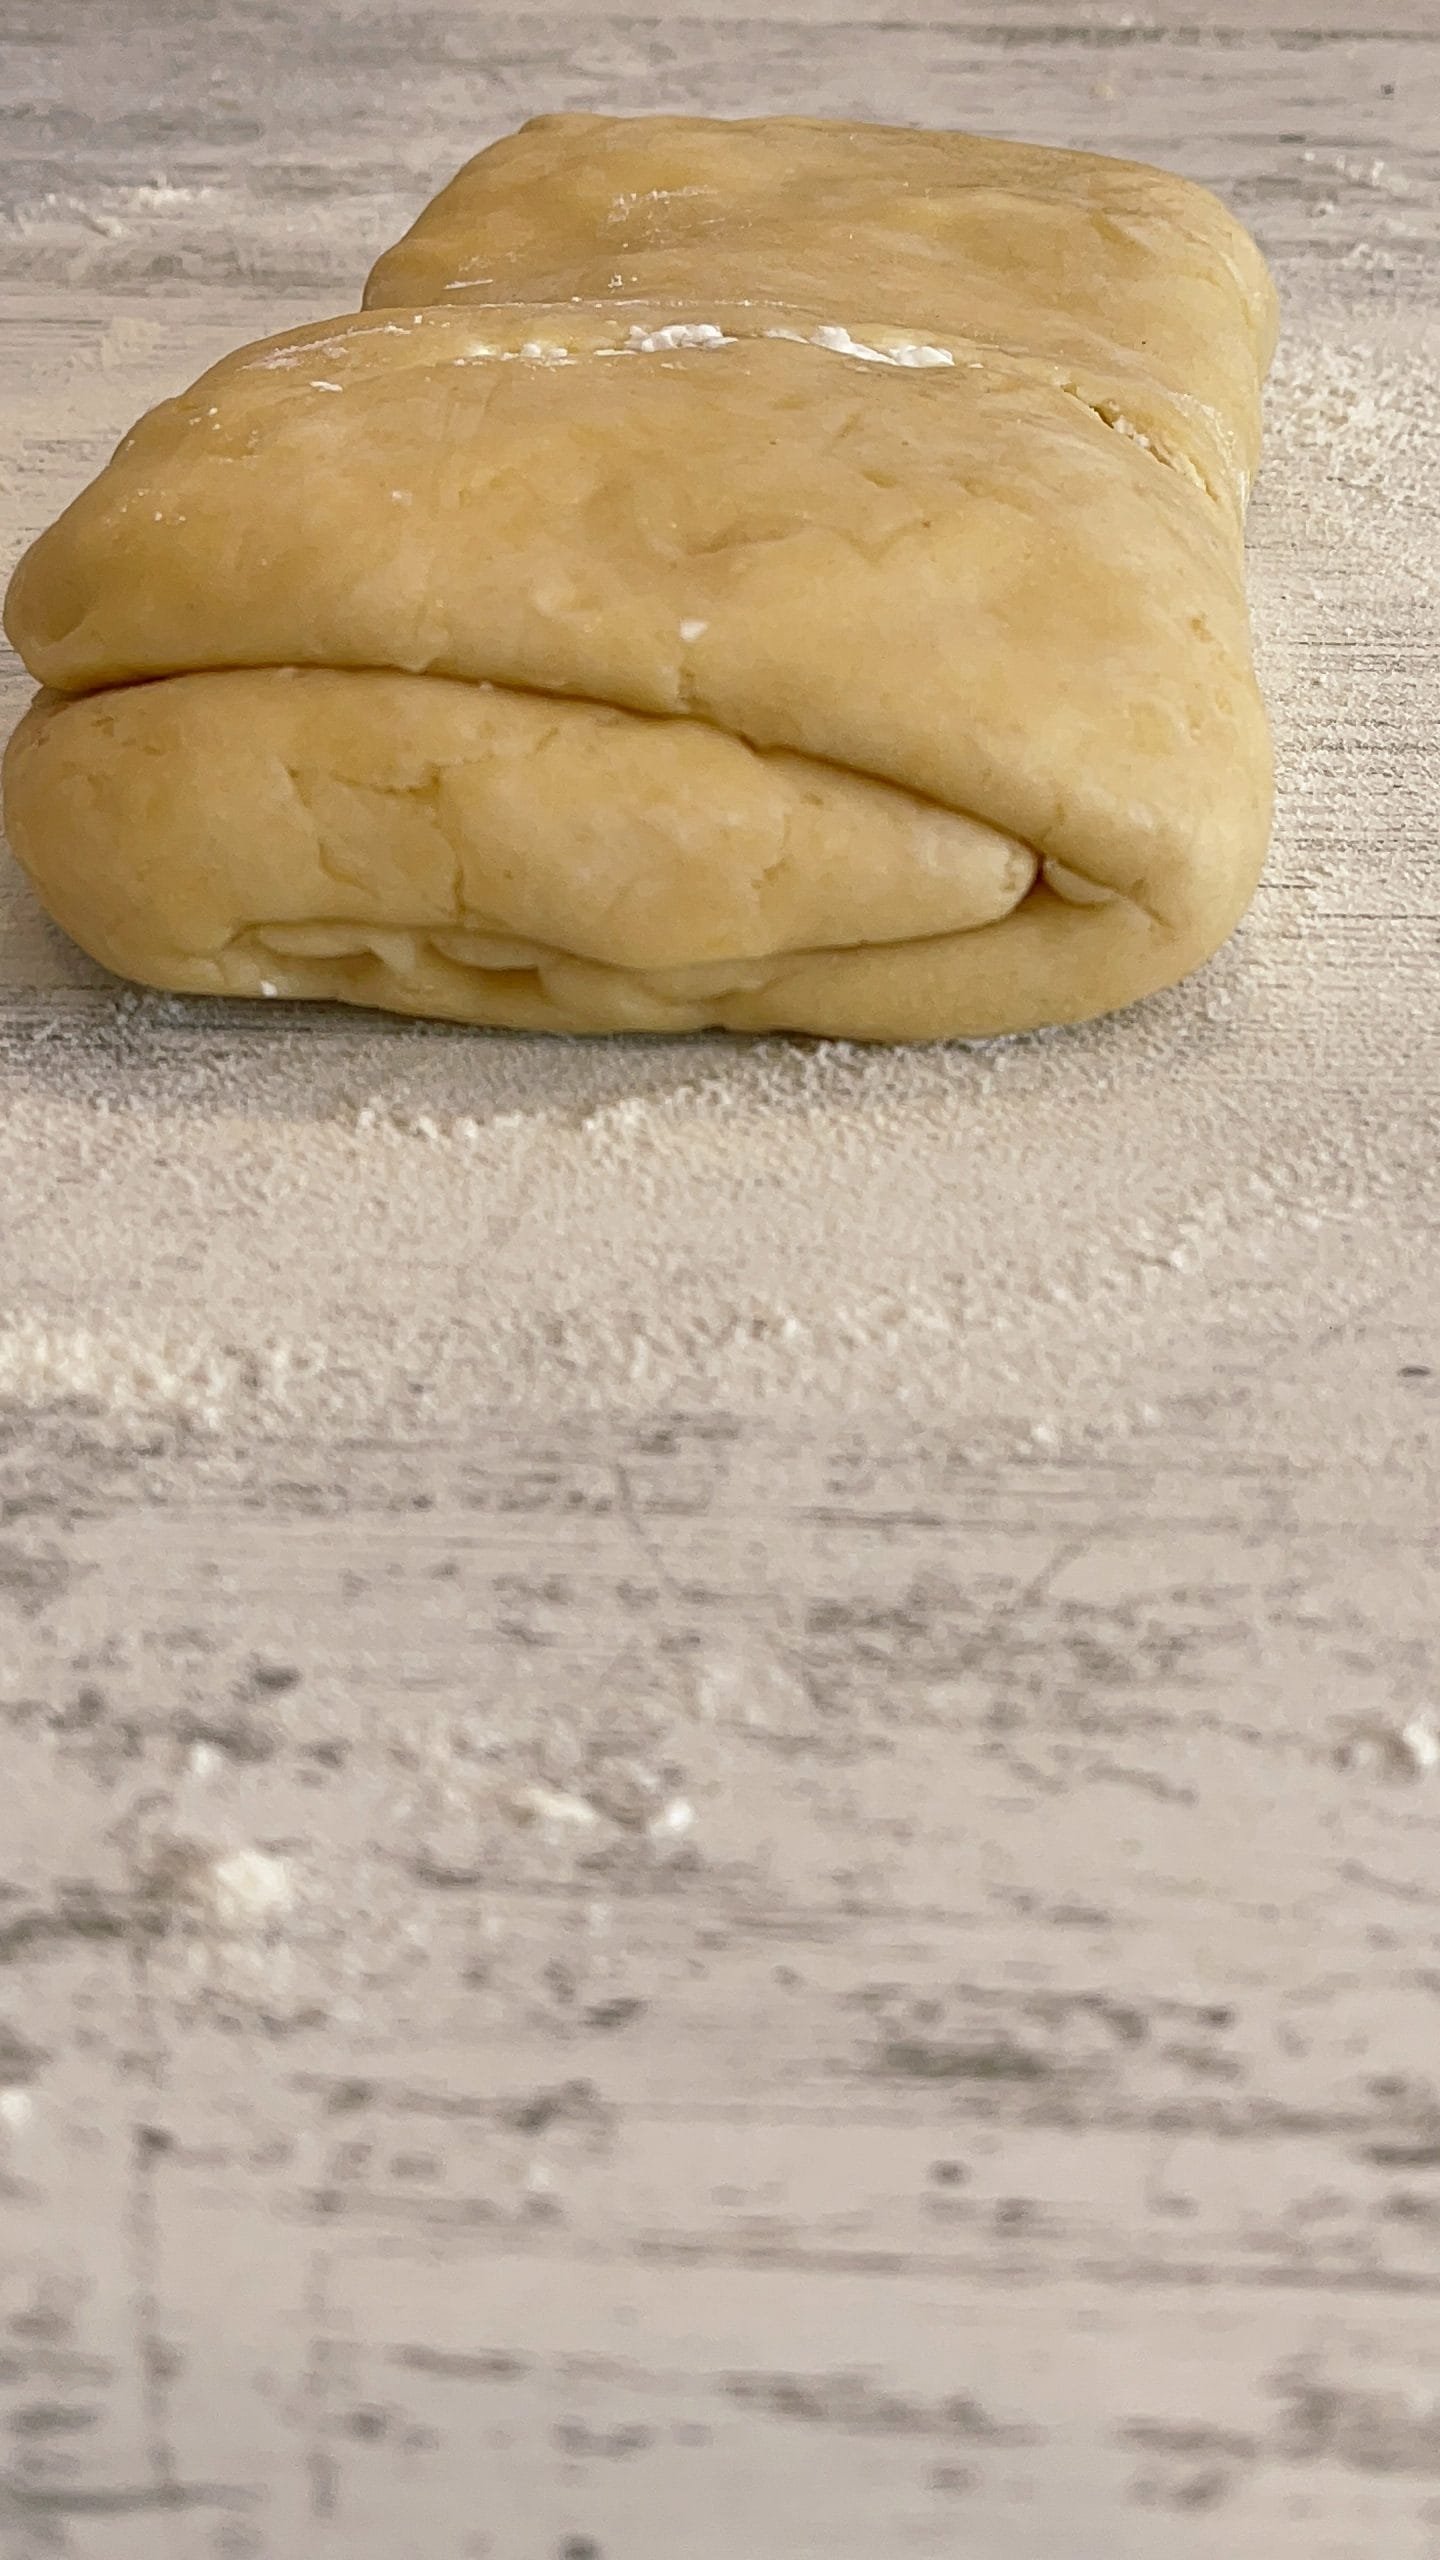
- After it has cooled, remove the dough from the foil and place it on a lightly floured table. Divide the dough in half and stretch each piece as much as you can, without breaking the dough. Grate the cheese or crumble it with a fork and distribute it evenly over the entire surface of the rolled dough.


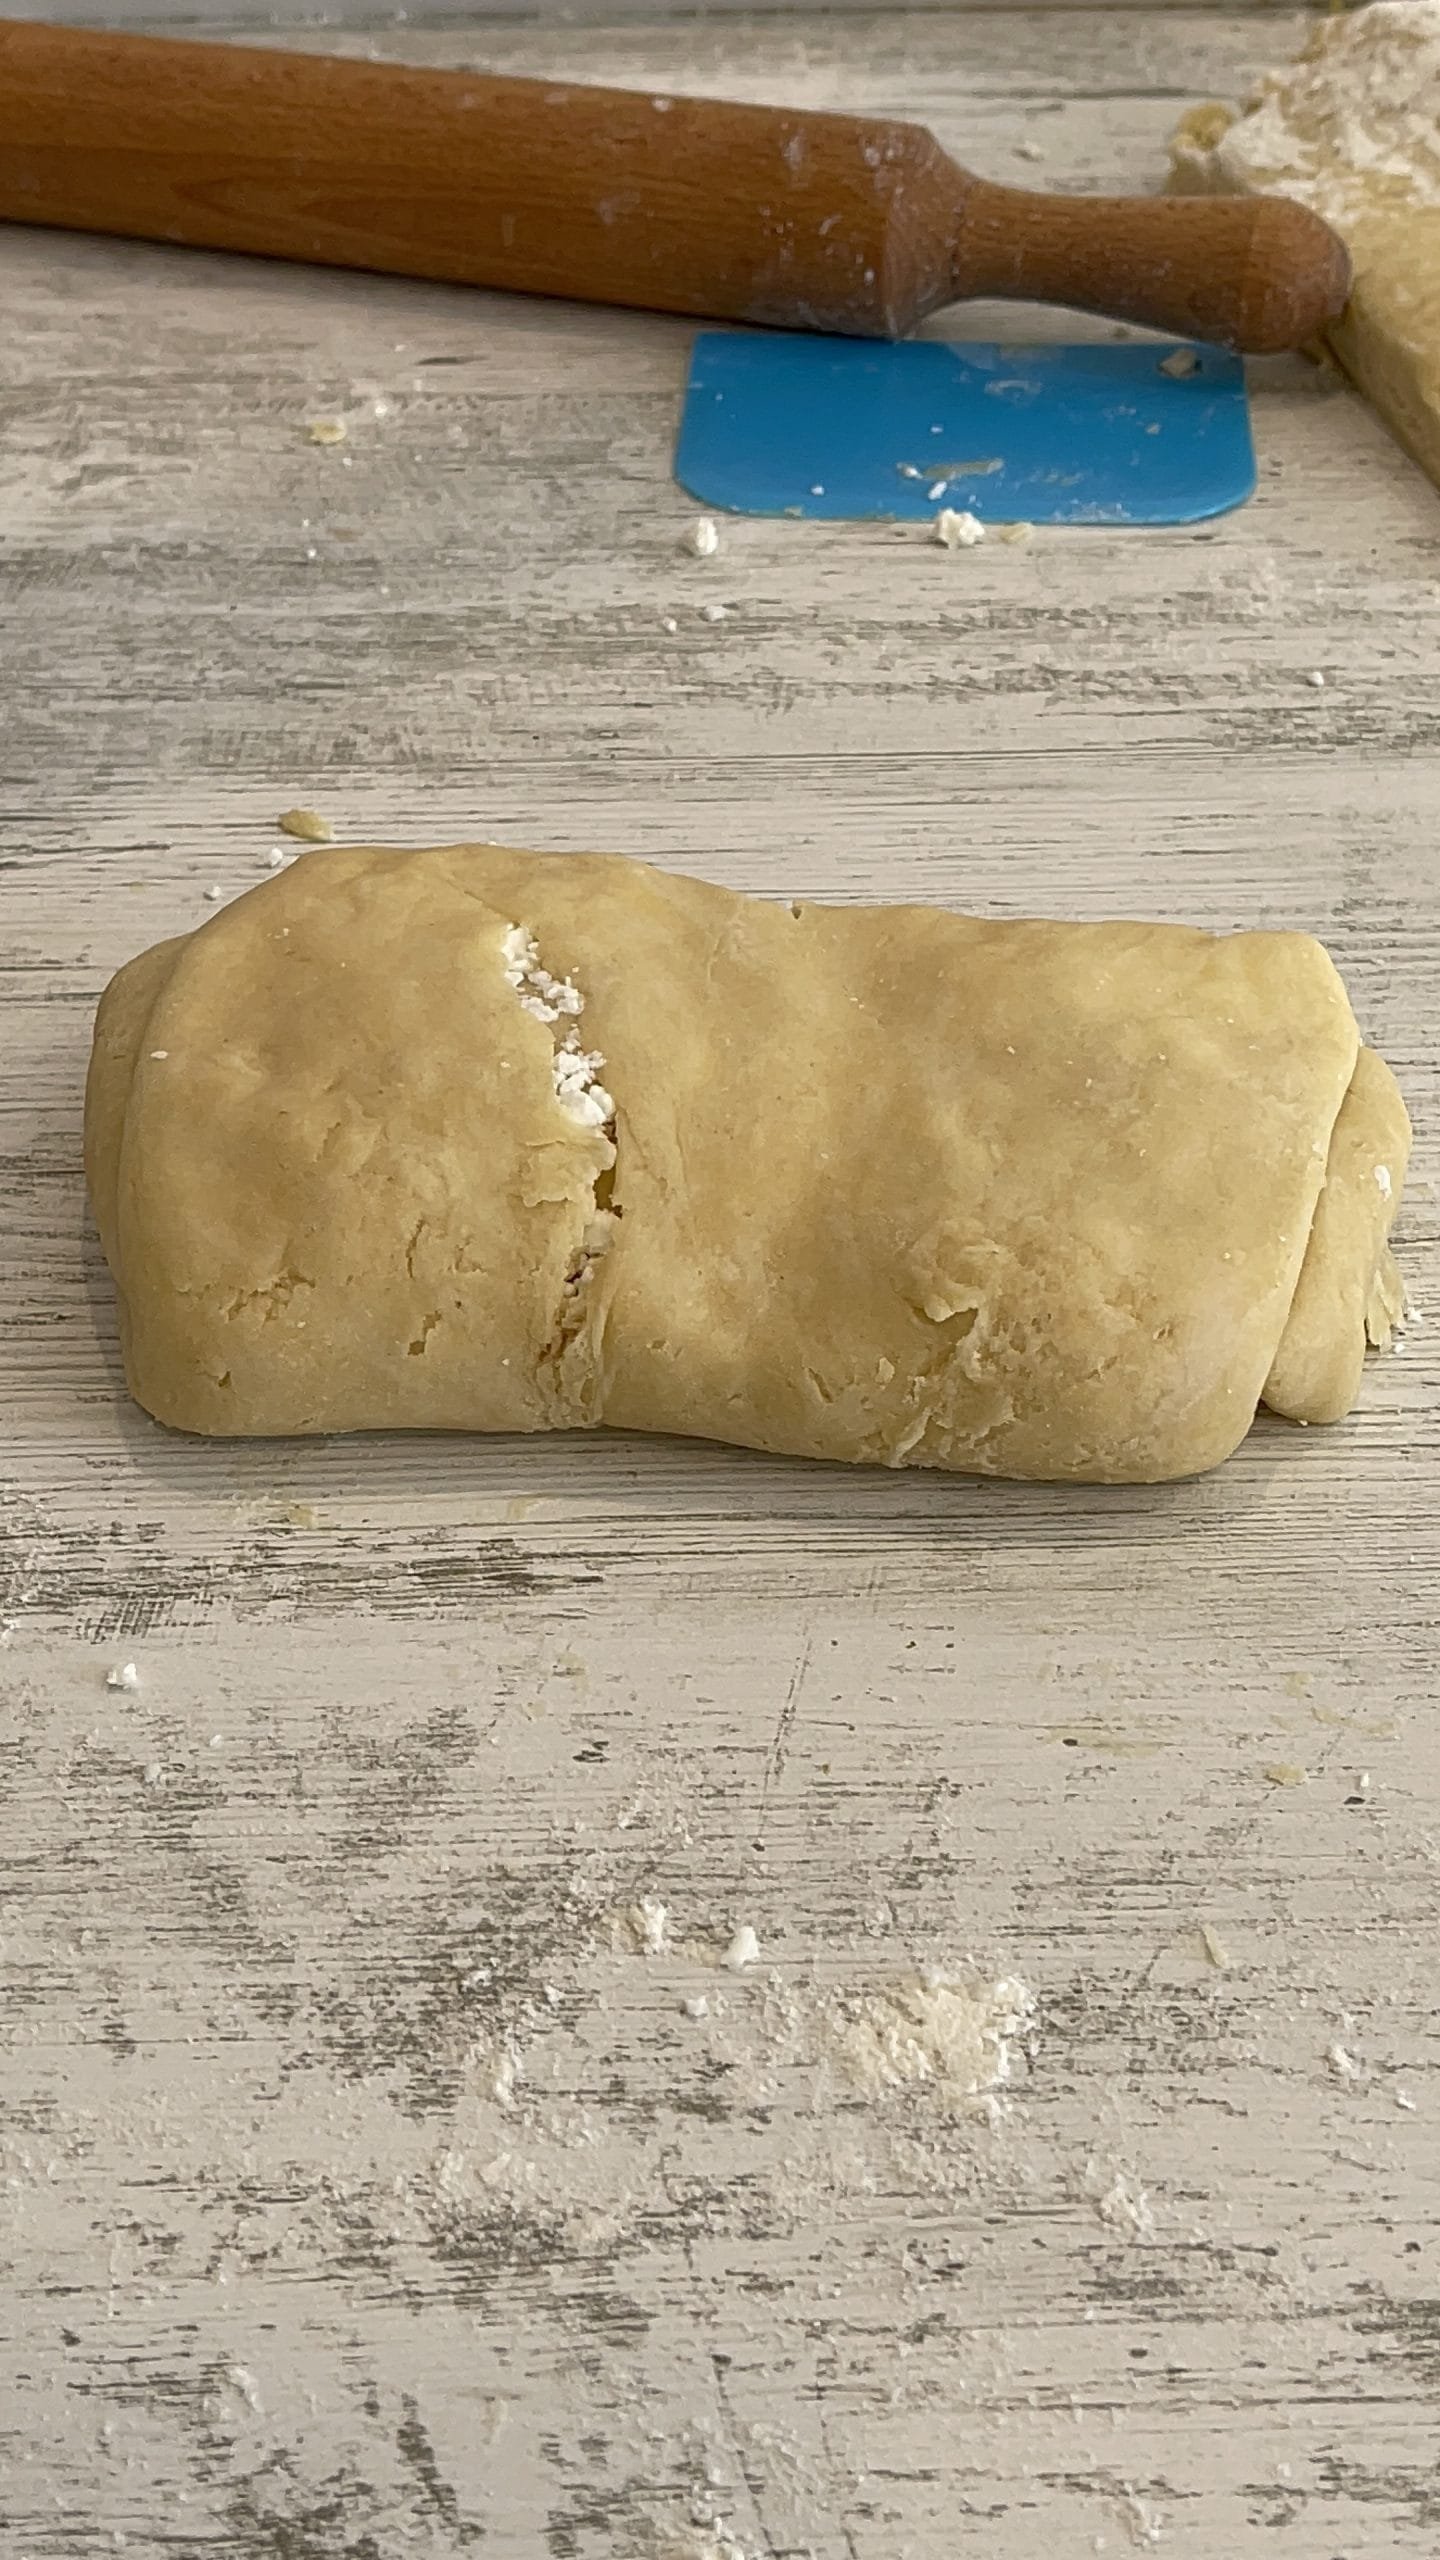
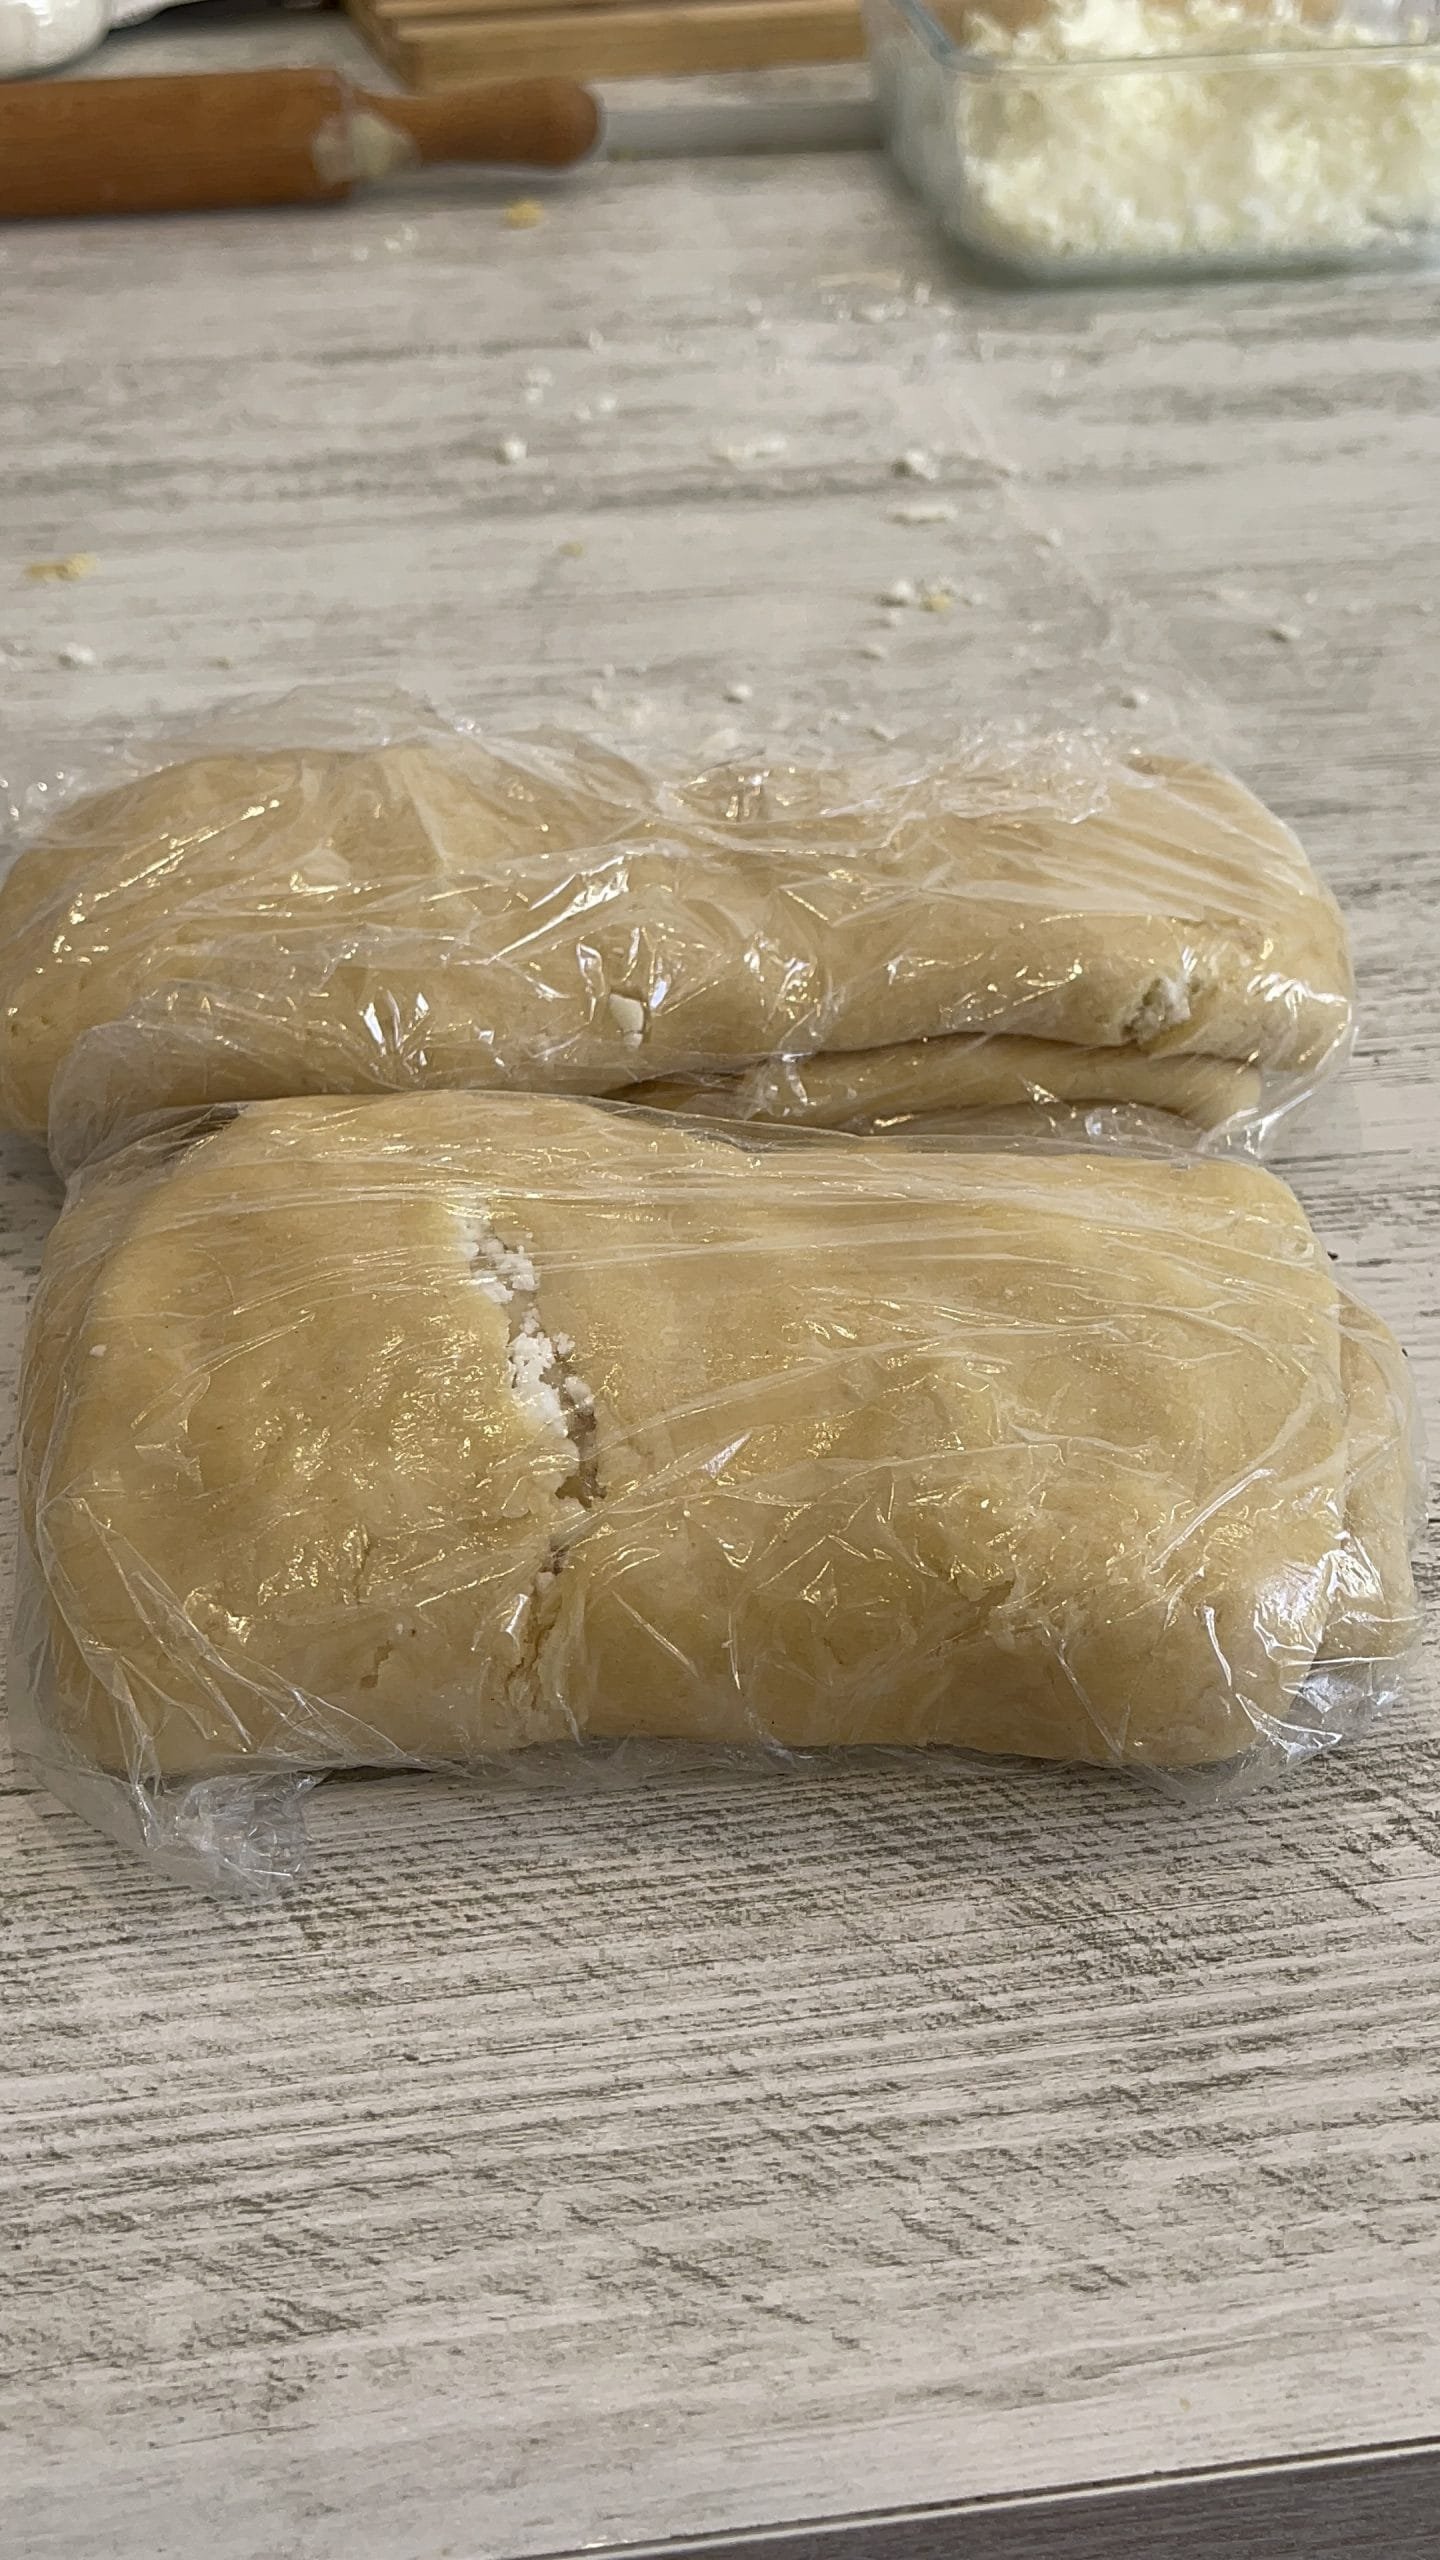
- Roll up the dough as tightly as possible and wrap the rolls back in food foil. We put them in the fridge again for half an hour, they need to rest. If you want, you can incorporate the cheese into the dough from the beginning, I prefer this option because it seems to me that the taste of the cheese is better and the large pieces remain in the dough.


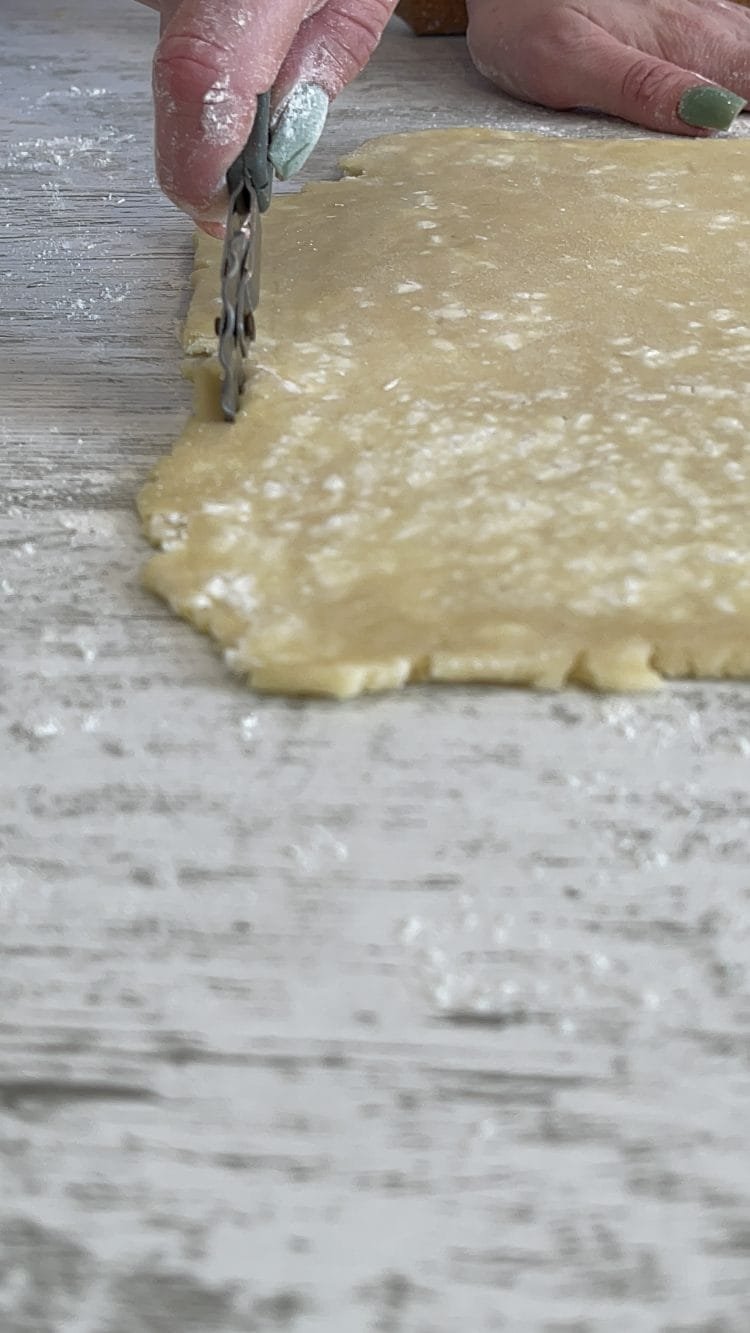
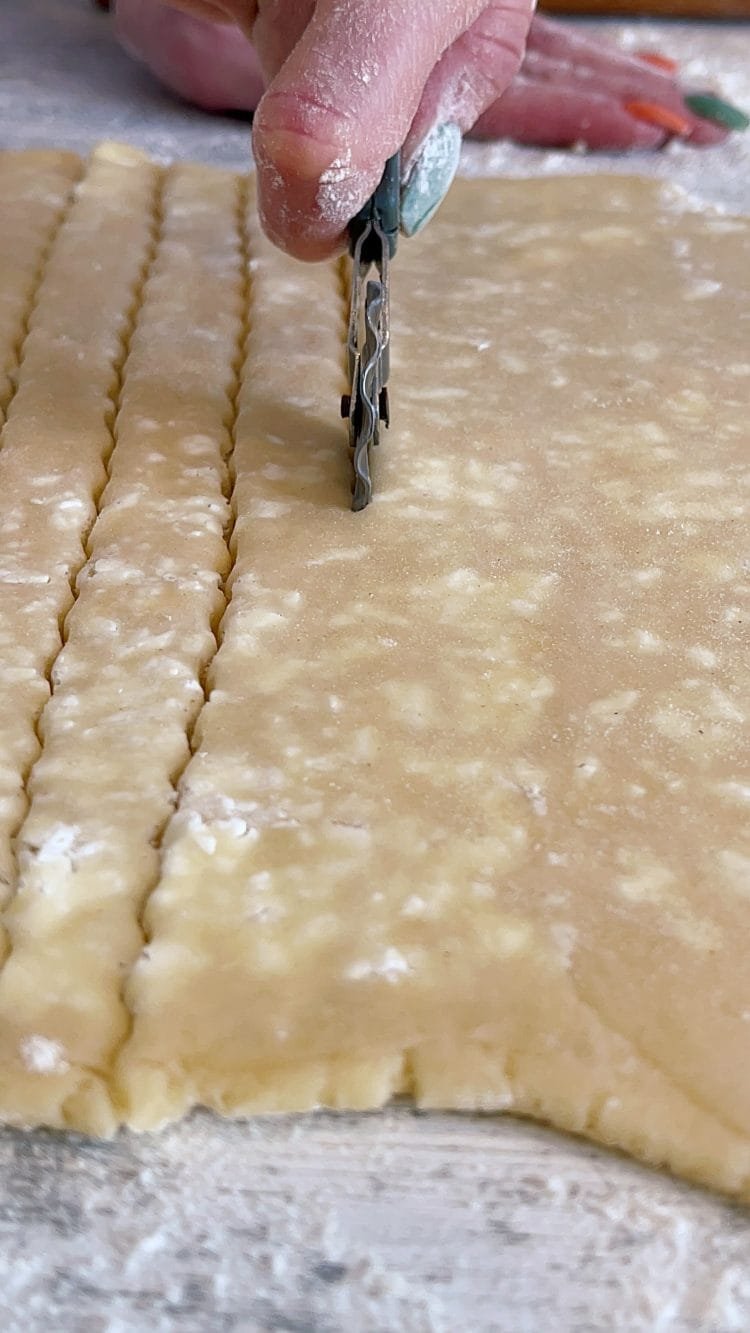
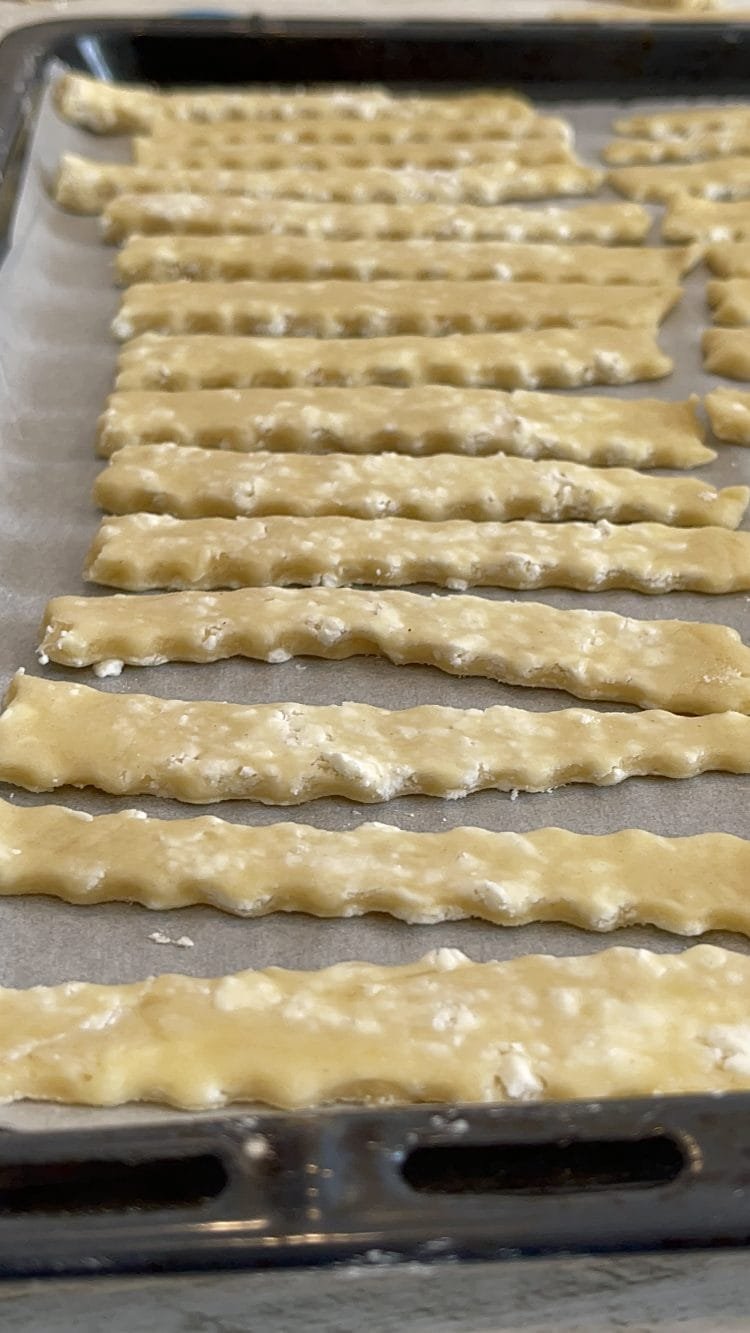
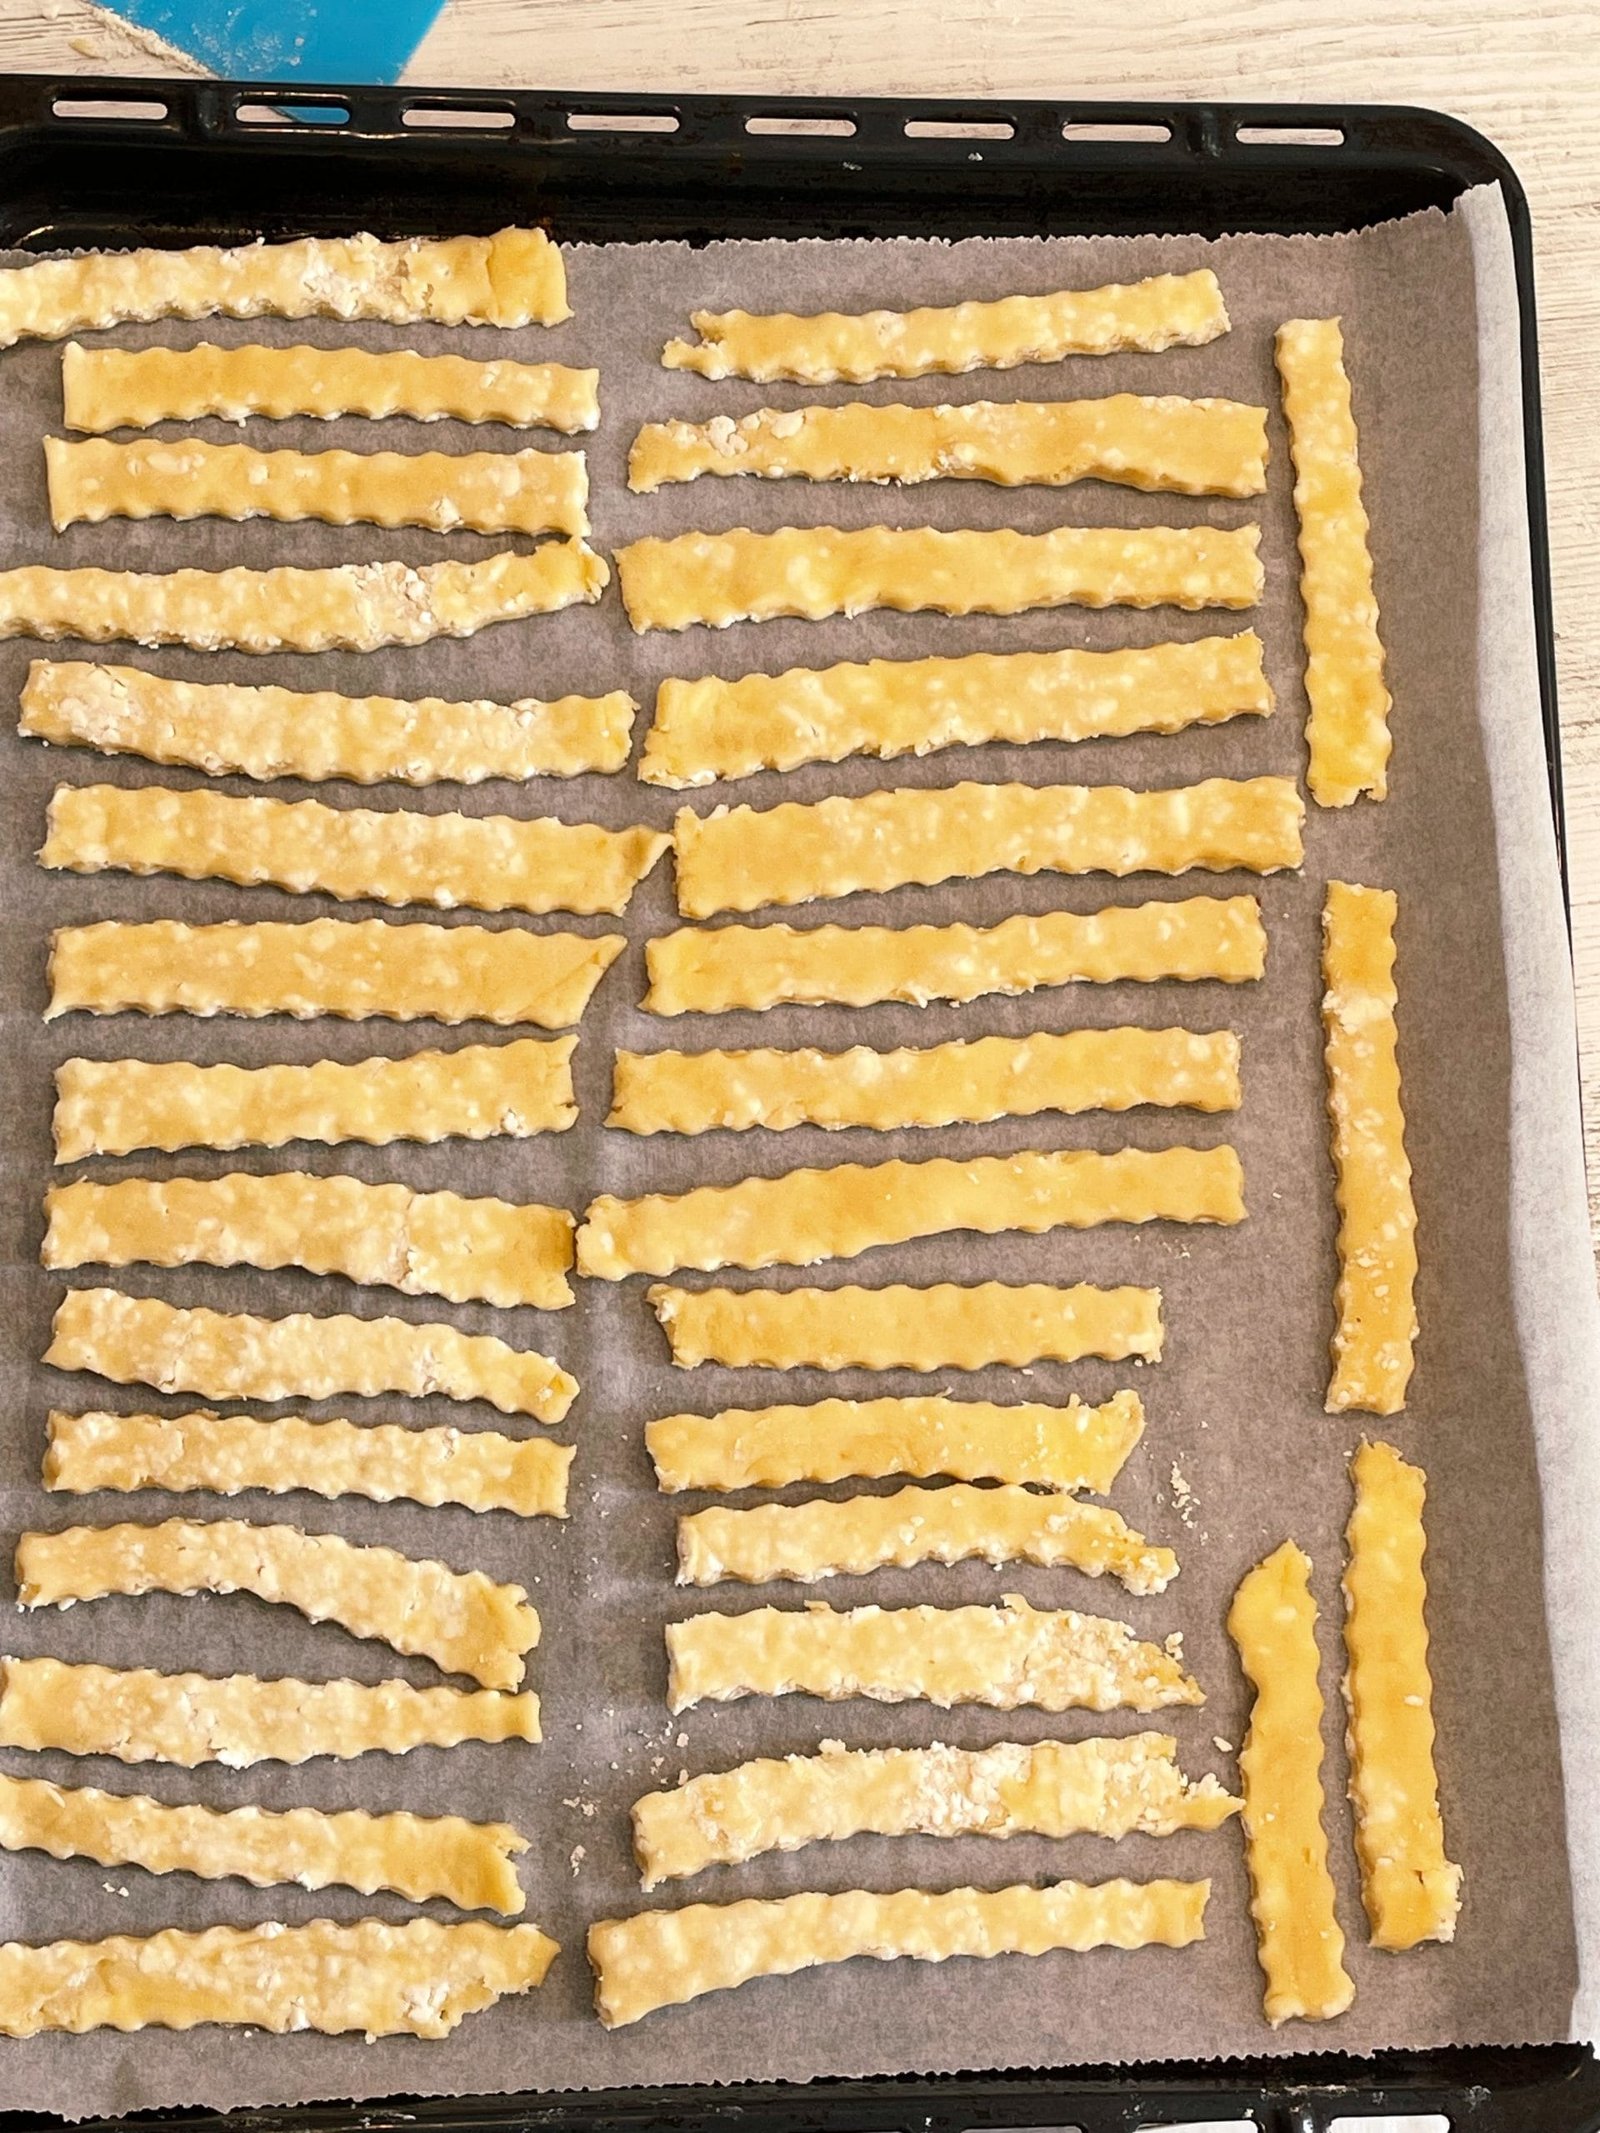
- We work the dough in turn and remove only one piece from the refrigerator. We unpack the foil and spread a sheet of approximately 4-5 mm thickness. straighten the edges and then cut into the desired shape. I chose the classic version from my childhood, namely long canes. Carefully transfer the salted crackers with cheese onto a tray lined with baking paper.


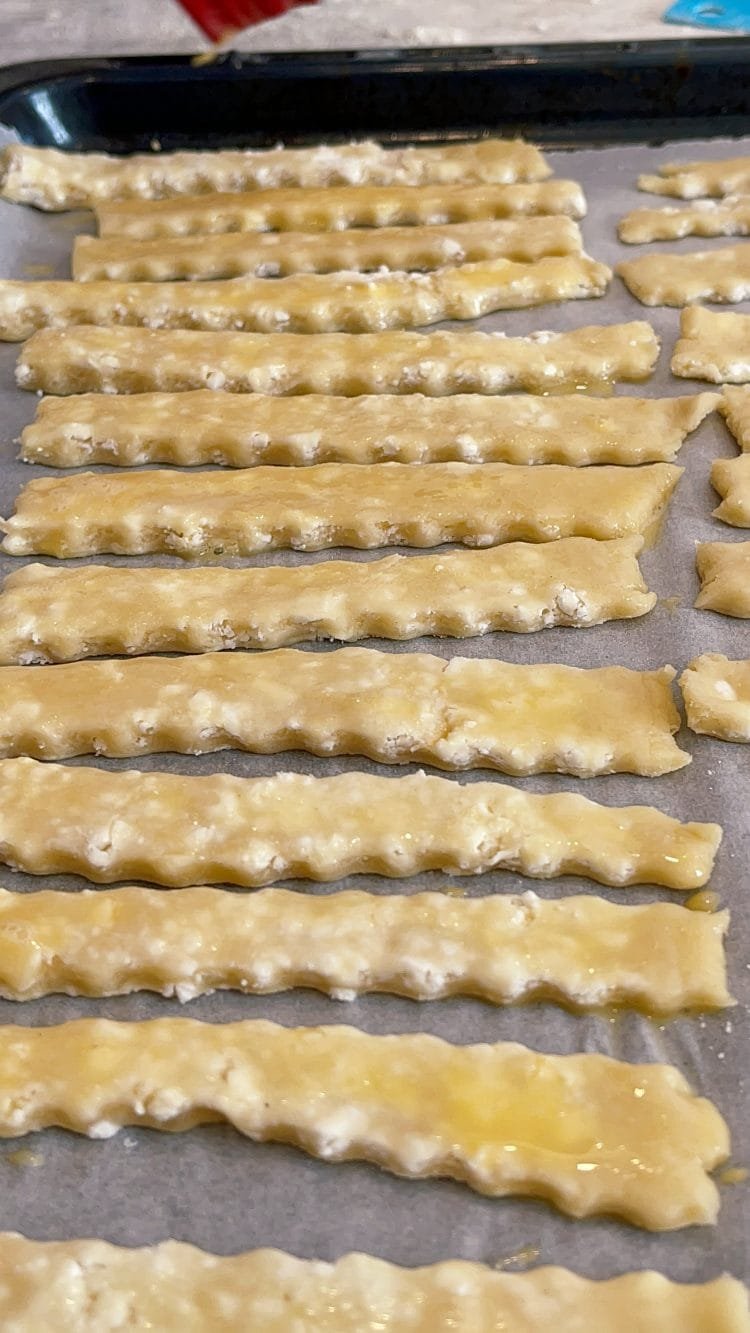
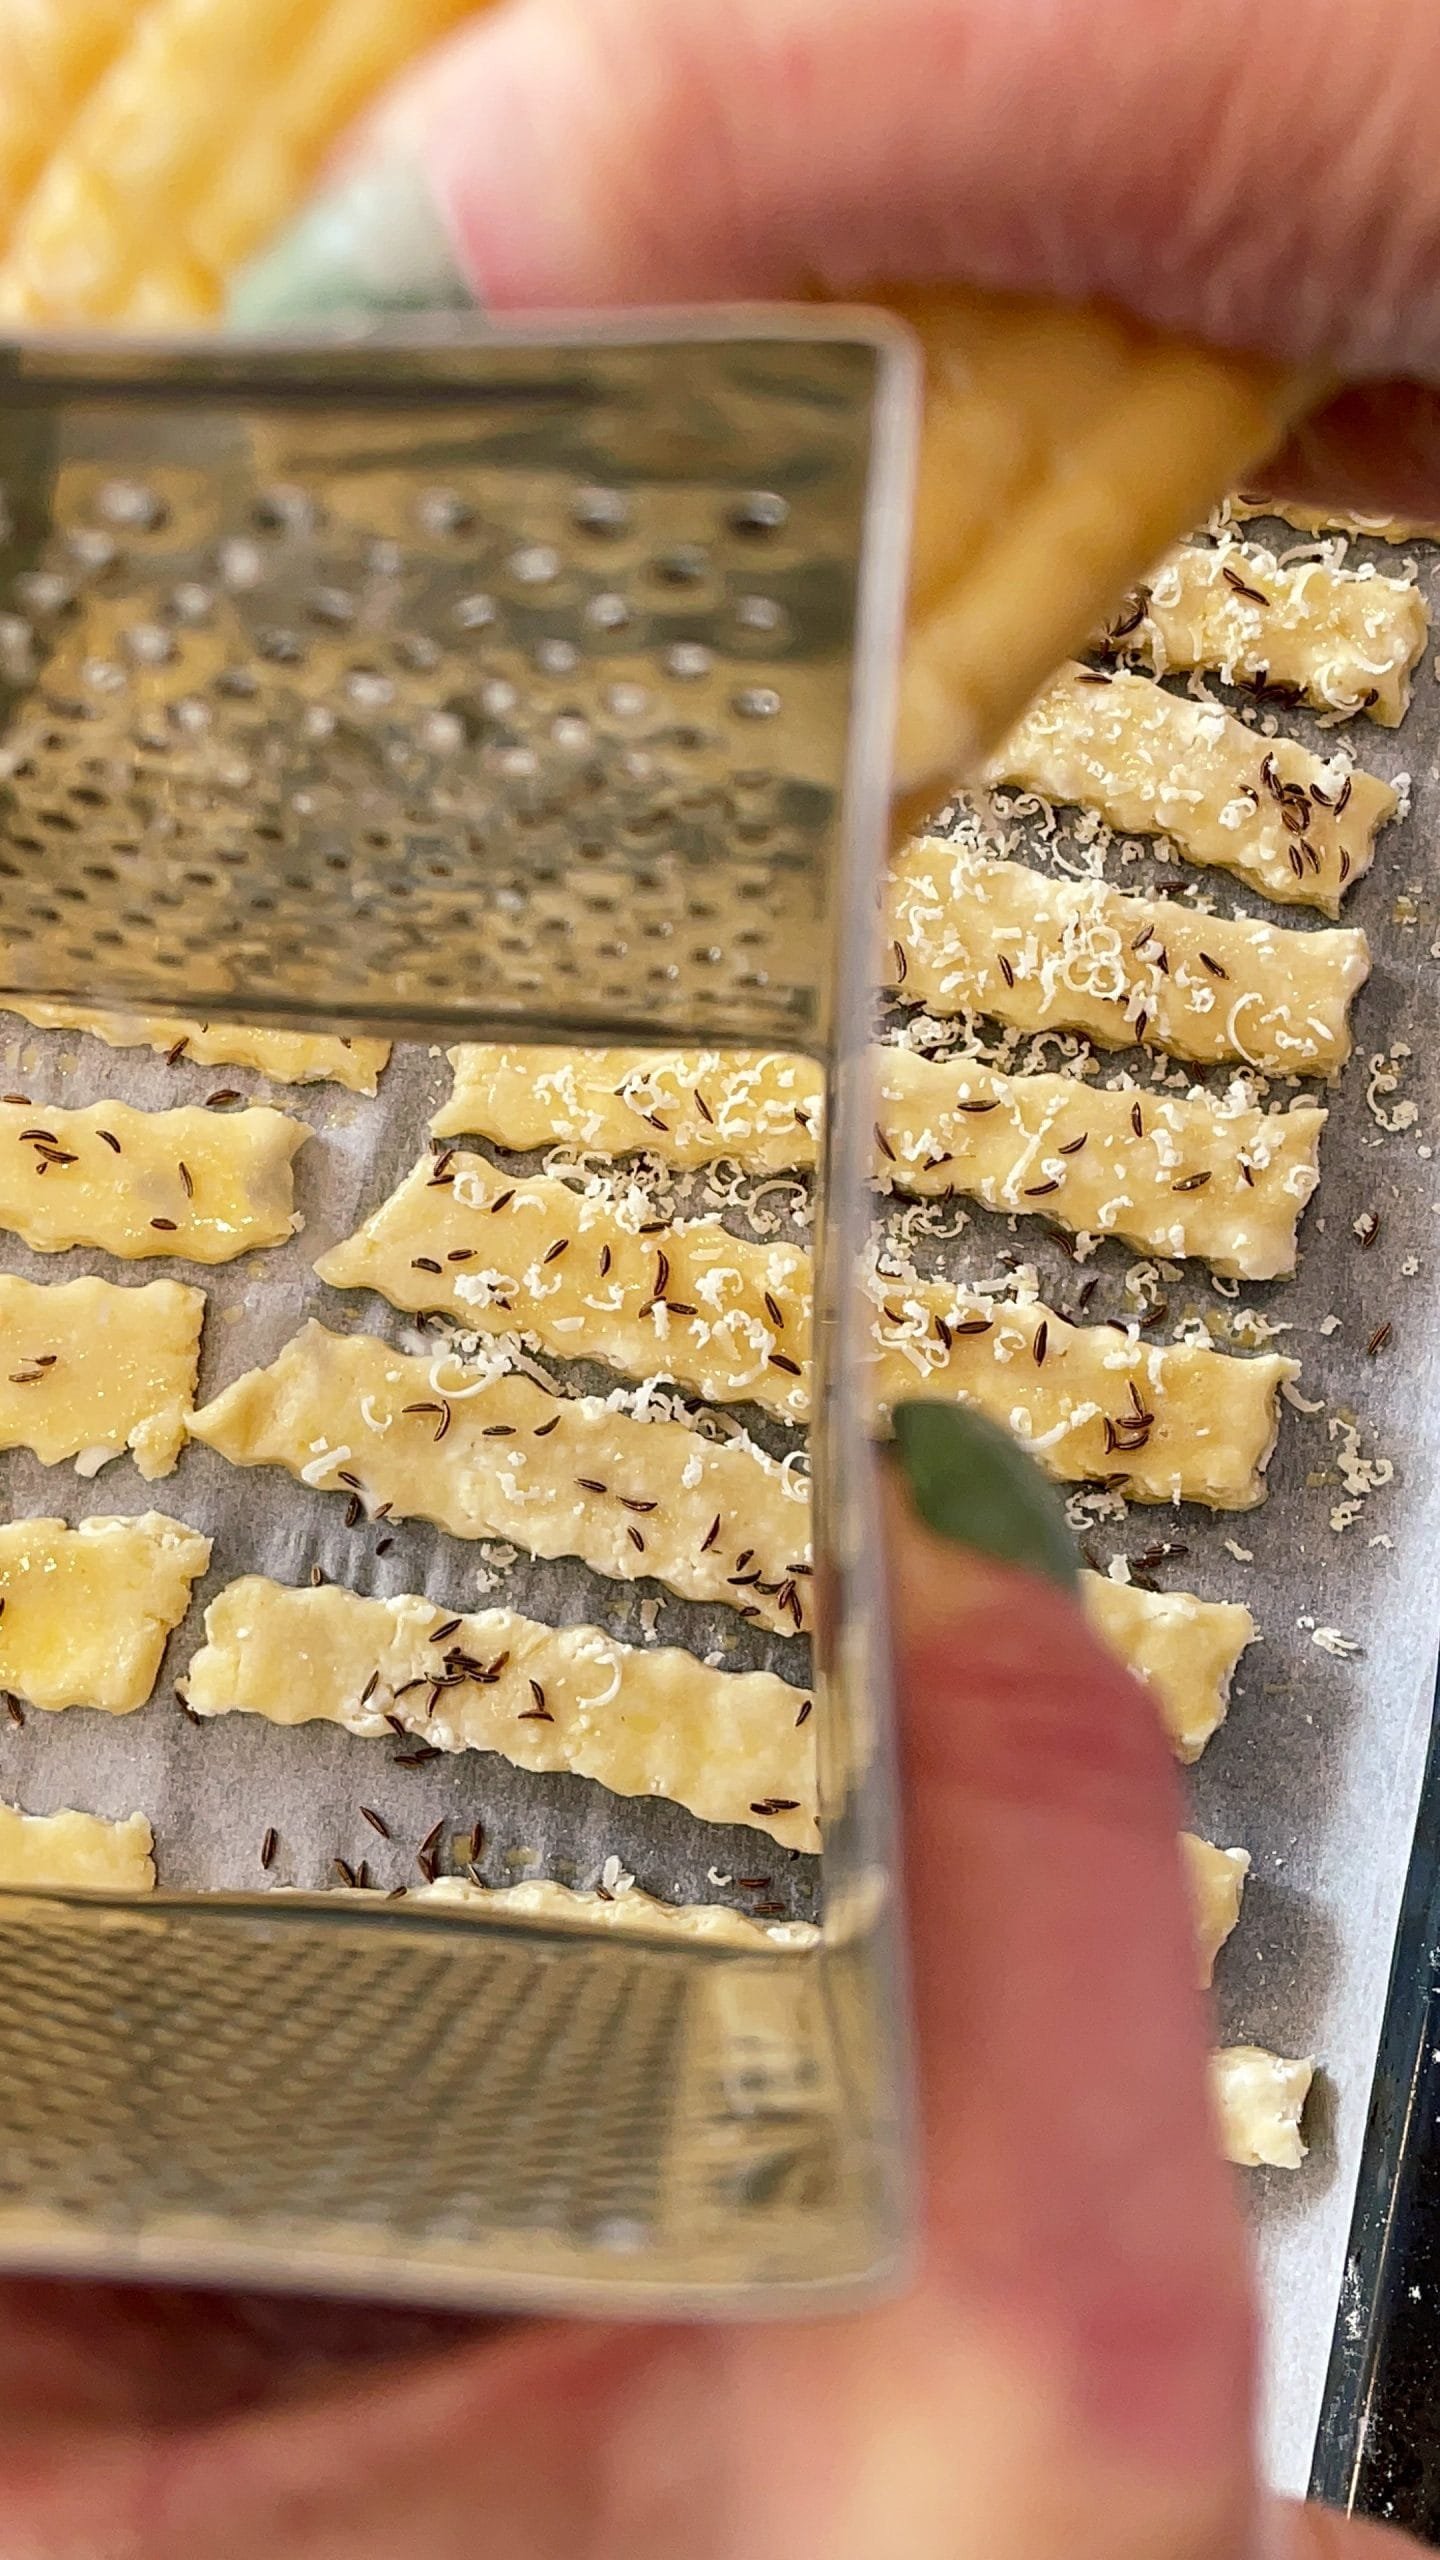
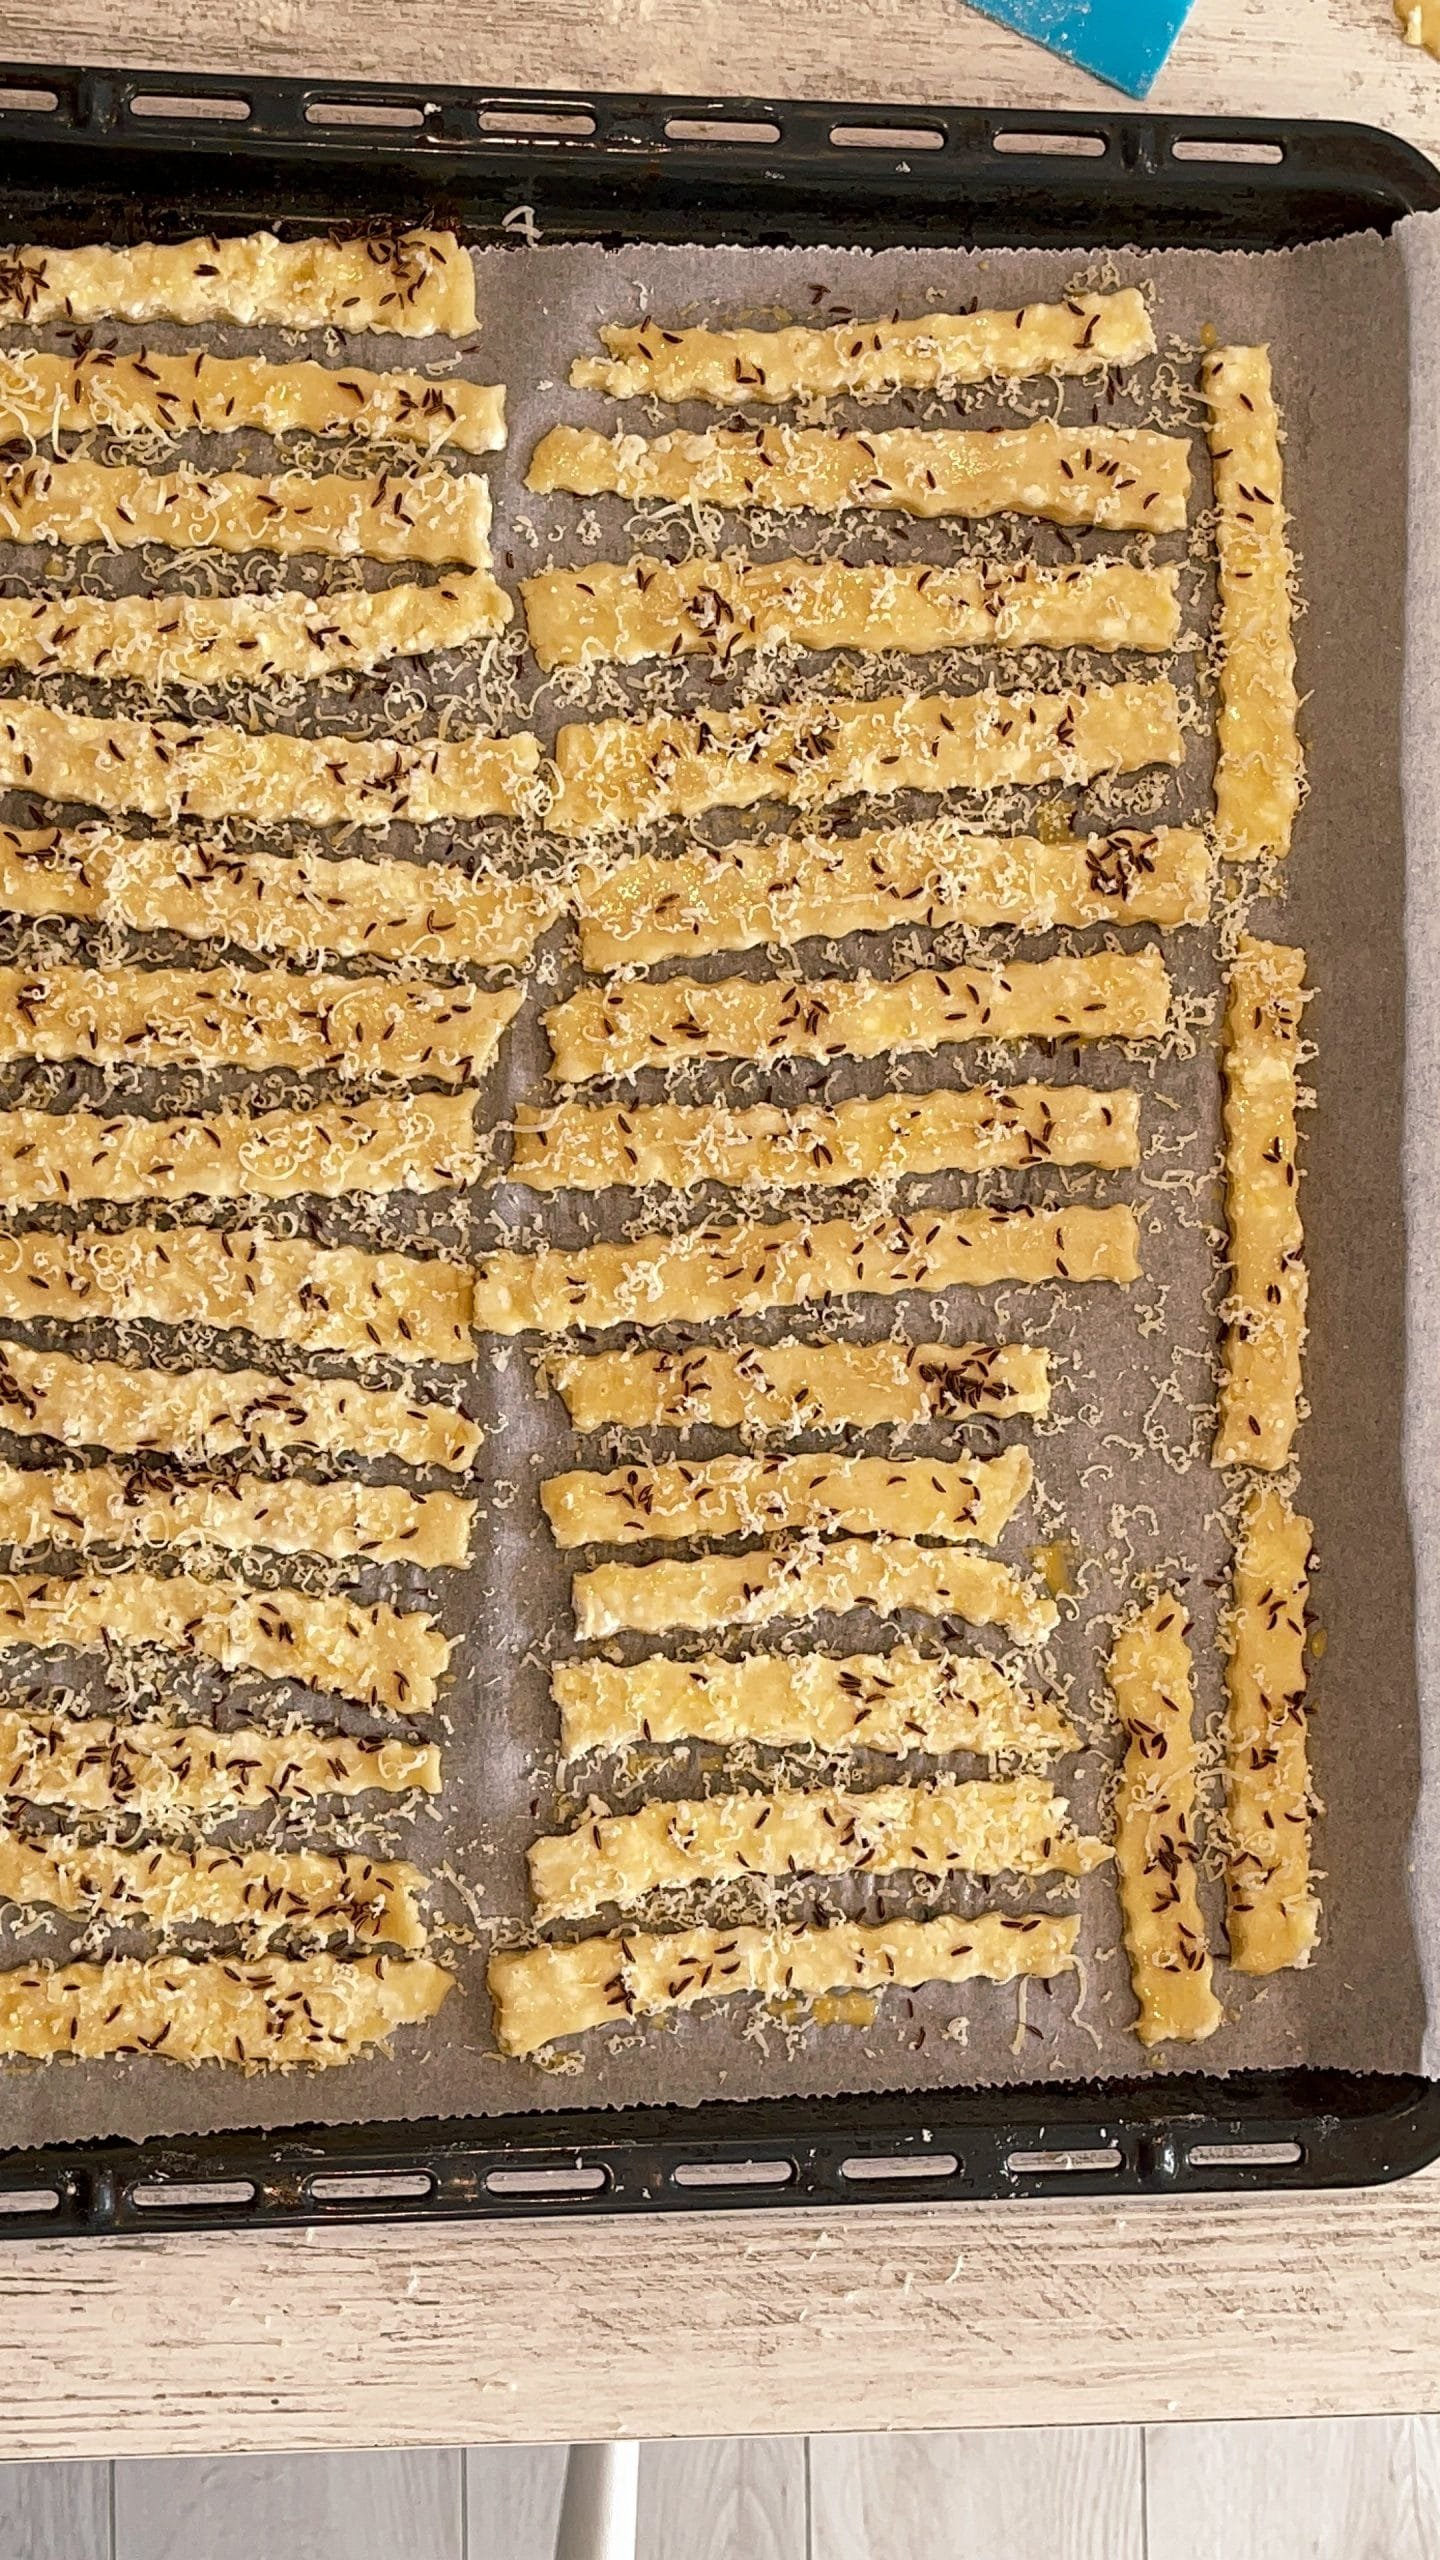
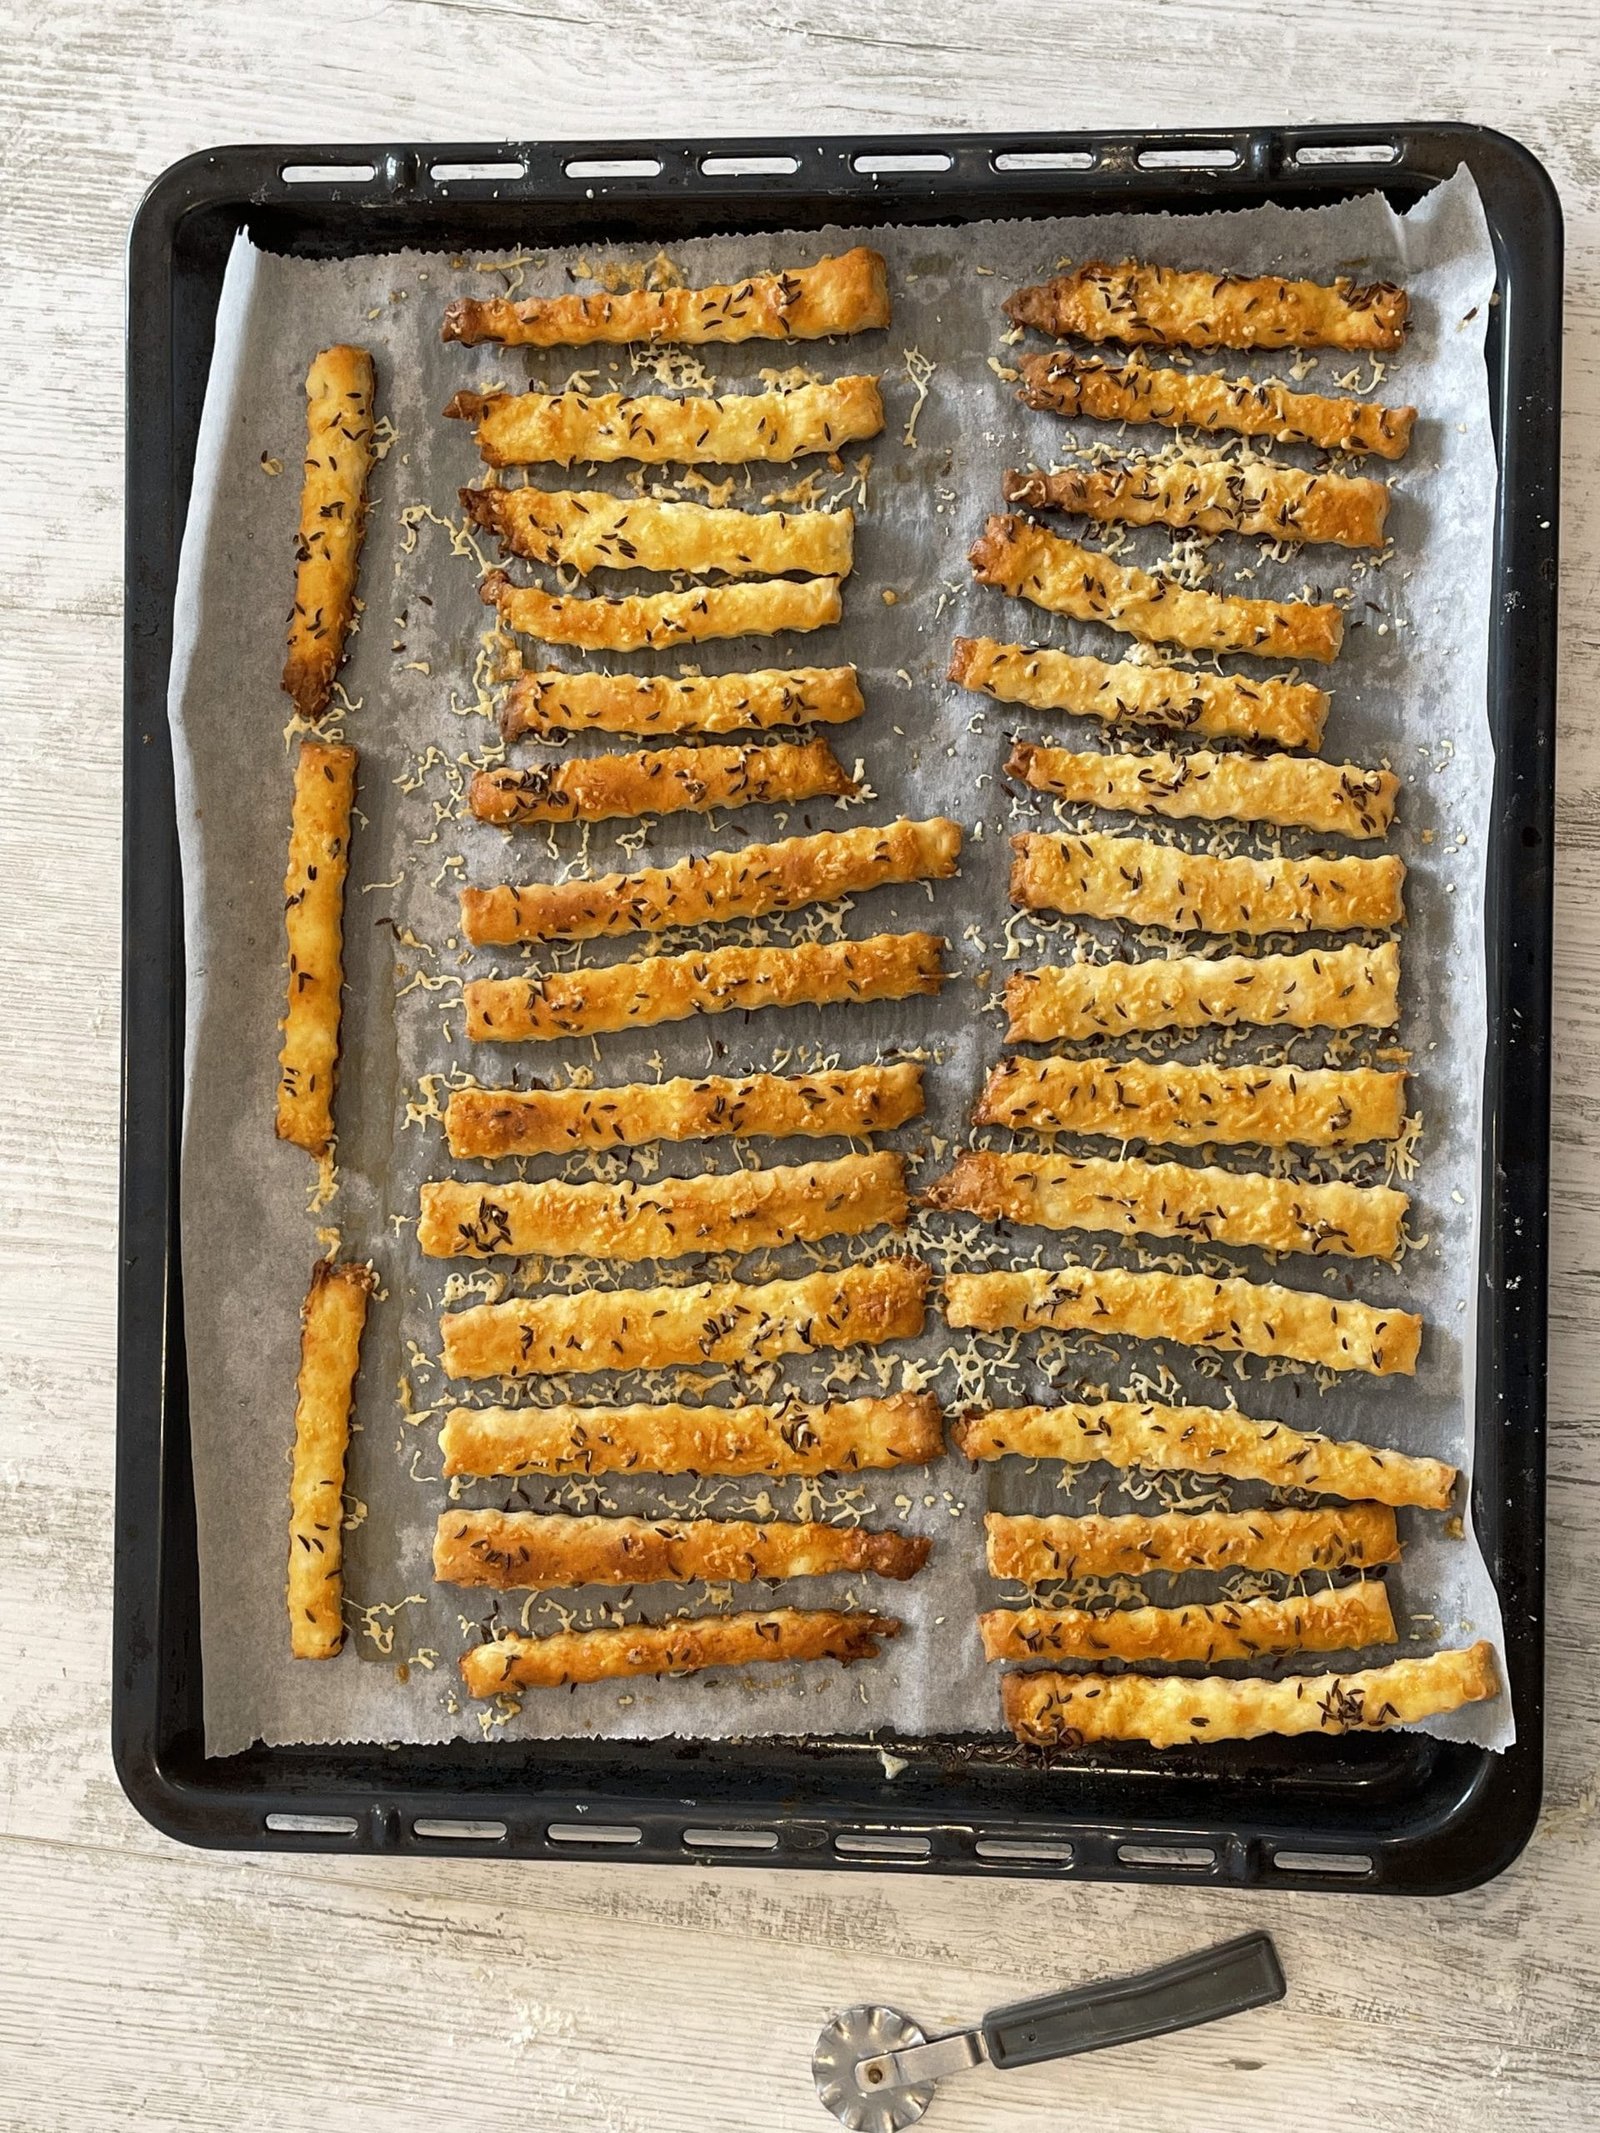
- Brush salted biscuits with beaten egg mixed with 2 tablespoons of milk. Sprinkle cumin seeds then grate cheese on top. If you are not a fan of cumin seeds, you can use sesame or poppy seeds. Bake for 10-12 minutes (depending on the oven) at 180 degrees.


- And that was my recipe for tender biscuits with cheese. I got almost 3 large oven trays, but I also made smaller shapes for my school child’s package. They remain tender even for a week closed in metal boxes, but I assure you that they do not last that long. Enjoy!


